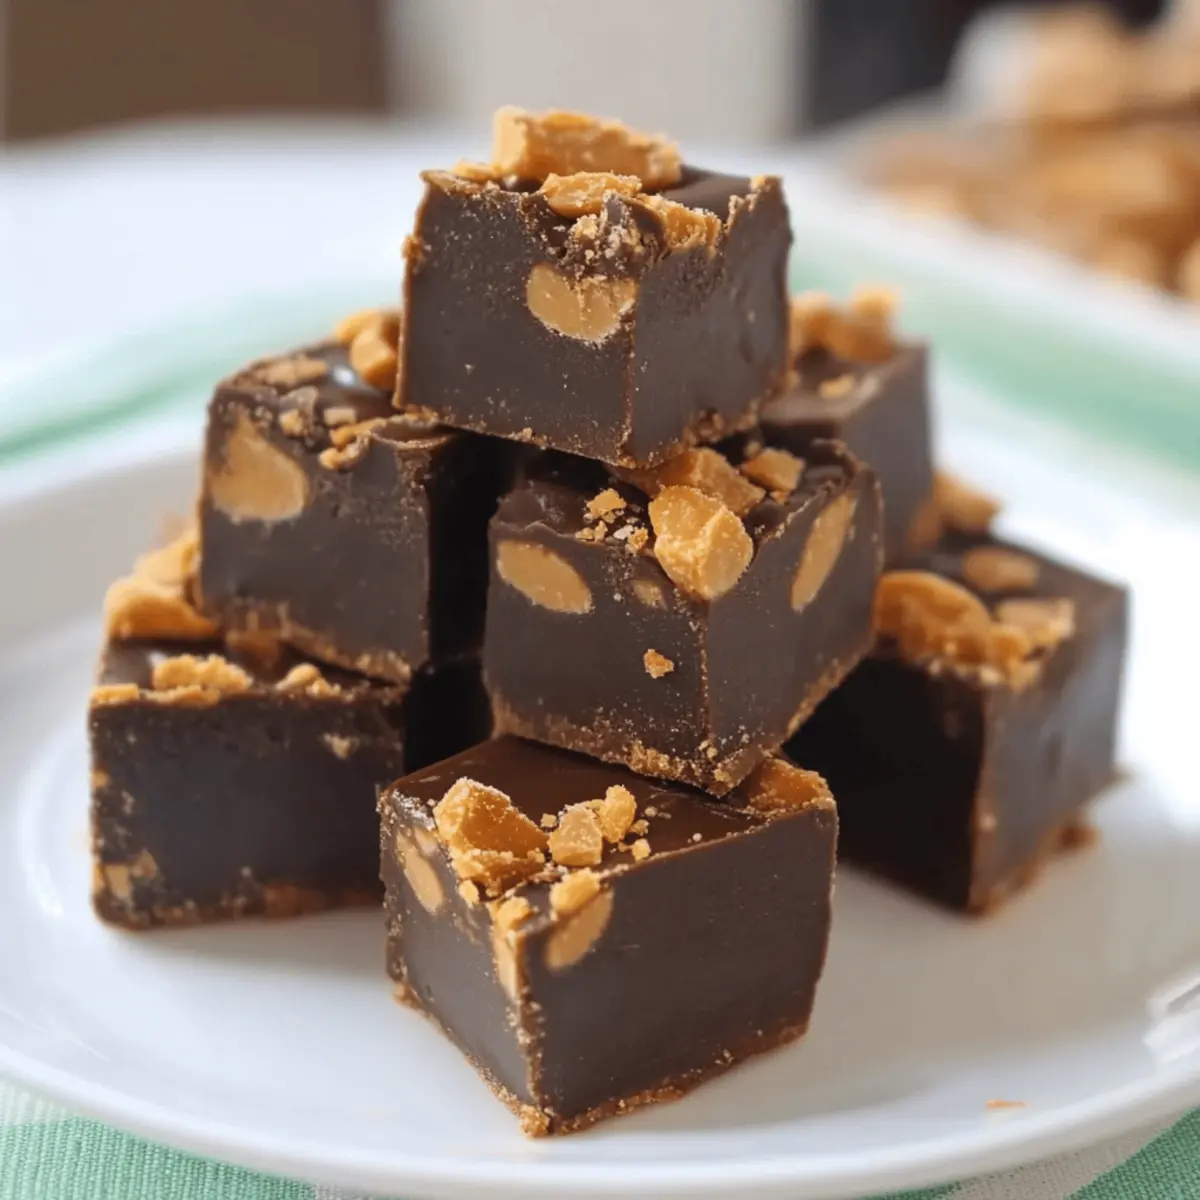
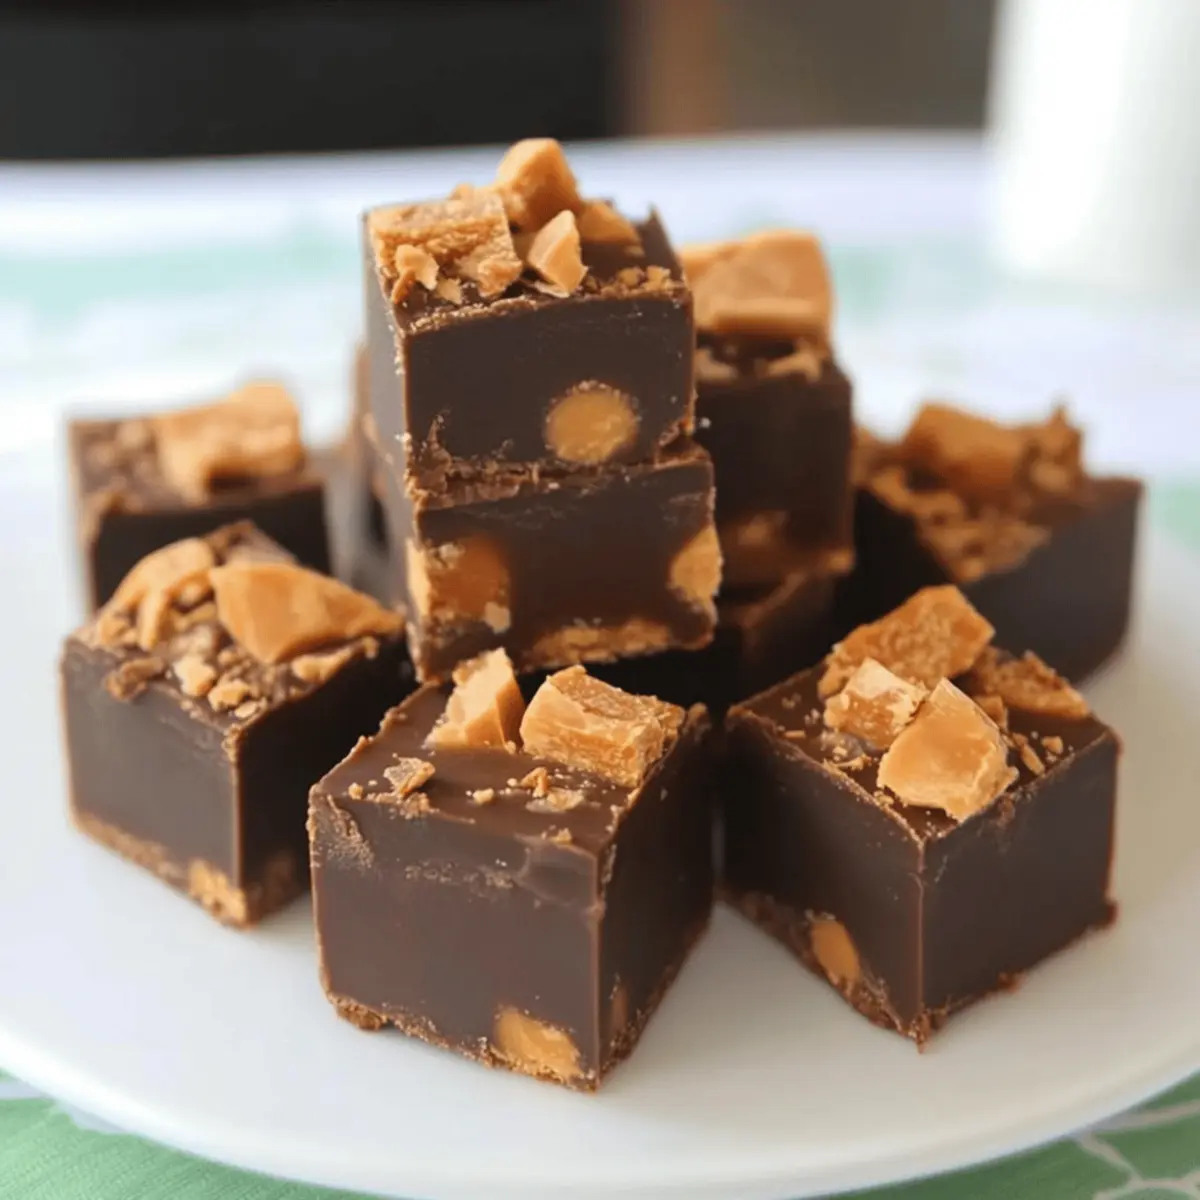
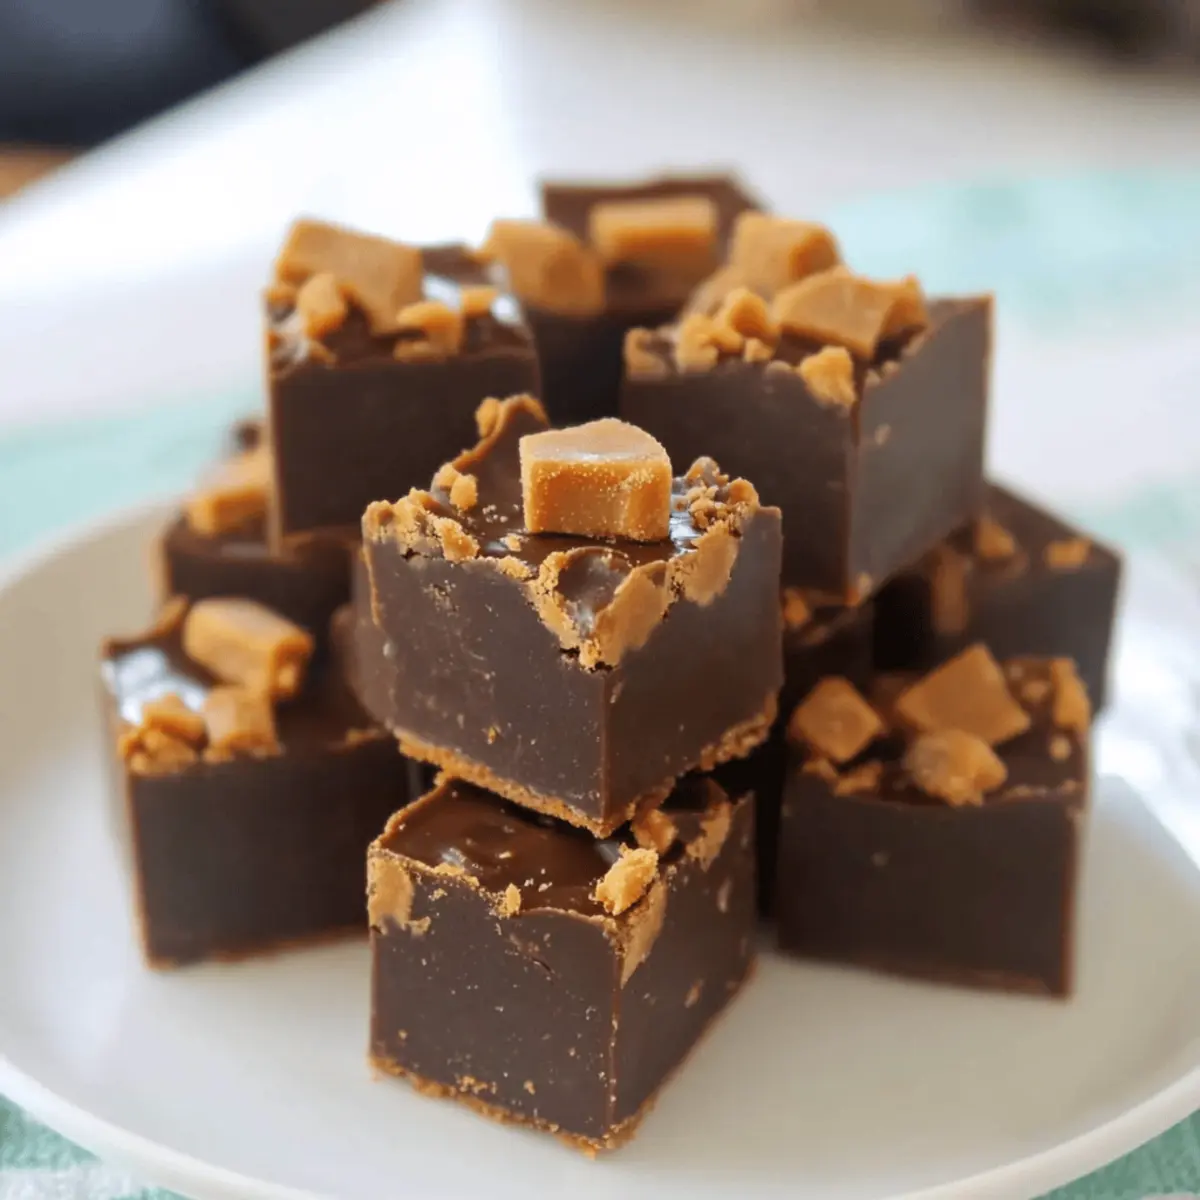
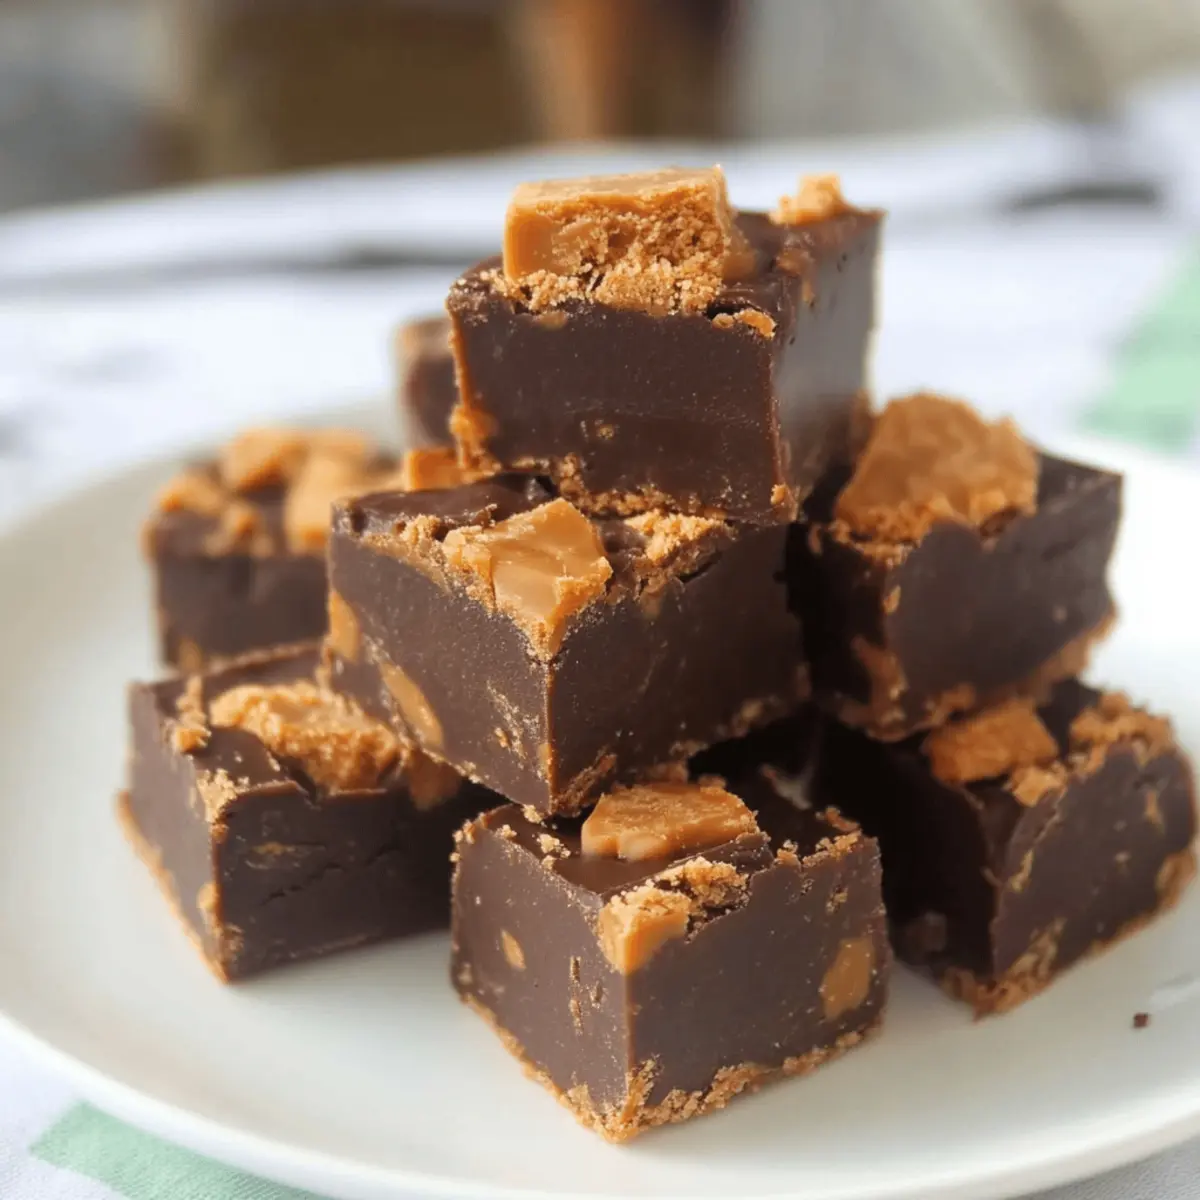
Whispers of nostalgia dance in the air as I unwrap a Butterfinger candy bar, the crunchy exterior promising a satisfying treat. It’s this very magic that transforms into my easy, 3-ingredient Butterfinger Fudge, where layers of creamy chocolate meld seamlessly with the iconic crispiness of Butterfinger bars. With a quick prep time and no baking involved, this fudge is the ultimate answer for anyone craving a homemade sweet fix. Whether it’s for an afternoon snack or a dessert at your next gathering, this recipe delivers a delightful combination of ease and indulgence. Are you ready to whip up a batch of this fudgy goodness that will have everyone asking for the secret ingredient?
Why is Butterfinger Fudge a Must-Try?
Simplicity: With just three ingredients, this fudge is incredibly quick to prepare, making it ideal for those busy days when you need a sweet fix fast.
Irresistible Flavor: The combination of rich chocolate and the crispy crunch of Butterfinger bars creates a taste sensation that’s simply unforgettable.
No Baking Required: Forget the oven! This no-bake recipe means less mess and more time to indulge in your delicious creation.
Crowd-Pleasing Treat: Whether at parties or family gatherings, this fudge is always a hit. Everyone loves a little homemade sweetness!
Versatile Options: Want to mix it up? Try swapping Butterfingers for other candies or add nuts for a personal touch—your fudge, your way!
Each bite of this Butterfinger Fudge is sure to bring smiles, making it the perfect choice for every occasion.
Butterfinger Fudge Ingredients
For the Fudge Base
- Semi-Sweet Chocolate Chips – The heart of your fudge, providing that rich chocolatey flavor and structure; go for gluten-free if needed!
- Sweetened Condensed Milk – This creamy addition ensures your fudge has a luscious texture; in a pinch, you can use evaporated milk mixed with sugar.
For the Crunch
- Butterfinger Candy Bars – Their crispy texture and unique flavor elevate the fudge to a delightful treat; feel free to substitute with other crunchy candy bars if you want a twist!
With these simple ingredients, you’re just moments away from diving into a batch of irresistible Butterfinger Fudge!
Step‑by‑Step Instructions for Butterfinger Fudge
Step 1: Prepare the Pan
Begin by chopping 8 fun-sized Butterfinger bars into small pieces and set them aside. Next, take an 8×8 inch square pan and line it with parchment paper, allowing some overhang for easy removal later. This step ensures that your Butterfinger Fudge won’t stick and will maintain its beautiful presentation!
Step 2: Melt the Mixture
In a microwave-safe bowl, combine 3 cups of semi-sweet chocolate chips and 1 can of sweetened condensed milk. Microwave on high for about 1 minute, then carefully remove and stir until everything is completely melted and well combined—aim for a glossy, thick texture, which will be perfect for your fudge base.
Step 3: Fold in Candy
Once your chocolate mixture is smooth, gently fold in the chopped Butterfinger bars. Use a spatula to mix until the pieces are evenly distributed throughout the melted chocolate, adding delightful crunchy bits to your Butterfinger Fudge. Be gentle to keep the Butterfinger pieces intact and enhance the fudge’s texture.
Step 4: Set the Fudge
Pour the fudgy mixture into the prepared pan, spreading it evenly with your spatula. Make sure to push the mixture into the corners of the pan for uniformity. Place the pan in the refrigerator and allow it to chill for about 2 hours until the fudge is completely set and firm to the touch, ensuring easy cutting later.
Step 5: Serve
After the fudge has set, remove it from the refrigerator and carefully lift it out of the pan using the parchment overhang. Place the fudge on a cutting board and slice it into 1-inch squares. Store your homemade Butterfinger Fudge in an airtight container and savor the sweet bites of nostalgia!
Make Ahead Options
These delightful Butterfinger Fudge squares are perfect for meal prep, allowing busy home cooks to create a sweet treat well in advance. You can prepare the fudge up to 24 hours ahead of time by completing steps 1 through 4 and refrigerating the fudge to set. To maintain its rich texture and flavor, store the fudge in an airtight container in the fridge. When you’re ready to serve, simply cut into squares and enjoy! This makes for an easy dessert or snack that’s just as delicious as when it was first made, saving you valuable time during busy weeknights or gatherings.
Butterfinger Fudge Variations to Try
Feel free to explore these delicious ideas and make this fudge your own culinary masterpiece!
- Nutty Crunch: Toss in a handful of chopped walnuts or almonds for a satisfyingly nutty twist. The added crunch makes every bite irresistible!
- Peanut Butter Lovers: Swap Butterfinger bars for Reese’s Peanut Butter Cups for a creamy, nutty flavor that rivals the original. Your taste buds will thank you!
- Minty Fresh: A touch of peppermint extract can bring a refreshing twist to your fudge, perfect for the holiday season or to brighten up everyday treats.
- Extra Chocolate: Drizzle melted chocolate or caramel on top before it sets to elevate the flavor and create a beautiful presentation. You’ll love the surprise in every piece!
- Spicy Kick: Add a sprinkle of cayenne pepper or a dash of chili powder to bring out the chocolate’s richness with a warm, spicy undertone. It’s a fun twist!
- S’mores Fudge: Mix in mini marshmallows and crushed graham crackers for a campfire classic turned fudge delight. Each bite will remind you of cozy evenings under the stars.
- Cookie Crunch: Fold in crushed chocolate cookies for added texture and a fun cookie-inspired twist. Chocolate lovers will adore this adaptation!
- Coconut Delight: Stir in sweetened shredded coconut for a tropical flavor that pairs beautifully with the chocolate and Butterfinger pieces. It’s like a mini getaway in fudge form!
With these variations, you can discover endless possibilities for your delicious Butterfinger Fudge. Whichever twist you choose, everyone will be coming back for more! Consider serving your fudge alongside a warm cup of coffee for a delightful afternoon treat.
How to Store and Freeze Butterfinger Fudge
Room Temperature: Store Butterfinger Fudge in an airtight container at room temperature for up to 1 week. Keep it in a cool, dry place away from direct sunlight.
Fridge: If you prefer a firmer texture, refrigerate the fudge in an airtight container for up to 2 weeks. Allow it to come to room temperature before serving for the best flavor.
Freezer: For longer storage, wrap the fudge tightly in plastic wrap and then place it in a freezer-safe bag. It can be frozen for up to 3 months.
Reheating: When ready to enjoy frozen fudge, thaw it in the fridge overnight. For a warm treat, microwave individual squares for about 10 seconds to softens them slightly.
Expert Tips for Butterfinger Fudge
-
Melt Thoroughly: Ensure chocolate chips melt completely before adding the Butterfingers to achieve a smooth texture. Avoid graininess by stirring until glossy.
-
Chill Smartly: If you’re in a hurry, pop the fudge in the freezer for short intervals to expedite setting. Keep an eye on it to prevent freezing.
-
Knife Choice: Use a clean, sharp knife when chopping Butterfinger bars. This prevents sticky residue, allowing for easier cutting and clean pieces.
-
Mix Gently: When folding in the chopped Butterfinger, be gentle to keep the pieces intact. This preserves the delightful crunch in each bite of your Butterfinger Fudge.
-
Storage Tips: For best results, store fudge in an airtight container at room temperature for up to 1 week, or freeze it for longer-lasting treats.
What to Serve with Butterfinger Fudge
When you’re ready to elevate your sweet experience, consider these delightful pairings that bring out the best of your creamy creation.
-
Coffee: The rich, bold flavors of coffee enhance the chocolatey goodness of Butterfinger Fudge, creating a perfect pairing for your afternoon treat.
-
Vanilla Ice Cream: A scoop of this creamy classic adds a delightful contrast to the fudge’s texture, melting into decadent bliss with each bite.
-
Fresh Berries: Juicy strawberries or raspberries provide a bright, tart contrast that balances the sweetness of the fudge and adds a refreshing twist.
-
Nutty Snack Mix: A crunchy, savory mix of nuts and pretzels complements the smooth fudge, making for a delightful contrast in texture and flavor.
-
Chocolate Milkshake: For a truly indulgent experience, pair your fudge with a thick, creamy chocolate milkshake—it’s a chocolate lover’s dream come true!
-
Mint Tea: The refreshing coolness of mint tea helps cleanse the palate after each rich bite of fudge, giving your taste buds a moment to savor every flavor.
Whether enjoyed solo or alongside these lovely accompaniments, each bite of Butterfinger Fudge promises a moment of joy.
Butterfinger Fudge Recipe FAQs
How should I select my Butterfinger candy bars?
Absolutely! Look for fun-sized Butterfinger bars that are fresh and free from any visible damage. They should have a crisp exterior with no dark spots or signs of aging, ensuring that the texture is perfectly crunchy when folded into your fudge.
What’s the best way to store Butterfinger Fudge?
For optimal freshness, store your Butterfinger Fudge in an airtight container at room temperature for up to 1 week. If you prefer it chilled, it can reside in the refrigerator for around 2 weeks. If you want to make it last longer, you can freeze it for up to 3 months using a freezer-safe bag. Just remember to tightly wrap the fudge in plastic wrap first.
Can I freeze Butterfinger Fudge? How do I do it?
Very! Begin by letting your fudge fully cool and set. Then, wrap it tightly in plastic wrap, ensuring every edge is sealed. After that, place it into a freezer-safe bag, squeezing out as much air as possible before sealing it. When you’re ready to enjoy, just thaw it in the refrigerator overnight. If you wish to savor it warm, microwave individual squares for about 10 seconds.
What if my fudge is too soft and doesn’t set?
No worries, that can happen! If you find your fudge is soft, it may simply need more time in the refrigerator. If it’s still not firm after a few hours, you can reheat the mixture gently in the microwave until it’s melty again, then add a bit more chocolate chips—about 1/2 cup—stirring until fully combined. Rebake in a lined pan and chill again until set.
Are there any dietary considerations for my pets?
Absolutely! Keep in mind that chocolate is toxic to dogs (and other pets), so it’s vital to ensure that your Butterfinger Fudge remains strictly pet-free. Additionally, this recipe contains sweetened condensed milk, which isn’t suitable for pets either. Always double-check with a vet if you’re unsure about certain ingredients.
Can I use other candies in place of Butterfinger bars?
Certainly! You can absolutely mix things up by substituting Butterfinger with other candy bars, such as Reese’s Peanut Butter Cups for a nutty flavor, or even Skor bars for a toffee twist. Your fudge, your way!
Irresistibly Creamy Butterfinger Fudge in Just 3 Ingredients
Ingredients
Equipment
Method
- Chop 8 fun-sized Butterfinger bars into small pieces and set aside. Line an 8x8 inch pan with parchment paper.
- In a microwave-safe bowl, combine 3 cups of semi-sweet chocolate chips and 1 can of sweetened condensed milk. Microwave on high for about 1 minute, then stir until melted.
- Gently fold in the chopped Butterfinger bars until evenly distributed throughout the melted chocolate.
- Pour the mixture into the prepared pan, spreading evenly. Chill in the refrigerator for about 2 hours.
- Remove from the refrigerator and lift out of the pan. Slice into 1-inch squares and store in an airtight container.