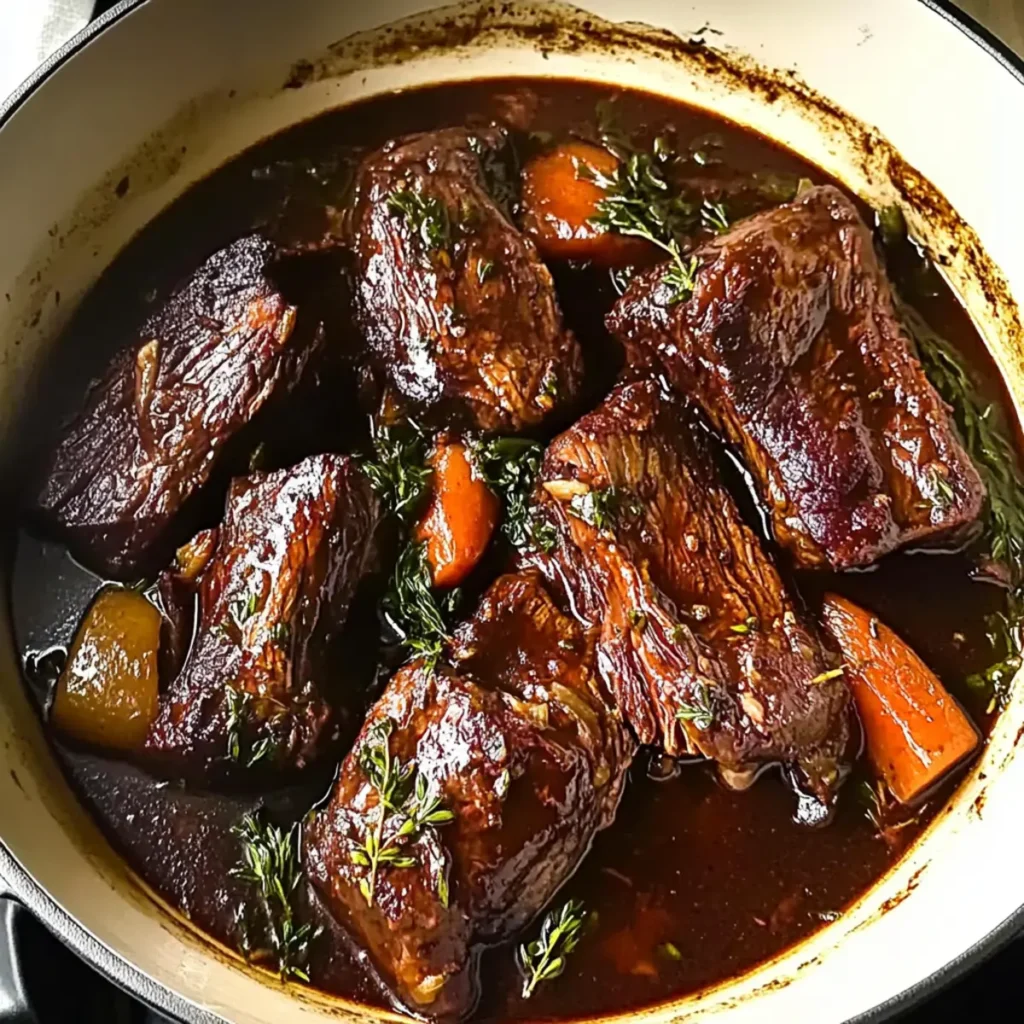
As the chilly evening air wraps around my kitchen, I find myself conjuring up the soul-soothing aroma of Red Wine Braised Beef. This dish is a staple in my home, transforming tough cuts of meat into tender, juicy delights with the magic of slow cooking. With its rich, savory flavors, it’s not just a meal; it’s an experience—a chance to gather with loved ones and savor every bite together. What I love most about this recipe is how straightforward it is, making it perfect for both seasoned chefs and cooking novices. Plus, it easily adapts for gluten-free diets or those looking to skip the wine. So, are you ready to make a meal that warms both the body and soul? Let’s dive in!
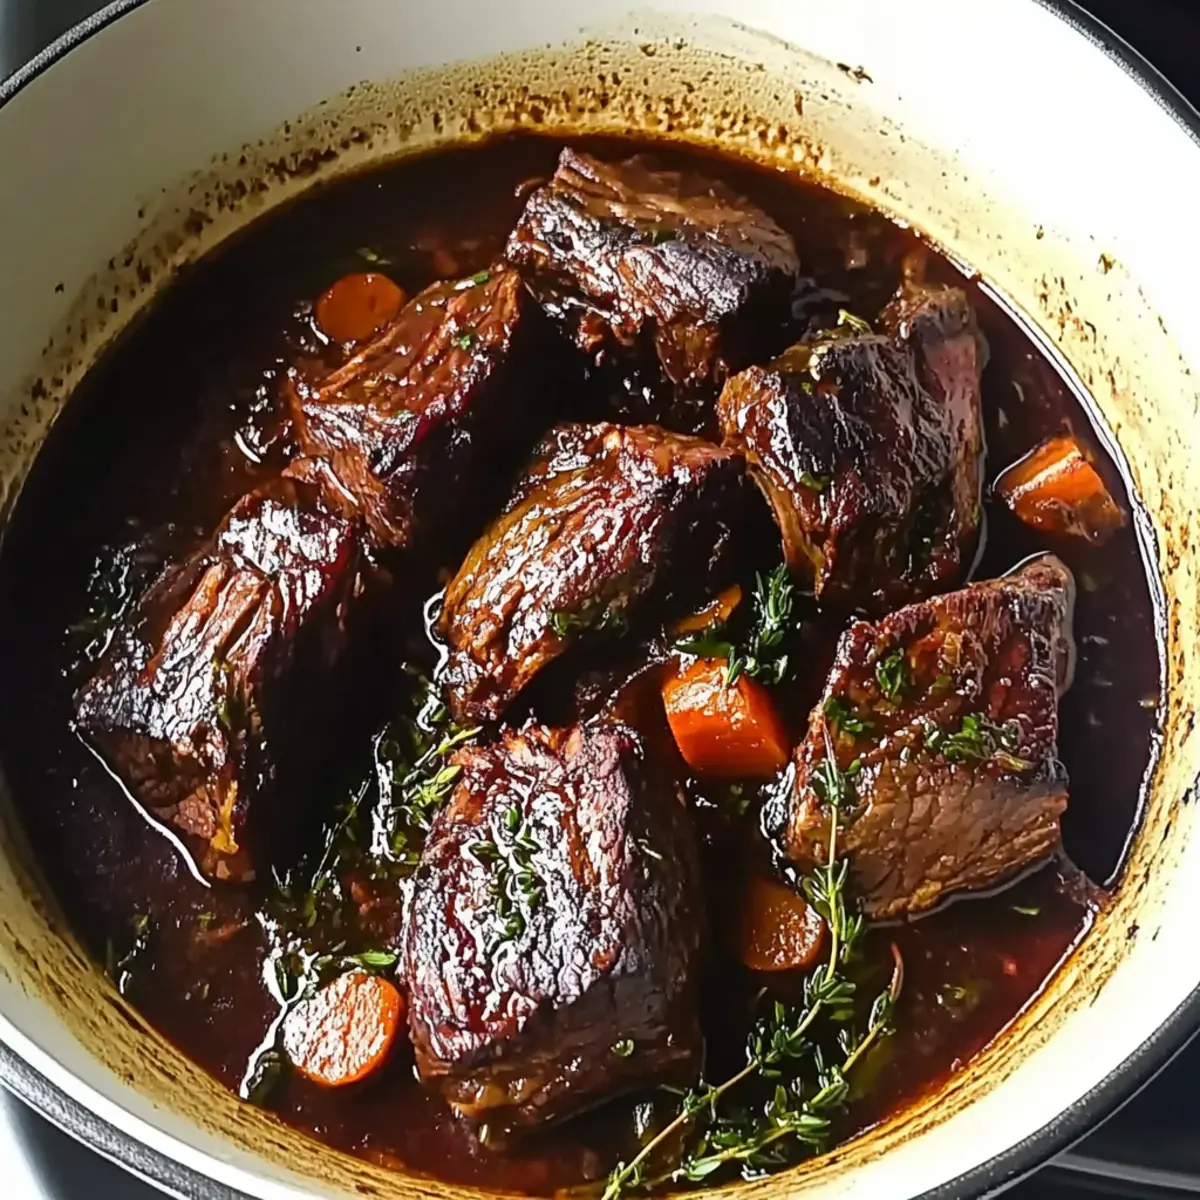
Why Choose Red Wine Braised Beef?
Comforting Deliciousness: This recipe is the ultimate warm hug for your taste buds, combining tender beef and aromatic herbs for an unforgettable dish.
Effortless Preparation: With simple steps, even novice cooks can create a gourmet experience at home.
Versatile Options: Whether you prefer a gluten-free version or want to swap red wine for beef broth, this recipe fits every preference.
Meal Prep Friendly: Make it ahead of time, and its flavors only get better overnight—perfect for busy weeknights!
Impress Your Guests: Serve alongside fluffy mashed potatoes or crusty bread, and watch your friends rave about your culinary skills!
Whether you’re a seasoned home chef or just starting, this Red Wine Braised Beef is a must-try. If you’re looking for similar easy yet delightful dishes, check out my recipes for Thai Red Curry or One Pot Beef Taco Pasta.
Red Wine Braised Beef Ingredients
• Here’s what you’ll need for a cozy meal:
For the Braise
- Beef Chuck Roast – A tender cut that becomes melt-in-your-mouth during slow cooking; you can also substitute with brisket or short ribs for variation.
- Olive Oil – Adds richness and is essential for browning the beef to develop flavor.
- Onion – Provides a sweet, flavorful base; yellow or sweet onions work perfectly.
- Garlic – Enhances aroma and deepens flavor; fresh garlic is best, but garlic powder can work in a pinch.
- Carrots – Adds sweetness and color; you can substitute them with parsnips for a unique twist.
- Celery – Brings a fresh taste and crunchy texture to the dish.
- Red Wine (e.g., Cabernet Sauvignon) – Infuses complexity and depth into the broth; feel free to use non-alcoholic wine or beef broth for a lighter version.
- Beef Broth – Creates a rich base for the braising liquid; choose gluten-free if dietary needs require.
- Tomato Paste – Adds a slight acidity and richness to balance the flavors.
- Dried Thyme and Dried Rosemary – These herbs impart an aromatic quality; fresh herbs can also be used if available.
- Salt and Pepper – Essential for seasoning; adjust to taste based on preference.
- Bay Leaves – Adds an earthy flavor; don’t forget to remove them before serving!
Step‑by‑Step Instructions for Red Wine Braised Beef
Step 1: Heat the Oil
In a large Dutch oven, heat about 2 tablespoons of olive oil over medium-high heat. Once the oil shimmers, you’re ready for the next step. This is the perfect moment to start browning the beef, so have your beef chuck roast ready and nearby.
Step 2: Brown the Beef
Season the beef chuck roast cubes with salt and pepper before placing them in the hot oil. Brown the beef in batches for about 4–5 minutes on each side until it develops a deep brown crust. Remove the browned beef and set it aside on a plate to ensure it sears beautifully without overcrowding the pan.
Step 3: Sauté the Vegetables
In the same pot, add 1 diced onion, 2 sliced carrots, and 2 chopped celery stalks. Sauté these vegetables for about 5 minutes until they soften and begin to caramelize, stirring occasionally for even cooking. Your kitchen will soon fill with a wonderful aroma that sets the stage for the comforting red wine braised beef.
Step 4: Add Garlic
Once the vegetables are tender, stir in 4 minced garlic cloves and continue to sauté for an additional minute. This fragrant blend will enhance the depth of flavor, creating a beautiful base for your braise. Keep stirring, ensuring the garlic doesn’t burn, which would add bitterness to the dish.
Step 5: Incorporate Tomato Paste and Wine
Next, mix in 2 tablespoons of tomato paste, stirring until it’s well incorporated with the vegetables. Then, pour in 1 cup of red wine, like Cabernet Sauvignon, scraping the pot’s bottom to release flavorful browned bits. Let it simmer for about 5 minutes, allowing the wine to reduce slightly and concentrate its flavors.
Step 6: Bring Everything Back Together
Return the browned beef to the pot and add 2 cups of beef broth, 1 teaspoon of dried thyme, 1 teaspoon of dried rosemary, and 2 bay leaves. Stir everything harmoniously, ensuring the beef is submerged in the luscious liquid. It’s time to let these flavors meld together beautifully.
Step 7: Simmer Low and Slow
Bring the mixture to a boil over high heat, then reduce the heat to low and cover. Let it simmer gently for 2-3 hours, stirring occasionally, until the beef becomes fork-tender and infused with a rich, savory sauce. Patience is key—this is where the magic of slow cooking happens.
Step 8: Final Touches Before Serving
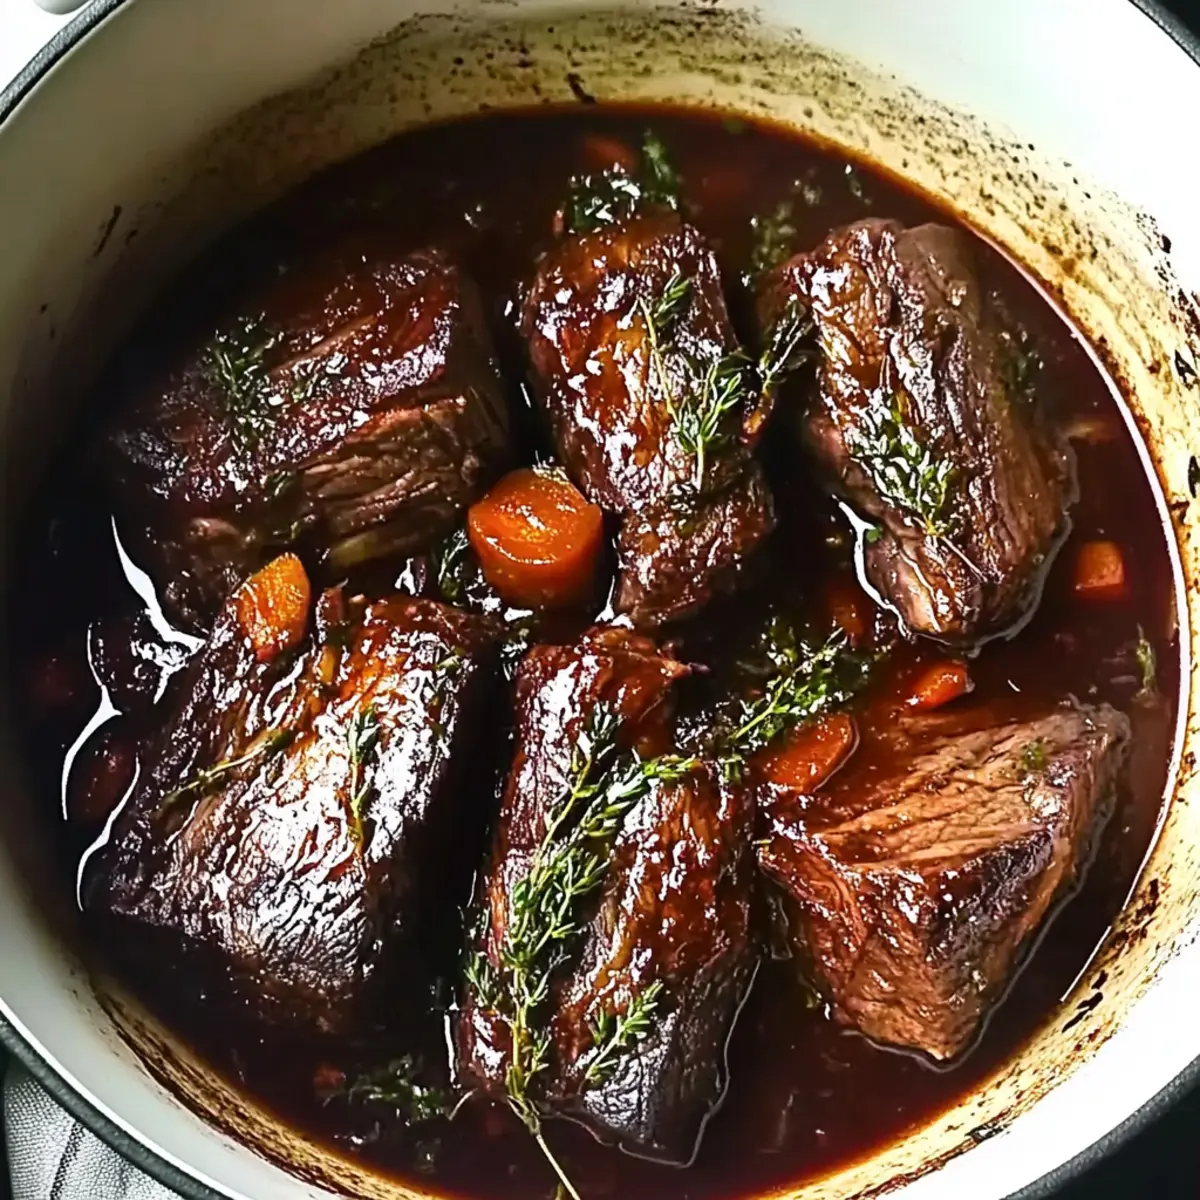
Once your red wine braised beef is perfectly tender, carefully remove the bay leaves. Taste and adjust the seasoning with more salt and pepper if needed. This is your last chance to enhance the flavors before serving this comforting dish to eager plates!
Expert Tips for Red Wine Braised Beef
-
Browning Matters: Don’t skip the browning step; it adds a deep, rich flavor to the meat, enhancing the overall taste of your Red Wine Braised Beef.
-
Time Is Key: Allow the beef to simmer low and slow for the full 2-3 hours; this patience leads to the melt-in-your-mouth tenderness everyone loves.
-
Chill and Reheat: For an even richer flavor, refrigerate the cooked dish overnight and reheat gently before serving—it truly elevates the taste!
-
Taste as You Go: Always taste and adjust the seasoning before serving to ensure every bite of your dish is perfectly balanced and flavorful.
-
Ingredient Flexibility: Feel free to experiment with ingredient substitutions, like using brisket or ensuring the broth is gluten-free, to cater to your dietary needs.
Make Ahead Options
These Red Wine Braised Beef preparations are perfect for busy cooks! You can brown the beef and prepare the vegetables (onion, carrots, and celery) up to 24 hours in advance, simply refrigerate them separately in airtight containers to maintain their quality. The assembled braise can also be made ahead and refrigerated for up to 3 days; just ensure to cool it completely before storing. When you’re ready to serve, reheat gently on the stove, adding a splash of broth if needed to keep the sauce luscious. This meal-prep approach not only saves time on hectic weeknights but allows the flavors to deepen, resulting in an even more delicious dish!
Red Wine Braised Beef Variations
Feel free to let your creativity shine and customize this comforting dish to suit your taste and dietary needs!
-
Different Cuts: Swap in brisket or short ribs for a unique texture and flavor profile that still achieves melt-in-your-mouth tenderness. Each cut offers its own charm, making the dish truly your own.
-
Non-Alcoholic Option: Replace red wine with non-alcoholic wine or beef broth for a family-friendly adaptation. This swap keeps the dish rich while ensuring everyone can enjoy it.
-
Herb Alternatives: Use fresh herbs instead of dried for a brighter flavor. Simply double the amount, and you’ll notice a lovely aromatic quality in every bite.
-
Add-Ins: Toss in mushrooms or peas during the last 30 minutes for an extra layer of flavor and delightful texture. They elevate both richness and color, complementing the braise beautifully.
-
Root Veggie Twist: Substitute carrots with parsnips or sweet potatoes for a sweeter, earthier flavor that adds depth to the dish. This twist brings a lovely seasonal touch to your table!
-
Lighter Version: Serve the braised beef over cauliflower mash instead of traditional mashed potatoes. This offers a lighter option that’s still filling and satisfying.
-
Spicy Kick: Want some heat? Add crushed red pepper flakes or a dash of cayenne pepper for a spicy variation. It’ll bring an exciting zing to every forkful!
-
Braising Liquid Boost: Incorporate a splash of balsamic vinegar in the final stages of cooking for a tangy kick of flavor that perfectly balances the richness of the beef.
Feel inspired? Don’t forget to pair your Red Wine Braised Beef with Thai Red Curry or Beef Broccoli Stir for a wholesome dinner experience that everyone will adore!
How to Store and Freeze Red Wine Braised Beef
Fridge: Store any leftover Red Wine Braised Beef in an airtight container for up to 3 days. The flavors deepen as it sits, making it even more delicious on reheating!
Freezer: For longer storage, freeze the dish in a freezer-safe container for up to 3 months. Ensure it’s cooled completely before sealing to prevent ice crystals.
Reheating: Thaw frozen beef overnight in the fridge. Reheat gently on the stovetop over low heat, adding a splash of beef broth or water to maintain moisture.
Make-Ahead: This dish is perfect for meal prep; the flavors meld beautifully when made a day in advance, enhancing your cozy weeknight meals!
What to Serve with Savory Red Wine Braised Beef
Transform your hearty dinner into a complete experience by choosing delightful sides that enhance the flavors of your savory creation.
-
Creamy Mashed Potatoes: The velvety texture and buttery taste of mashed potatoes perfectly soak up the rich sauce of the braised beef, creating a comforting bite.
-
Crusty Bread: A fresh loaf of crusty bread is ideal for dipping into the savory juices, offering a delightful crunch and warmth to balance the dish’s richness.
-
Garlicky Green Beans: Crisp-tender green beans sautéed with garlic add a bright pop of color and freshness, lightening the meal while complementing the deep flavors.
-
Roasted Root Vegetables: A mix of carrots, parsnips, and potatoes drizzled with olive oil and herbs brings a wonderful sweetness, offering a rustic flavor that harmonizes beautifully with the beef.
-
Field Greens Salad: A fresh salad topped with a tangy vinaigrette cuts through the richness of the beef, providing a refreshing contrast that elevates the dining experience.
-
Red Wine: Pair with a glass of the same red wine used in cooking. It ties together the meal beautifully, enhancing the overall flavor profile.
Indulging in these sides will make your red wine braised beef not just a meal, but a lovely gathering around the table with loved ones. Enjoy!
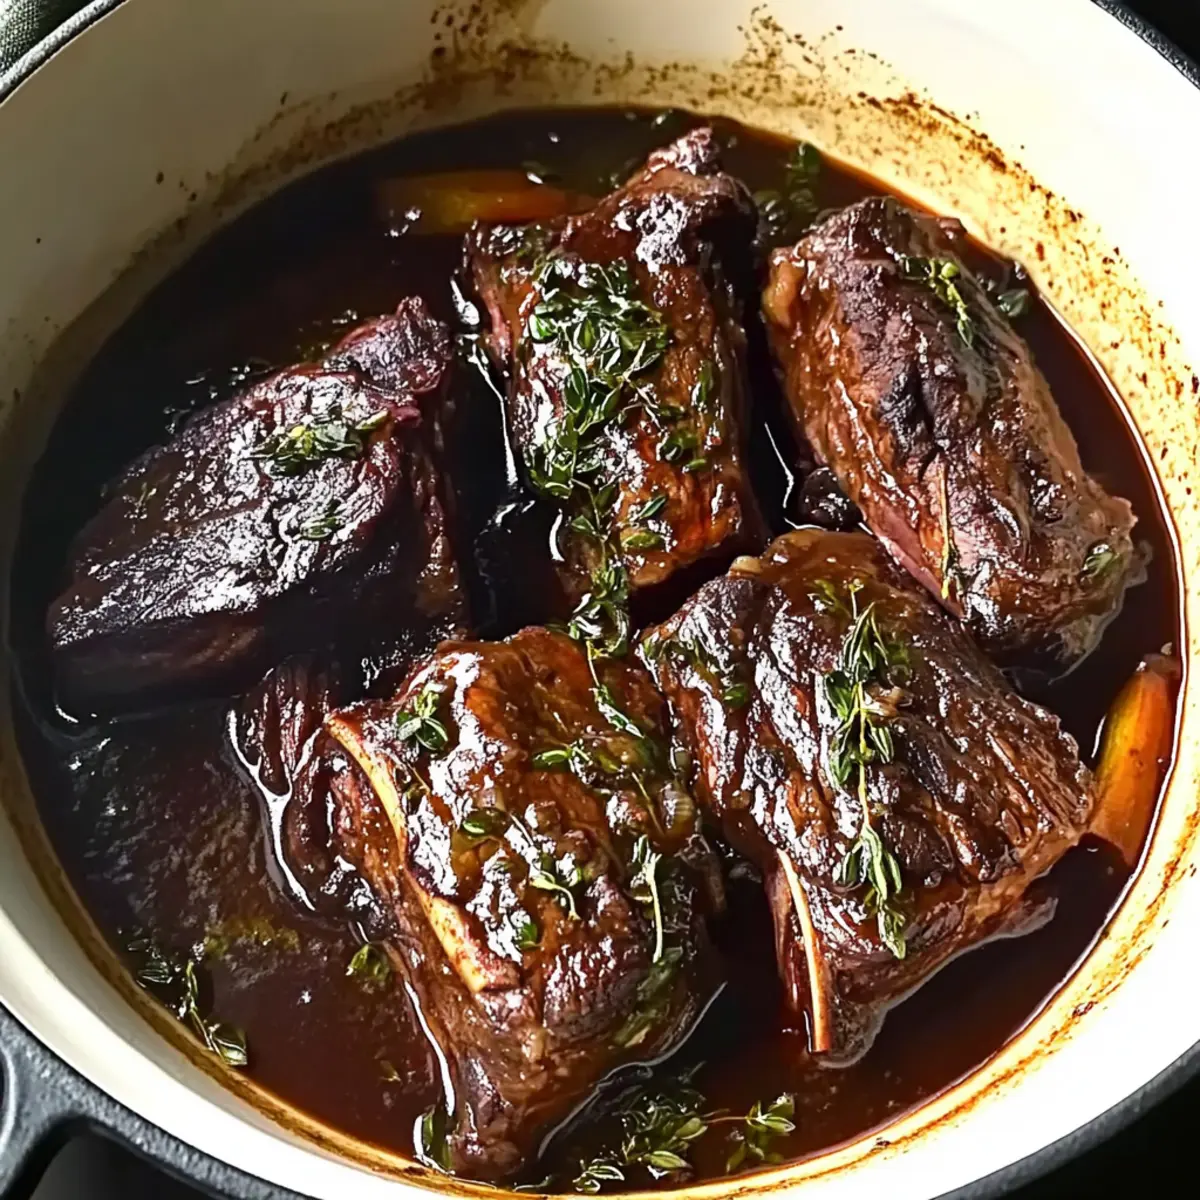
Red Wine Braised Beef Recipe FAQs
What type of beef should I use for this recipe?
I recommend using beef chuck roast as it becomes super tender and flavorful when slow-cooked. If you’re looking for a variation, brisket or short ribs can be fantastic alternatives that still deliver that melt-in-your-mouth goodness!
How should I store leftovers?
Absolutely! Store any leftover Red Wine Braised Beef in an airtight container in the refrigerator for up to 3 days. The best part? The flavors actually deepen and improve over time, so you may find it even tastier when you reheat it!
Can I freeze Red Wine Braised Beef?
Yes! For longer storage, you can freeze the cooked dish in a freezer-safe container for up to 3 months. Make sure to let it cool completely before sealing; this helps prevent ice crystals from forming.
What should I do if my beef isn’t tender after cooking?
If the beef isn’t tender after the suggested cooking time, it likely needs more time to break down. Simply cover the pot and let it simmer longer—an additional 30 minutes to an hour can work wonders. Just keep an eye on the moisture level and stir periodically.
Are there any dietary considerations I should keep in mind?
Definitely! If you’re cooking for someone with gluten sensitivities, simply use gluten-free beef broth. Additionally, if you want to avoid alcohol altogether, you can substitute the red wine with non-alcoholic wine or more beef broth. This dish fits various dietary preferences beautifully.
How do I know when my beef is fork-tender?
To check for fork tenderness, gently insert a fork into the beef and twist. It should pull apart easily without much resistance. If it feels tough, let it simmer a bit longer, as patience truly pays off with this comforting dish!
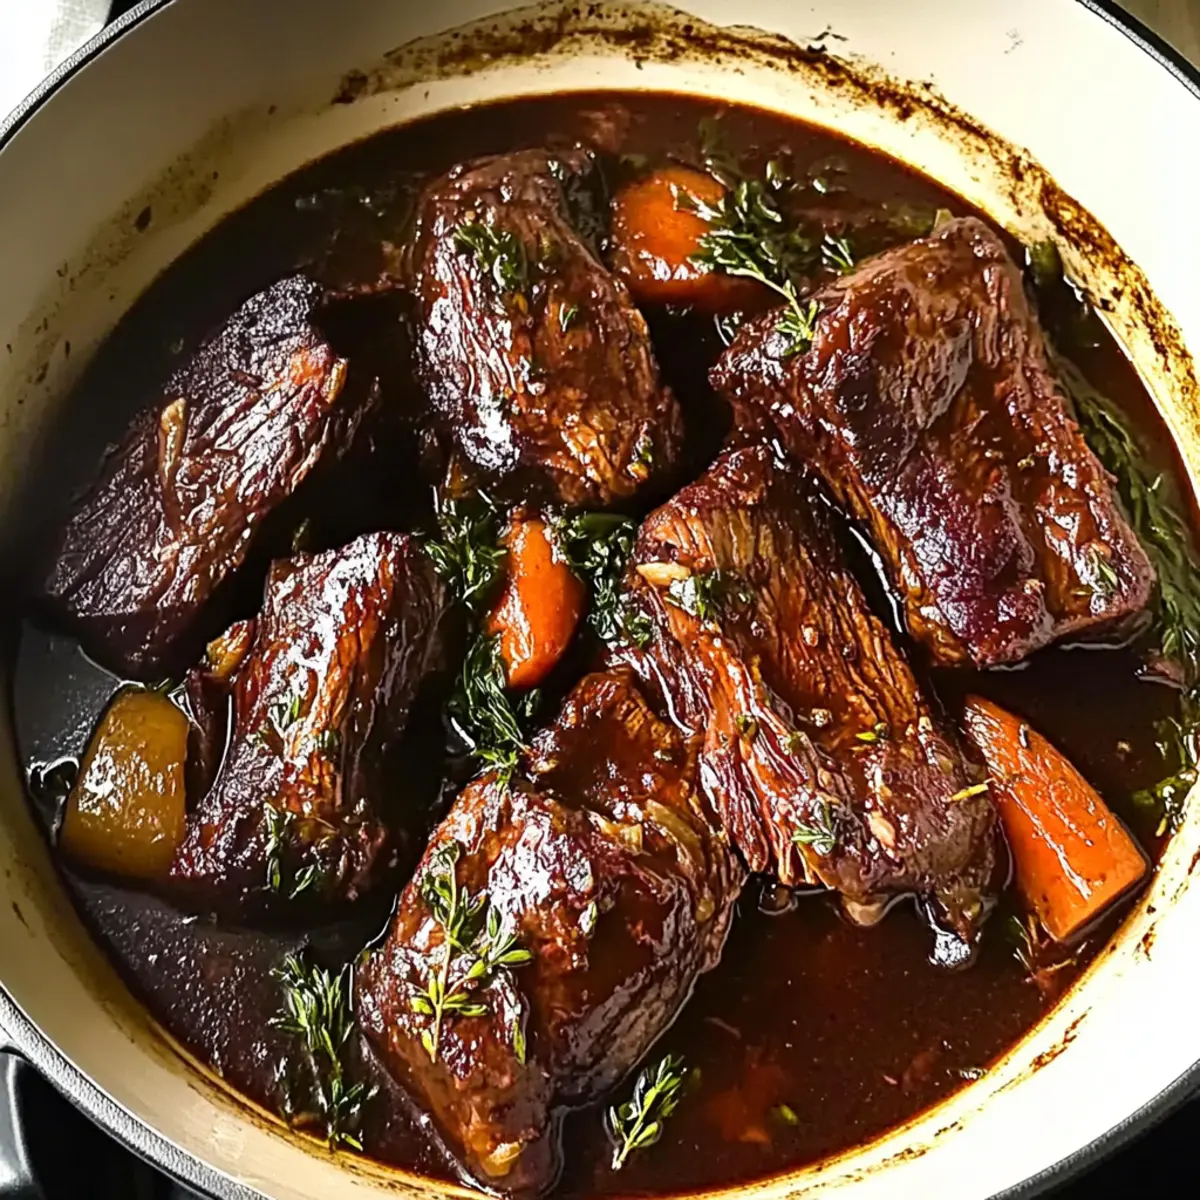
Delicious Red Wine Braised Beef for Cozy Nights In
Ingredients
Equipment
Method
- Heat the olive oil in a large Dutch oven over medium-high heat.
- Season the beef chuck roast cubes with salt and pepper and brown them in batches for 4–5 minutes each side.
- Sauté the diced onion, sliced carrots, and chopped celery in the same pot for about 5 minutes.
- Stir in the minced garlic and sauté for another minute.
- Mix in the tomato paste, then pour in the red wine, scraping the bottom of the pot.
- Return the browned beef to the pot with the beef broth, thyme, rosemary, and bay leaves, stirring to combine.
- Bring to a boil, then reduce heat and simmer covered for 2-3 hours until fork-tender.
- Remove bay leaves, adjust seasoning, and serve warm.