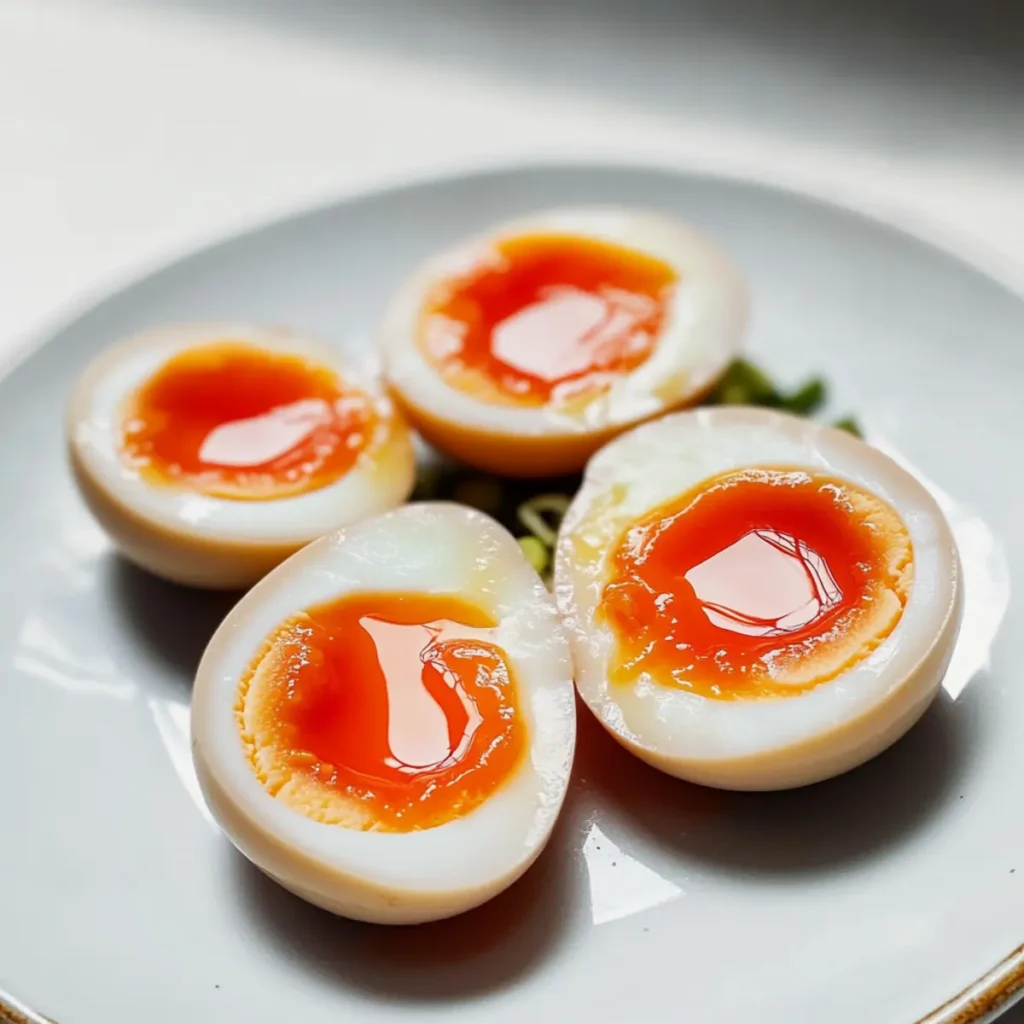
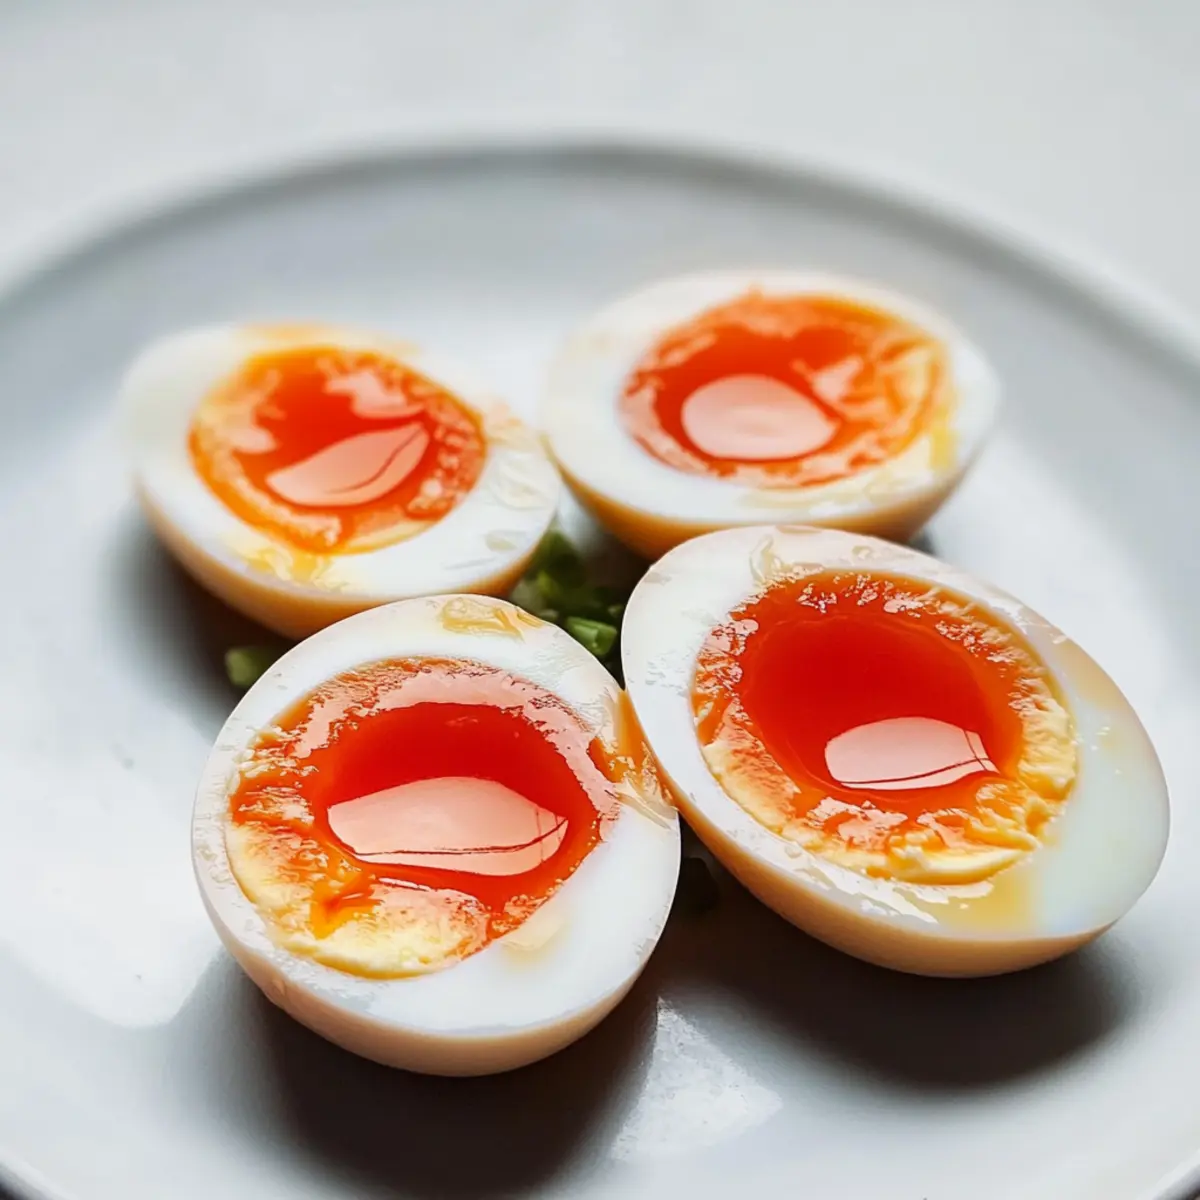
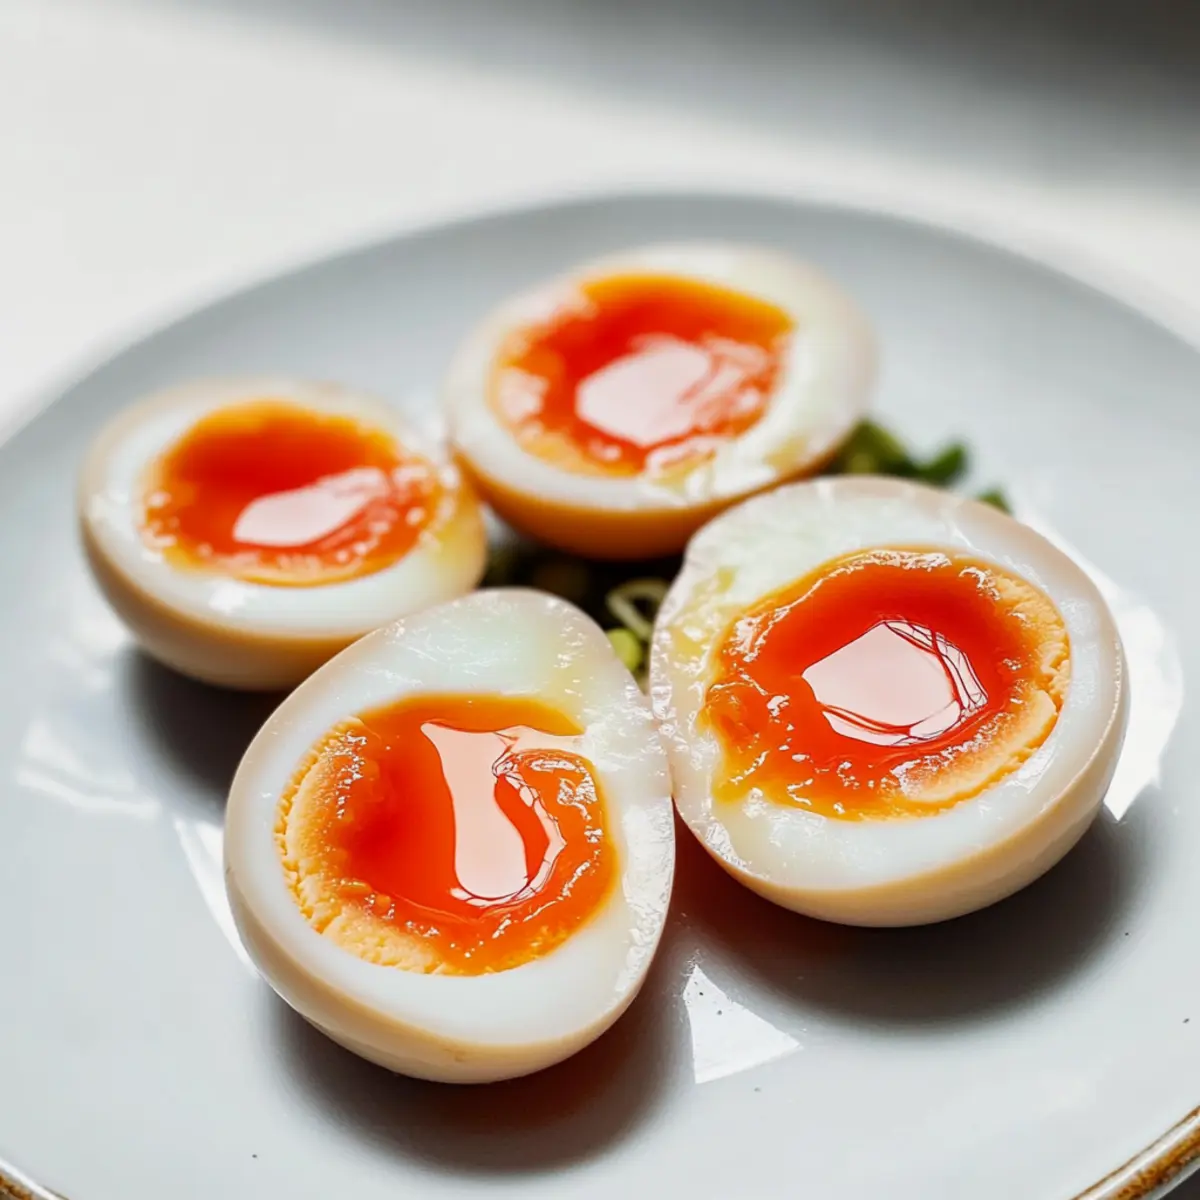
A wave of warmth and comfort washes over me as I recall my first bite of a perfectly crafted ramen egg. That luscious, soft-boiled yolk, gently flowing and cradled by savory whites, was unlike anything I had tasted before. Today, I’m thrilled to share with you my authentic recipe for Ramen Eggs (Ajitama), a dish that adds an irresistible umami punch to any meal. These treasure-like eggs not only elevate your ramen bowls but can also shine in sandwiches or even as a standalone snack. With quick prep time and easy marinating techniques, you can whip them up in no time and impress anyone at your dinner table. Ready to learn the secrets behind this Japanese delight? Let’s dive in!
Why are Ramen Eggs so Special?
Irresistible Umami Flavor: The rich combination of savory marinades makes each bite bursting with delicious depth.
Versatile Delight: These Ramen Eggs can transform any dish—be it a nourishing bowl of ramen, vibrant salads, or enjoyed on their own as a quick snack.
Easy to Master: With just a few simple techniques, you can create restaurant-quality ajitama at home, allowing you to impress guests effortlessly.
Meal Prep Friendly: Make them ahead of time and store for up to three days, ensuring you always have a ready-to-enjoy treat that’s both nutritious and satisfying.
An Authentic Experience: Elevate your culinary repertoire as you explore the beautiful Japanese flavors that turn humble eggs into a gourmet experience. If you’re looking for more delicious recipe ideas, check out my Fiery Chicken Ramen for a complete meal that pairs perfectly with these eggs!
Ramen Egg Ingredients
• Ready to make scrumptious Ramen Eggs? Here’s what you’ll need!
For the Marinade
- Low Sodium Chicken Stock – Adds savory depth and enhances umami flavor; substitute with shiitake mushroom stock for a vegetarian option.
- Soy Sauce – Provides salinity and color; use dark soy sauce for deeper flavor, or gluten-free tamari for a gluten-free marinade.
- Sake – Contributes sweetness and complexity; can be replaced with mirin for a similar taste.
- Evaporated Cane Sugar – Balances savory notes with sweetness; white sugar or agave syrup can be used as substitutes.
- Ginger – Adds aromatic warmth; you can also use garlic or omit it for a milder flavor.
For the Eggs
- Large Eggs – The key ingredient for perfect texture; always use fresh eggs for easier peeling.
With this simple combination, you’re just a step away from enjoying delicious Ramen Eggs that cradle a creamy yolk and unlock umami bliss.
Step‑by‑Step Instructions for Ramen Egg
Step 1: Prepare Marinade
In a saucepan, combine 1 cup of low sodium chicken stock, ¼ cup of soy sauce, 2 tablespoons of sake, 1 tablespoon of evaporated cane sugar, and 1 teaspoon of grated ginger. Whisk the mixture well to blend the ingredients, then bring it to a gentle boil over medium heat. Allow it to boil for 2 minutes to dissolve the sugar fully, then remove from heat and let the marinade cool to room temperature.
Step 2: Cook Eggs
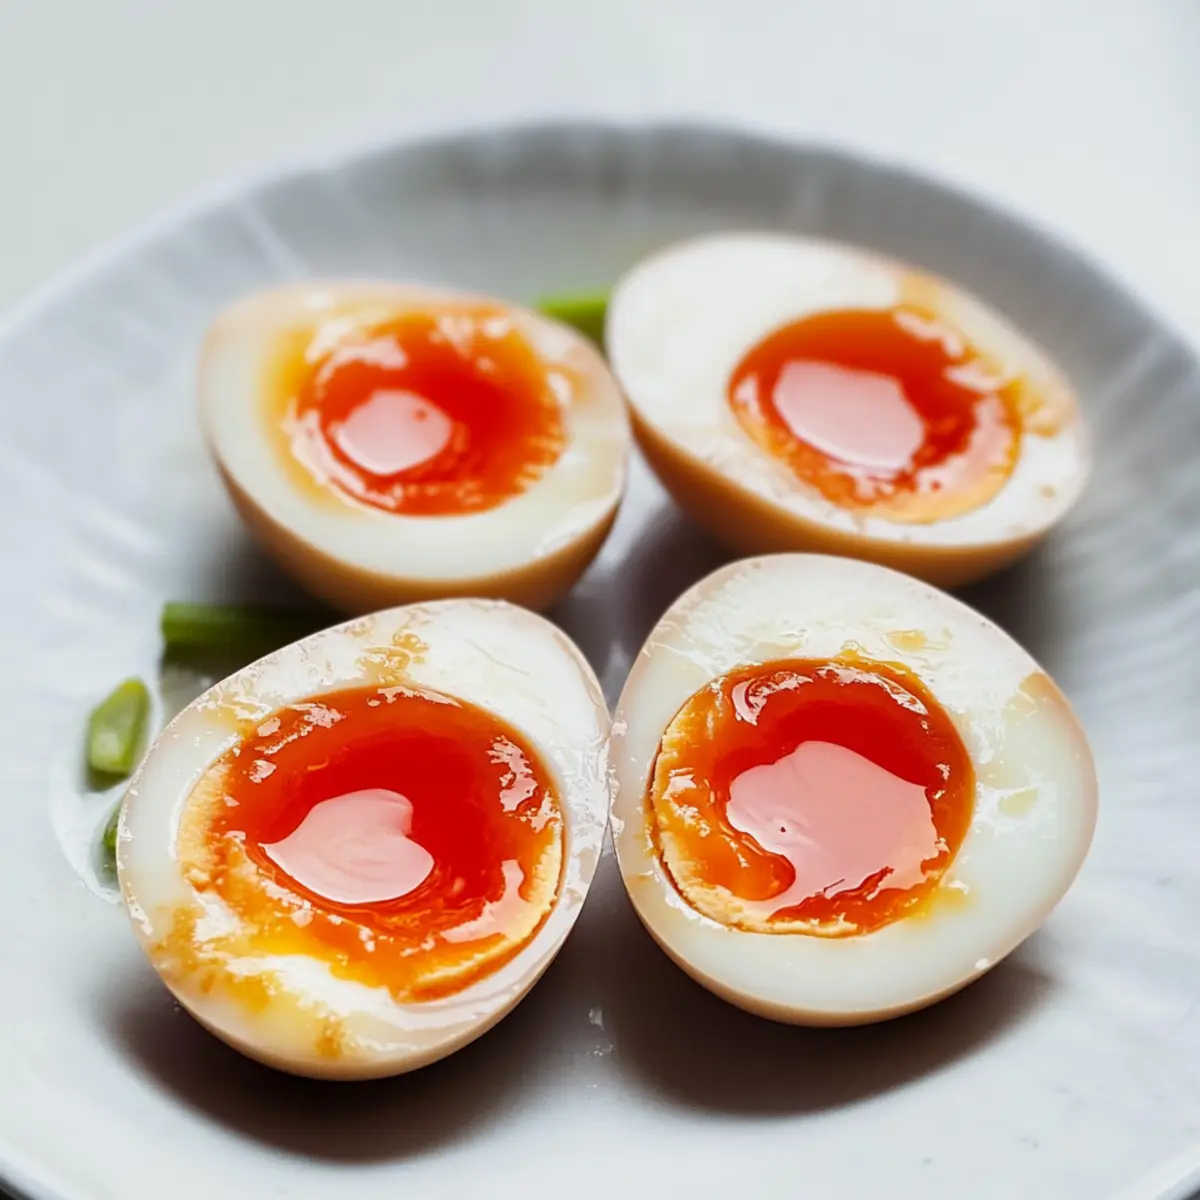
Take 4 large eggs and gently create a small divot on the bottom of each to help with peeling later. In a medium pot, carefully place the eggs and add water to cover them by about 2 inches. Bring the water to a rolling boil over high heat, then turn off the heat immediately. Set a timer for 5-6 minutes, depending on your desired level of doneness, keeping the pot covered for the best results in cooking the Ramen Eggs.
Step 3: Cool Eggs
Once the timer goes off, promptly drain the hot water from the pot. To stop the cooking process, transfer the eggs into a bowl filled with ice water or rinse them under cold running water for at least 20 minutes. This cooling method will help prevent the yolks from overcooking and promote an easy peeling process later on, while also allowing the flavors of the Ramen Eggs to develop beautifully.
Step 4: Peel Eggs
After the eggs have cooled sufficiently, gently tap them on a hard surface to crack the shells thoroughly. Start peeling from the bottom where you created the divot, as this helps remove the shell without damaging the egg white. Rinse the peeled eggs under cold water to ensure any small shell fragments are removed, leaving you with a perfectly smooth surface ready to soak in the marinade.
Step 5: Marinate Eggs
In a zip-top bag or a shallow dish, carefully place the peeled eggs and pour the cooled marinade over them. If using a bag, press out the excess air before sealing it tightly. Turn the bag occasionally to ensure the Ramen Eggs marinate evenly. Let the eggs soak in the refrigerator for 8 to 12 hours, allowing the flavors to penetrate and create that irresistible umami flavor.
Step 6: Store
After marination, transfer the Ramen Eggs to an airtight container. They can be stored in the refrigerator for up to 3 days. The leftover marinade can also be reused up to 3 times for new batches of eggs, making it a convenient and delicious addition to your meal prep. Enjoy these perfectly crafted Ramen Eggs in your favorite dishes, such as ramen or salads!
What to Serve with Authentic Japanese Ramen Eggs (Ajitama)
Creating a delightful meal is easy when you have the perfect sides to accompany your delicious ramen eggs.
-
Steamed Rice: The subtlety of fluffy rice complements the rich umami of the eggs beautifully and offers a comforting base to your meal. Enjoy it with a drizzle of soy sauce for added flavor!
-
Crispy Tempura Vegetables: This light and crunchy option brings a delightful contrast in texture, enhancing the overall dining experience with each bite.
-
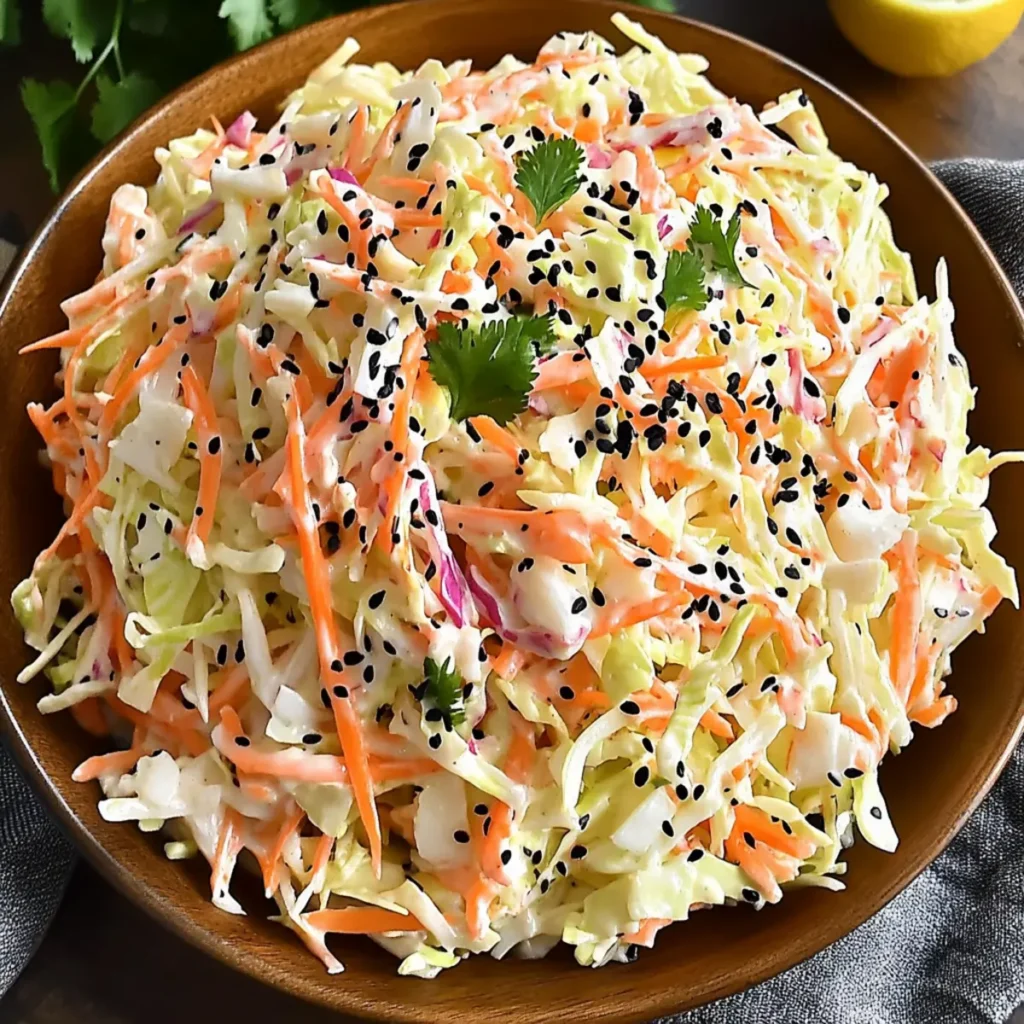
Napa Cabbage Salad: A refreshing, lightly dressed salad brings a crispness that balances the richness of ramen eggs. Toss in some sesame seeds for a nutty crunch!
-
Soy Sauce Pickled Radishes: These tangy bites offer a burst of flavor that cuts through the richness of the eggs, adding brightness to your plate.
-
Sake or Cold Green Tea: A chilled beverage like sake accentuates the umami flavors of the eggs, while green tea refreshes your palate between bites.
-
Miso Soup: The depth of flavor in miso soup pairs exceptionally well with ramen eggs, making for a hearty and comforting meal.
-
Seaweed Salad: This unique dish introduces an umami punch and a lovely texture, providing a delightful contrast to the creamy yolks.
With these pairings, you’re sure to create a meal that is not only satisfying but also celebrates the delicate, delicious flavors of ramen eggs!
Make Ahead Options
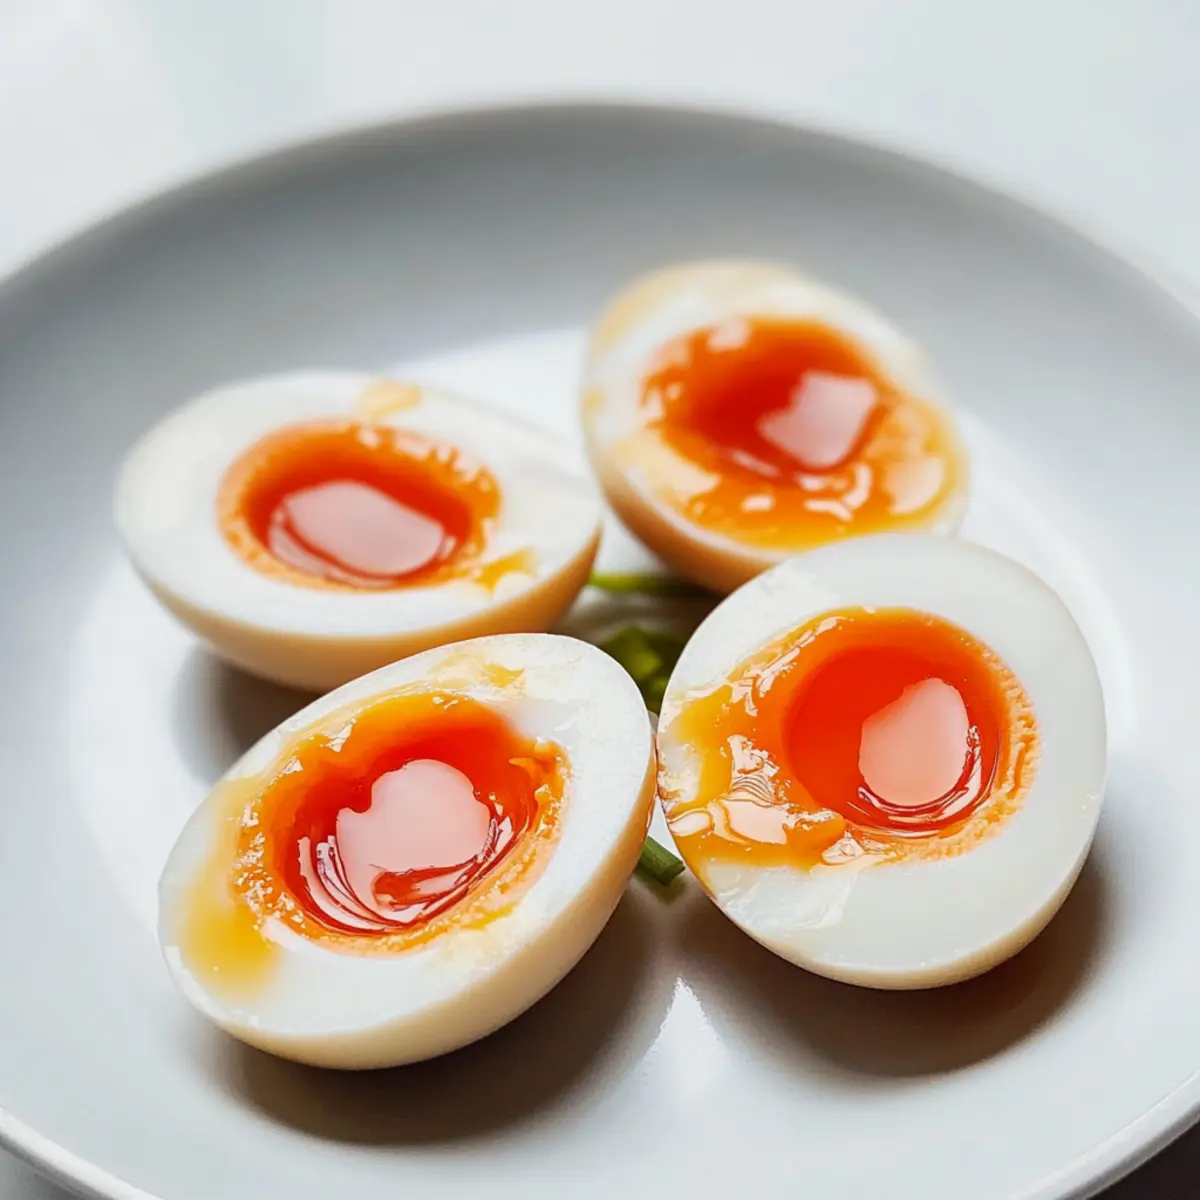
These Ramen Eggs are ideal for meal prep, saving you precious time on busy weeknights! You can cook and marinate the eggs up to 24 hours in advance; simply follow the initial steps of cooking and cooling the eggs, then proceed to marinate them for 8 to 12 hours. Once marinated, store them in an airtight container in the refrigerator for up to 3 days. To maintain their quality, keep them submerged in the marinade until you’re ready to serve. When it’s time to enjoy, simply slice the Ramen Eggs in half and place them atop your ramen or enjoy them as is. With this make-ahead tip, you’ll have a gourmet treat ready with minimal effort!
Ramen Egg Variations & Substitutions
Discover delightful twists for your Ramen Eggs to make them your own!
- Dairy-Free: Replace any chicken stock with vegetable stock to maintain a rich flavor while keeping it plant-based.
- Spicy Option: Add a teaspoon of chili oil or a sprinkle of red pepper flakes to the marinade for a fiery kick!
- Herbaceous Touch: Include fresh herbs like scallions or cilantro in the marinade for an extra burst of freshness.
- Umami Boost: Incorporate dried shiitake mushrooms in your stock for a deeper, more intense umami flavor profile.
- Sweet Alternatives: Swap evaporated cane sugar with maple syrup or honey for a unique sweetness that complements the savory notes perfectly.
- Aromatic Spice: Infuse your marinade with star anise or five-spice powder to add a complex, warm flavor that the family will love.
- Vegan Friendly: Use tofu or chickpea eggs instead of chicken eggs, marinating them similarly for a plant-based treat.
- On-The-Go Snack: Cut marinated eggs in half and serve them atop rice cakes for a quick and satisfying snack that’s bursting with flavor.
If you’re looking for more delightful recipes like my Keto Cobb Egg, these variations will keep your meals exciting and add layers of flavor to your dishes!
How to Store and Freeze Ramen Eggs
- Fridge: After marinating, keep Ramen Eggs in an airtight container in the refrigerator for up to 3 days. This keeps them fresh and flavorful for your meals.
- Freezer: For longer storage, place unpeeled Ramen Eggs in a freezer-safe container. They can be frozen for up to 2 months; however, the texture may change after thawing.
- Reheating: To enjoy frozen Ramen Eggs, thaw them in the refrigerator overnight. Reheat gently in warm water, ensuring not to overcook and lose that delicious creamy yolk.
- Marinade Storage: The marinade can be reused up to 3 times for new batches of eggs, allowing you to savor that umami goodness while reducing waste.
Expert Tips for Ramen Eggs
- Perfect Timing: Ensure your cooking time is precise, adjusting for egg size and initial temperature to achieve that desirable jammy yolk in your Ramen Egg.
- Easy Peeling: Create a small divot on the bottom of each egg before cooking to help separate the membrane from the shell for easy peeling.
- Marination Magic: Gently swish the eggs in the marinade bag during the marination process to ensure a flavorful, even soak for your Ramen Eggs.
- Cooling Method: Use an ice water bath immediately after cooking to halt the cooking process and maintain the creamy yolk texture.
- Sustainable Marinade: Don’t toss your marinade! It can be reused up to three times for more Ramen Eggs, making each batch both economical and delicious.
Ramen Eggs (Ajitama) Recipe FAQs
How do I select the best eggs for Ramen Eggs?
Absolutely! When making Ramen Eggs, always choose fresh large eggs for the best texture, as they will peel more easily after boiling. Look for eggs that are well within their expiration date and avoid any with dark spots or cracks on the shells, which can indicate spoilage.
How should I store my Ramen Eggs after marinating?
Very good question! After marinating, place your Ramen Eggs in an airtight container in the refrigerator, where they can stay fresh for up to 3 days. Make sure the lid is tightly sealed to maintain their flavor and texture, ensuring you can enjoy them later.
Can I freeze Ramen Eggs?
Absolutely! You can freeze unpeeled Ramen Eggs in a freezer-safe container for up to 2 months. To freeze, be sure to place them in a single layer and avoid any excess moisture. When you’re ready to enjoy them, thaw the eggs in the refrigerator overnight and then reheat gently by placing them in warm water for just a few minutes.
What should I do if my eggs are hard to peel?
If you’re having trouble peeling your Ramen Eggs, don’t worry! Next time, create a small divot on the bottom of each egg before cooking to help break the air pocket inside, which makes peeling easier. Additionally, if you still struggle, try peeling the eggs under running water to remove stubborn bits of shell.
Are Ramen Eggs safe for my dog?
It’s best to be cautious! While eggs are generally nutritious for dogs, Ramen Eggs contain added soy sauce and marinade, which may not be ideal due to their salt content. If you’d like to share a treat with your canine friend, consider boiling a plain egg without any seasoning instead. Always consult your vet if you have any concerns!
Can I use a different marinade for Ramen Eggs?
Absolutely! If you’re looking to mix things up, you can experiment with different marinades. For instance, try using mushroom stock instead of chicken stock for a vegetarian option, or add spices like star anise or even a pinch of chili flakes for a spicy kick. The more variations, the merrier!
Perfect Ramen Egg Recipe for Creamy Delights at Home
Ingredients
Equipment
Method
- In a saucepan, combine 1 cup of low sodium chicken stock, ¼ cup of soy sauce, 2 tablespoons of sake, 1 tablespoon of evaporated cane sugar, and 1 teaspoon of grated ginger. Whisk to blend and bring to a gentle boil. Allow to boil for 2 minutes and then let cool.
- Gently create a small divot on the bottom of each egg. In a medium pot, add the eggs and cover with water by about 2 inches. Bring to a rolling boil and turn off heat, covering the pot. Set a timer for 5-6 minutes.
- Once the timer goes off, drain the hot water and transfer the eggs to a bowl filled with ice water for at least 20 minutes to stop the cooking process.
- Gently tap the eggs on a hard surface to crack the shells. Start peeling from the bottom to remove the shell easily. Rinse the peeled eggs under cold water.
- In a zip-top bag or shallow dish, place the peeled eggs and pour the cooled marinade over them. Seal and let marinate in the refrigerator for 8 to 12 hours.
- After marination, transfer the Ramen Eggs to an airtight container. They can be stored in the refrigerator for up to 3 days.