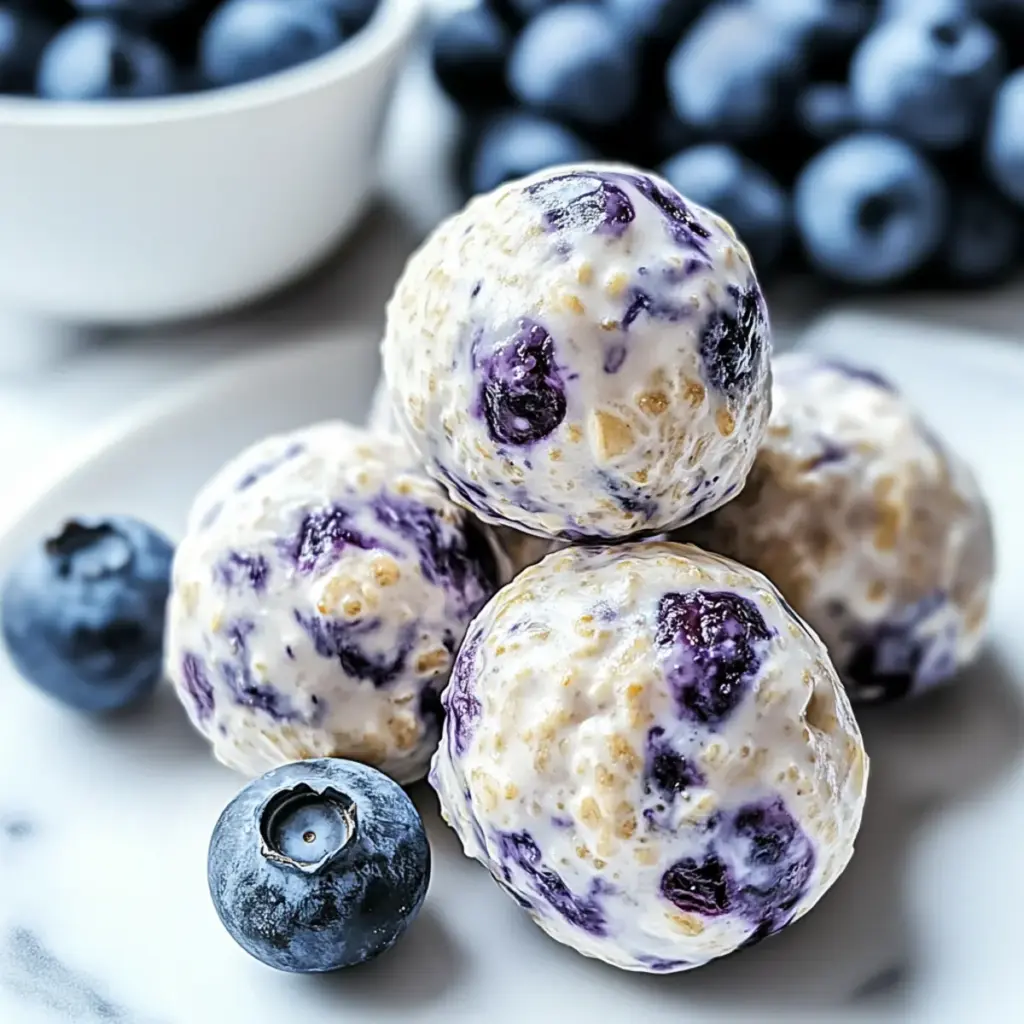
As I rummaged through my pantry one day, I stumbled upon a lonely jar of peanut butter, and an idea sparked. I could whip up a batch of No-Bake Protein Balls that not only satisfy my sweet tooth but also provide a healthy dose of energy! With a nutty flavor and chewy texture, these delightful bites come together in mere minutes, making them the ultimate quick snack for busy days or a post-workout booster. Plus, they’re perfect for meal prepping, allowing you to keep a nutritious treat on hand whenever cravings hit. So, are you ready to transform simple ingredients into something truly delicious? Let’s dive in!
Why are Protein Balls a Game Changer?
Quick and Easy: Prepare these Protein Balls in just minutes, making them a perfect solution for busy schedules!
Nutritious and Satisfying: Packed with protein-rich ingredients, they not only curb cravings but also provide lasting energy.
Customizable Options: Feel free to tweak the recipe; swap peanut butter for almond butter or throw in dried fruits for extra flavor.
Mess-Free Snacking: No baking is required—just mix, roll, and refrigerate for delectable energy bites that are ready whenever you are.
Guilt-Free Indulgence: With only 110 calories and 5g of protein per ball, they’re a healthy alternative to traditional snacks or fast food. Whether you’re in need of a post-workout treat or a quick pick-me-up during the day, these bites are sure to delight! If you’re looking for more delicious ideas, check out our Chocolate Protein Pudding or the Cobb Egg Salad for nutritious inspirations.
Protein Balls Ingredients
For the Base
• Rolled Oats – Provides the base and gives structure; you can substitute with gluten-free oats if needed.
• Natural Peanut Butter – Adds creaminess and protein; feel free to swap for almond or sunflower seed butter.
• Honey or Maple Syrup – Acts as a sweetener and binds the ingredients; agave syrup works well for a vegan option.
For Flavor and Texture
• Vanilla Protein Powder – Increases protein content and can be any flavor that tickles your taste buds.
• Chia Seeds – Adds omega-3 fatty acids, fiber, and texture; flaxseeds can serve as a nice substitute.
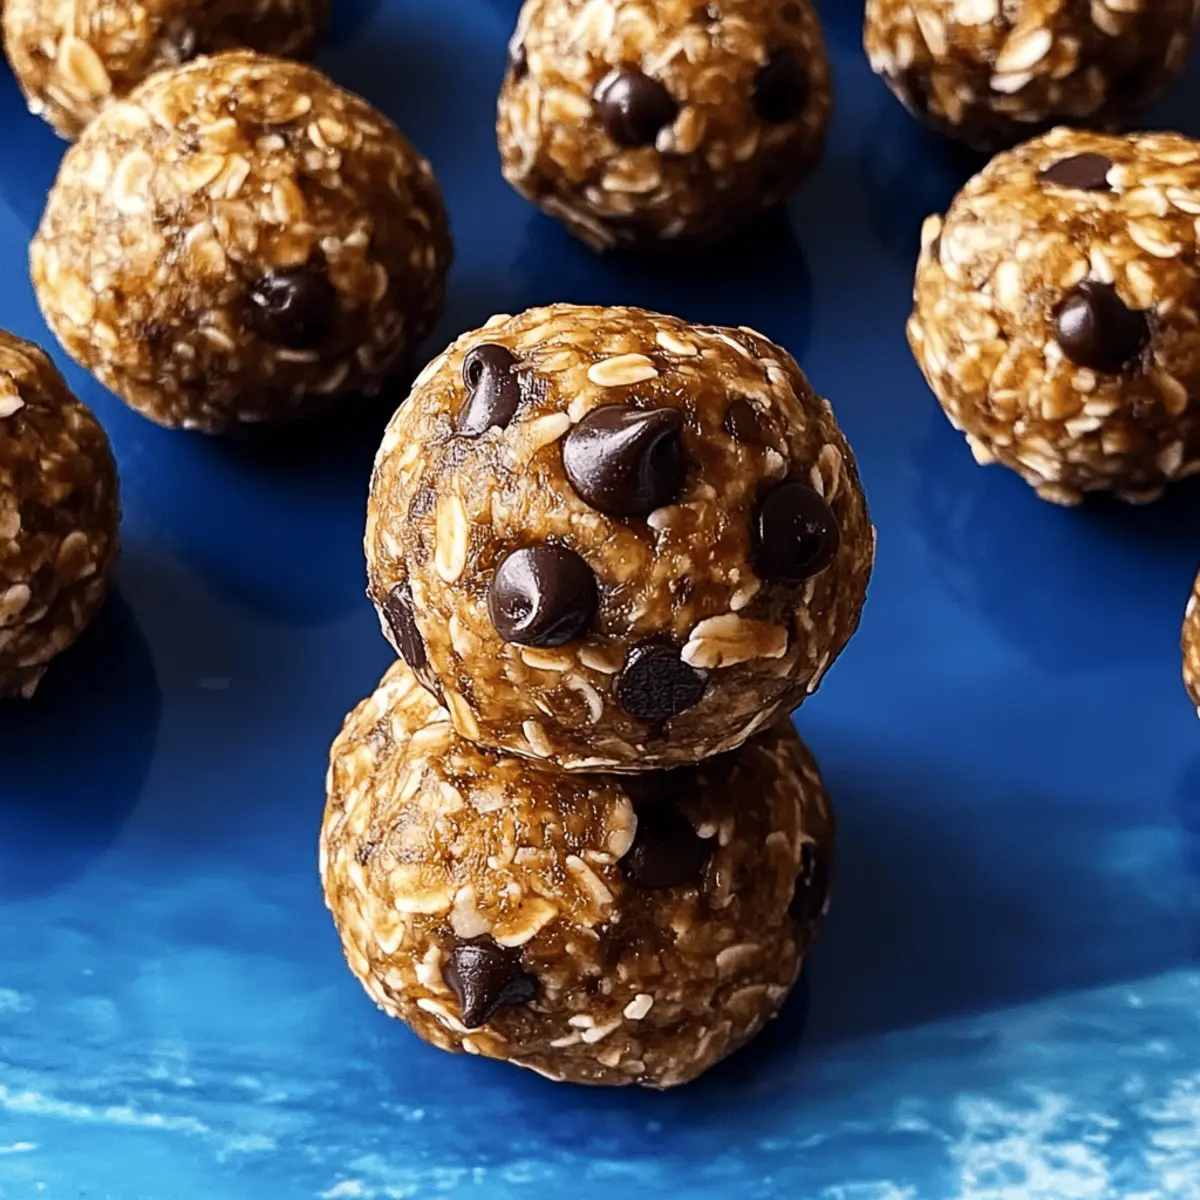
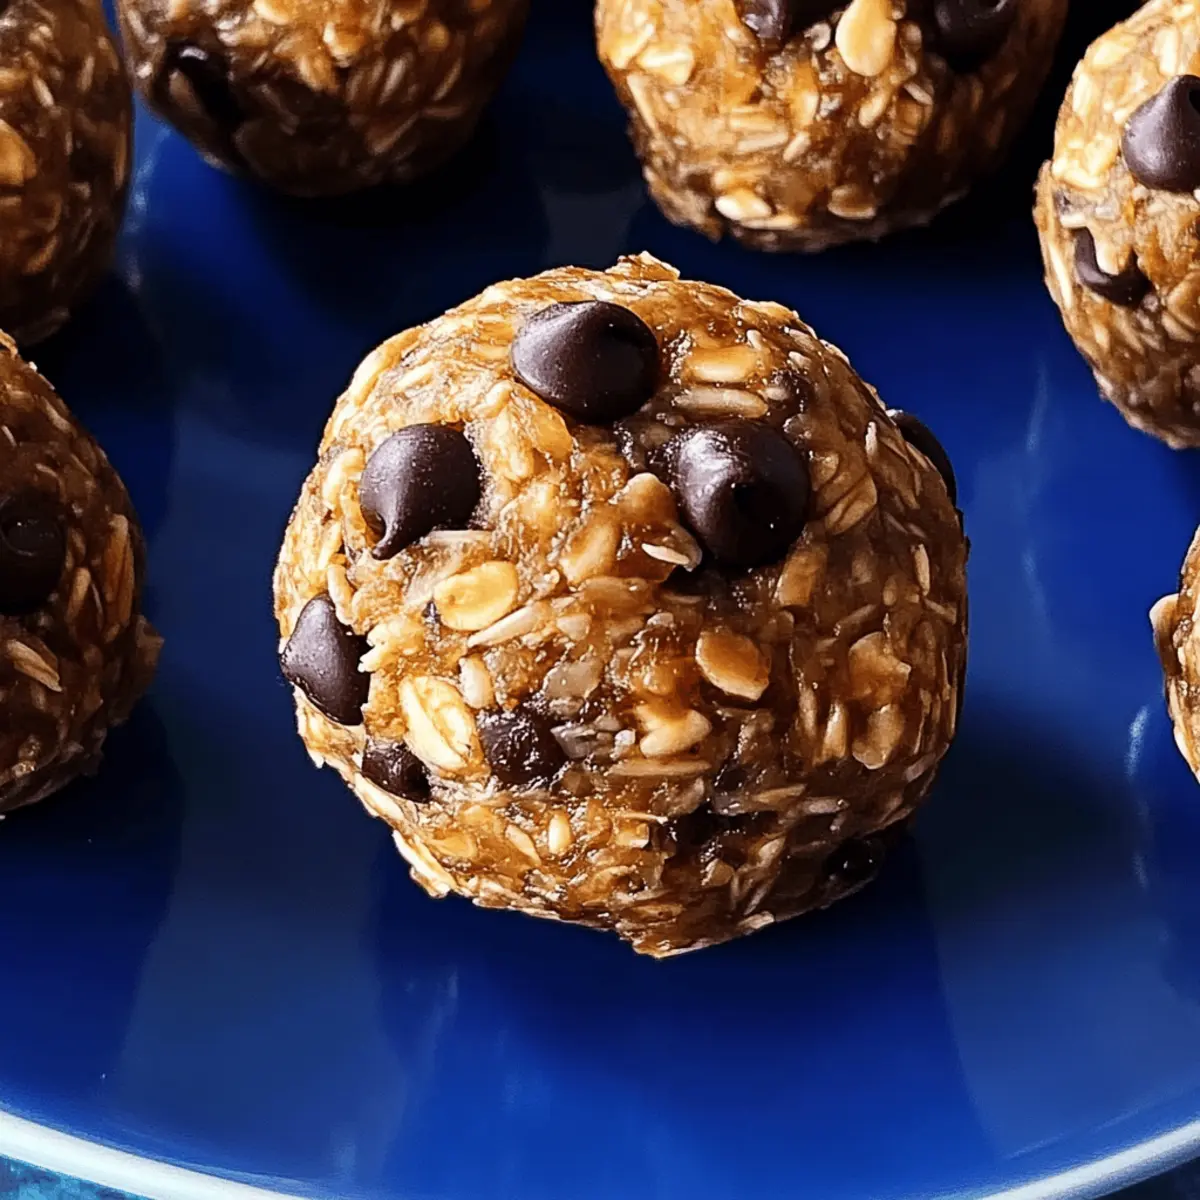
• Mini Chocolate Chips – For that touch of sweetness and chocolate flavor; consider using dark chocolate or carob chips.
• Vanilla Extract – Enhances the overall flavor; opt for pure vanilla for the best results.
• Pinch of Salt – Balances the flavors for a deliciously satisfying bite.
These Protein Balls come together easily with pantry staples! Enjoy crafting these delightful energy bites!
Step‑by‑Step Instructions for No-Bake Protein Balls
Step 1: Mix the Dry Ingredients
In a large mixing bowl, add 1 cup of rolled oats, 1 scoop of vanilla protein powder, 2 tablespoons of chia seeds, and a pinch of salt. Use a whisk to combine the ingredients thoroughly until they are well-mixed and the oats are coated. This should only take about 1-2 minutes. Set the bowl aside while you prepare the wet ingredients.
Step 2: Combine the Wet Ingredients
In a separate bowl, mix together 1/2 cup of natural peanut butter, 1/4 cup of honey (or maple syrup), and 1 teaspoon of vanilla extract. Stir these ingredients well for about 1-2 minutes until they form a smooth and creamy mixture. This should have a warming, nutty aroma that brings excitement for your upcoming No-Bake Protein Balls.
Step 3: Form a Sticky Dough
Pour the wet mixture into the bowl containing the dry ingredients. Using a spatula or wooden spoon, fold the ingredients together for about 3-5 minutes until a sticky dough forms. If the mixture seems too dry, add a splash of milk or a bit more honey. The dough should be slightly sticky but hold together well.
Step 4: Add Chocolate Chips
Once your protein ball mixture is cohesive, gently fold in 1/2 cup of mini chocolate chips evenly throughout the dough. Make sure each bite gets a touch of sweetness by spreading the chocolate chips thoroughly. This step enhances the flavor and texture, making the No-Bake Protein Balls even more delightful.
Step 5: Shape the Balls
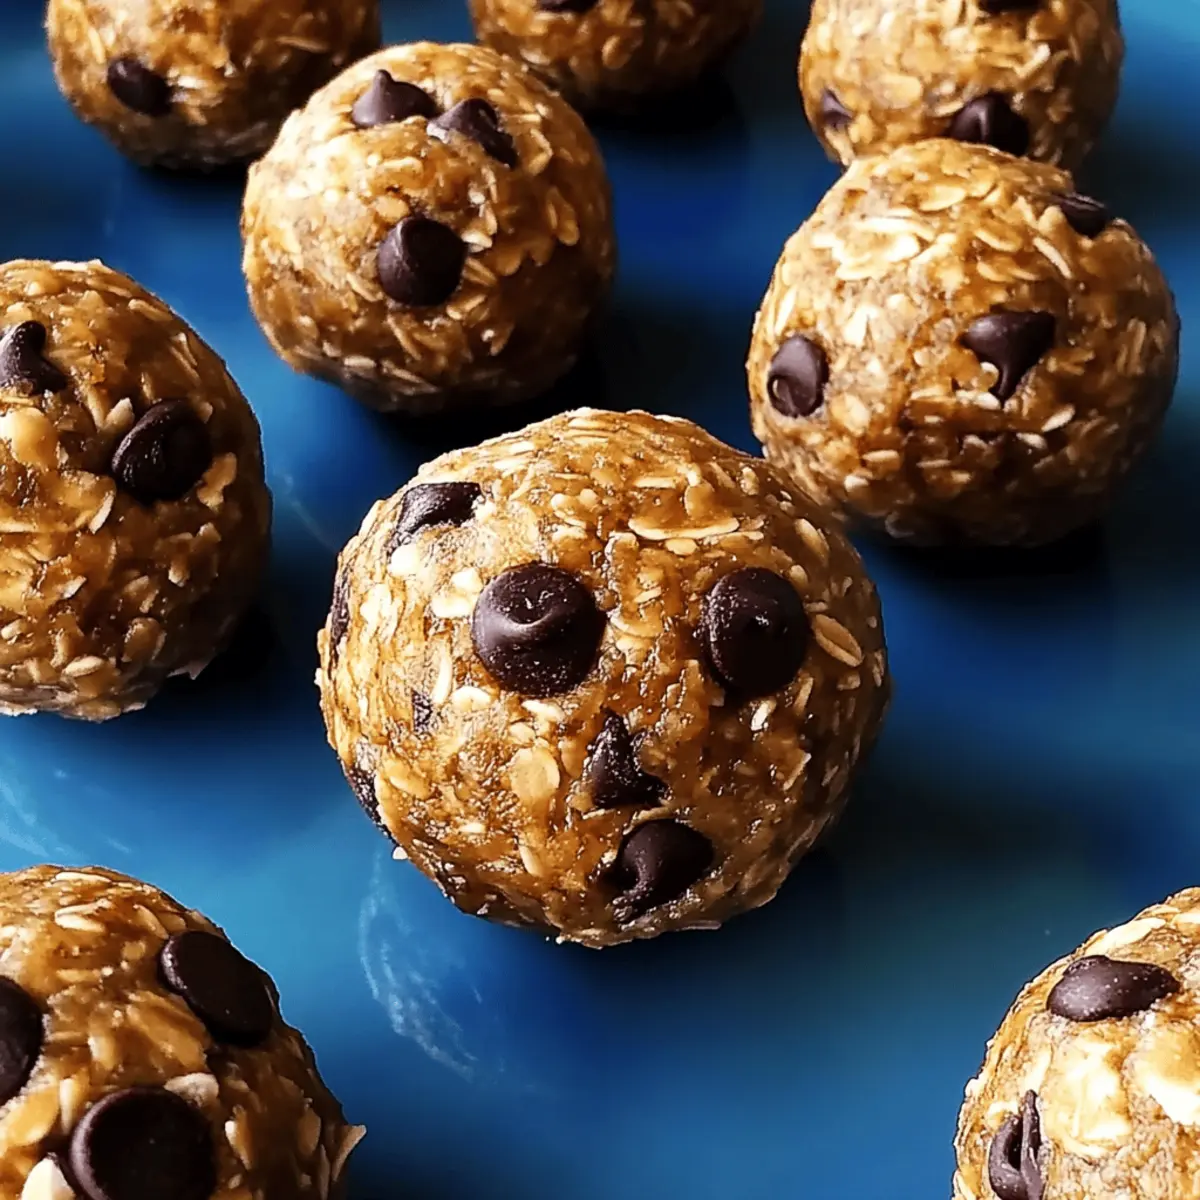
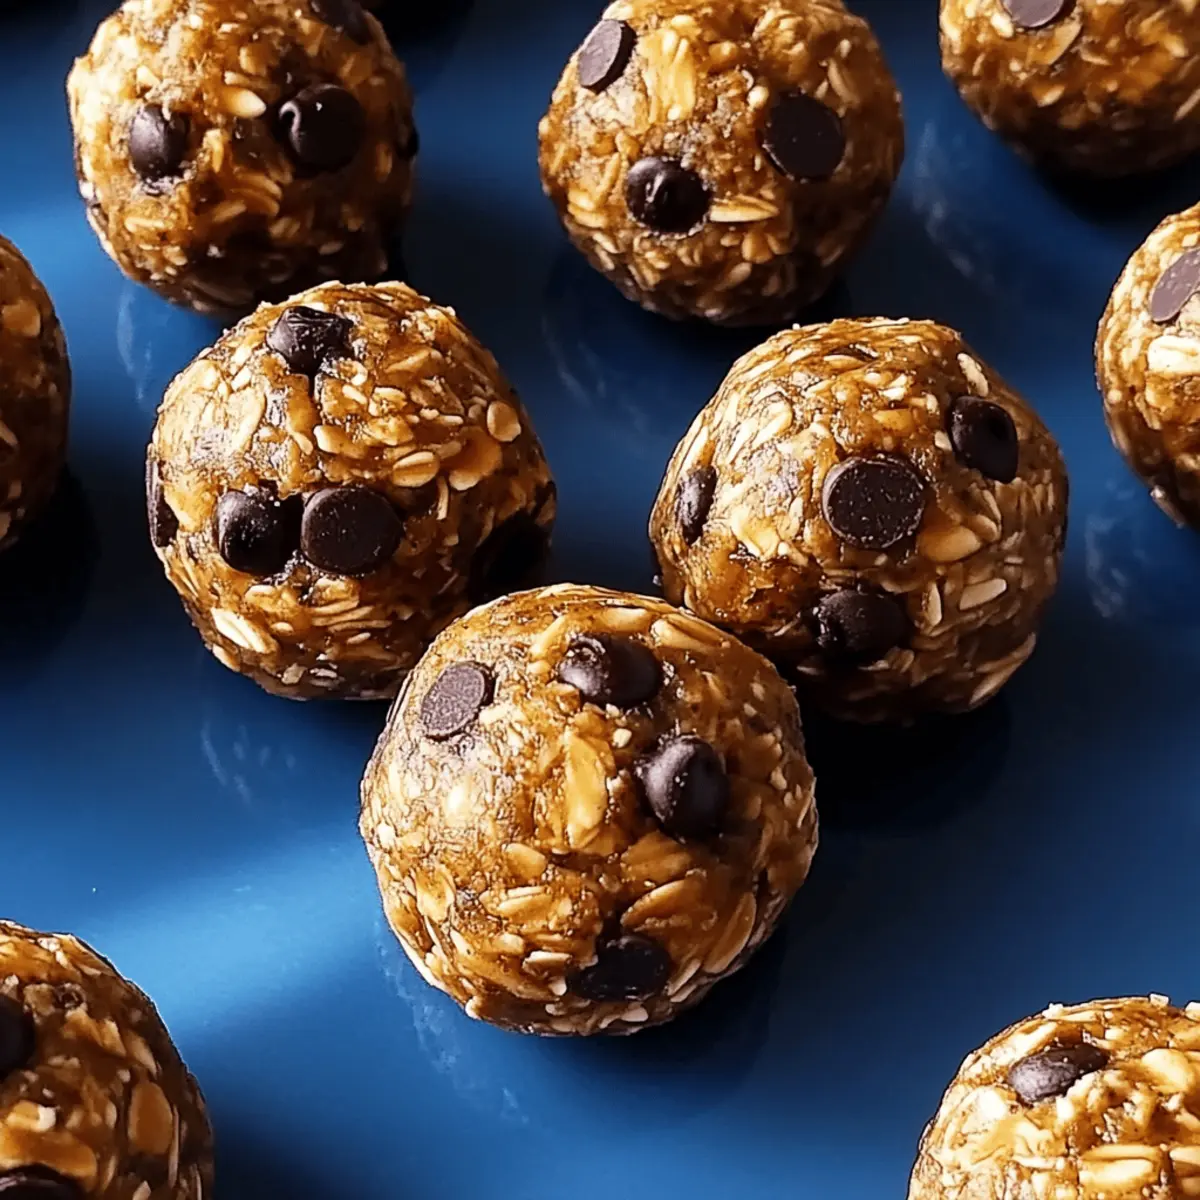
Using a tablespoon or cookie scoop, portion the dough and roll it into 1-inch balls with your hands. This step should take about 5 minutes. Place the shaped protein balls onto a parchment-lined baking sheet, ensuring they are spaced evenly to keep them from sticking together as they chill.
Step 6: Refrigerate to Set
Once all the protein balls are shaped, place the baking sheet in the refrigerator for at least 30 minutes. This will allow the No-Bake Protein Balls to firm up, making them easier to handle. You should check them occasionally, as they will firm up nicely and become delightfully chewy.
Step 7: Serve or Store
After chilling, your No-Bake Protein Balls are ready to enjoy! Keep them in an airtight container in the fridge for up to a week, or freeze them for future snacking. These bites are perfect on-the-go, providing a nutritious boost any time you need it!
Protein Balls: Flavorful Customization Tips
Dive into the world of creativity with your Protein Balls, as endless variations await to tantalize your taste buds!
- Nut Butter Swap: Try almond butter or sunflower seed butter for a delightful twist on flavor.
- Sweetener Options: Replace honey or maple syrup with agave for a vegan-friendly sweetness.
- Add-Ins Galore: Toss in dried fruits like cranberries or raisins for bursts of chewiness and natural sweetness. These fruits also add vibrant colors!
- Nutty Crunch: Incorporate chopped nuts such as almonds or walnuts for an extra crunch and healthy fats. This contrast adds a satisfying texture!
- Superfood Boost: Mix in protein-packed seeds like hemp or pumpkin seeds for an additional nutrient kick. Adding these ingredients enhances both flavor and health benefits.
- Cocoa Boost: For chocolate lovers, swap mini chocolate chips with cocoa nibs for a richer chocolate essence, or add unsweetened cocoa powder for a deeper cocoa flavor.
- Spice It Up: A dash of cinnamon or a scoop of nutmeg can elevate the taste profile, giving these protein bites an aromatic kick. It’s a simple way to impress your guests!
- Vegan Delight: To create a vegan version, ensure that your protein powder and sweetener align with your dietary preferences, letting you enjoy nutritious snacks without compromise.
Whichever variation you choose, each bite of these Protein Balls will reflect your personal touch. For more delicious ideas to inspire your cooking, check out our Chocolate Protein Pudding or the refreshing Cobb Egg Salad for more wholesome enjoyment!
Helpful Tricks for Protein Balls
-
Avoid Crumbliness: If your mixture is too dry, gradually add more peanut butter or honey until it holds together. This will ensure your Protein Balls are chewy and satisfying.
-
Chocolate Chip Distribution: Make sure to fold in the mini chocolate chips evenly. This prevents clumping, ensuring each bite is sweet and delicious.
-
Perfect Portions: Use a tablespoon or cookie scoop for consistent sizing. This helps with even chilling and makes for beautifully uniform Protein Balls.
-
Chill Time: Give the balls plenty of time in the refrigerator. Chilling for at least 30 minutes allows them to firm up, making them easier to handle and enjoy!
-
Storage Tips: Keep your protein balls in an airtight container in the fridge for up to a week, or freeze them for up to 3 months. Thaw in the fridge for a quick, nutritious snack!
How to Store and Freeze Protein Balls
Fridge: Keep your protein balls in an airtight container in the fridge for up to 7 days, ensuring they remain fresh and chewy.
Freezer: For longer storage, freeze the protein balls in a freezer-safe container for up to 3 months. This way, you can always have a nutritious snack on hand!
Thawing: When ready to enjoy, simply transfer the frozen protein balls to the fridge and let them thaw overnight for a quick snack the next day.
Reheating: If you prefer a softer texture, microwave individual protein balls for 10-15 seconds before eating, enhancing the experience of this delightful treat!
Make Ahead Options
These No-Bake Protein Balls are perfect for meal prep, allowing you to enjoy healthy snacks throughout the week without the hassle! You can prepare the mixture and roll it into balls up to 24 hours in advance; simply store them in an airtight container in the fridge to maintain freshness. If you’re looking to save even more time, you could also refrigerate the mixture (before rolling) for up to 3 days. To finish, simply roll the chilled mixture into balls and enjoy; they’ll be just as delicious and satisfying! This way, you can always have a nutritious and energizing snack ready to go for busy days or post-workout fuel.
What to Serve with No-Bake Protein Balls
These delightful energy bites are not just for snacking; they can elevate your meal game effortlessly.
-
Fresh Fruit Salad: A colorful mix of seasonal fruits adds a refreshing contrast and just the right amount of sweetness alongside your protein-rich snacks.
-
Nutty Granola: The crunchy texture and wholesome ingredients provide a satisfying crunch, making a perfect contrast to the chewy protein balls.
-
Creamy Yogurt Parfait: Layering these protein balls with yogurt and berries forms a delicious parfait that’s both nutritious and eye-catching!
-
Hummus and Veggies: Serve these protein balls with a plate of colorful veggies dipped in creamy hummus for a balanced, healthful snacking experience.
-
Chia Seed Pudding: Serve protein balls alongside a creamy chia seed pudding, offering enhanced texture, fiber, and a wonderful complement to their flavor.
-
Herbal Iced Tea: A refreshing glass of herbal iced tea pairs beautifully, providing a light and revitalizing drink option to accompany your snacks.
No-Bake Protein Balls Recipe FAQs
How do I choose the right ingredients for my Protein Balls?
Absolutely! When selecting rolled oats, look for ones that are whole and not overly processed. For nut butters, choose natural options without added sugars or oils for the healthiest choice. Make sure your honey or syrup is pure as well—sometimes, these contain added ingredients that can alter the taste.
How should I store these Protein Balls?
Keep your Protein Balls in an airtight container in the fridge, and they will remain fresh for up to 7 days. This will help maintain their chewy texture. If you’re looking to store them for a longer period, freeze them! Just place them in a freezer-safe container, and they can last up to 3 months.
Can I freeze my Protein Balls, and how should I do it?
Absolutely! To freeze your Protein Balls, first, let them set in the fridge for about 30 minutes. Once they are firm, transfer them to a single layer in a freezer-safe container. Separate layers with parchment paper to prevent sticking. When you’re ready to enjoy, take them out and thaw in the refrigerator overnight.
What should I do if my mixture is too crumbly?
No worries! If your dough feels crumbly, simply add a bit more peanut butter or honey. Start with a tablespoon at a time and mix thoroughly until the dough holds together nicely. If you’d like a softer texture, you can also add a splash of milk, which helps bind everything together.
Are there any dietary considerations I should be aware of when making Protein Balls?
Indeed! If you or someone you’re serving has nut allergies, feel free to replace the nut butter with sunflower seed butter. For vegan options, opt for maple syrup instead of honey and ensure your protein powder is plant-based. Always check labels for allergens in ingredients like chocolate chips and flavorings, especially if serving to kids.
Protein Balls: Irresistibly Chewy, Nutritious Energy Bites
Ingredients
Equipment
Method
- In a large mixing bowl, add rolled oats, protein powder, chia seeds, and a pinch of salt. Whisk to combine.
- In another bowl, mix peanut butter, honey (or maple syrup), and vanilla extract until smooth.
- Pour the wet mixture into the dry ingredients, folding them together until a sticky dough forms.
- Fold in mini chocolate chips evenly throughout the dough.
- Using a cookie scoop, portion the dough and roll it into 1-inch balls.
- Place the protein balls on a parchment-lined baking sheet and refrigerate for at least 30 minutes.
- Once set, enjoy immediately or store in an airtight container in the fridge or freezer.