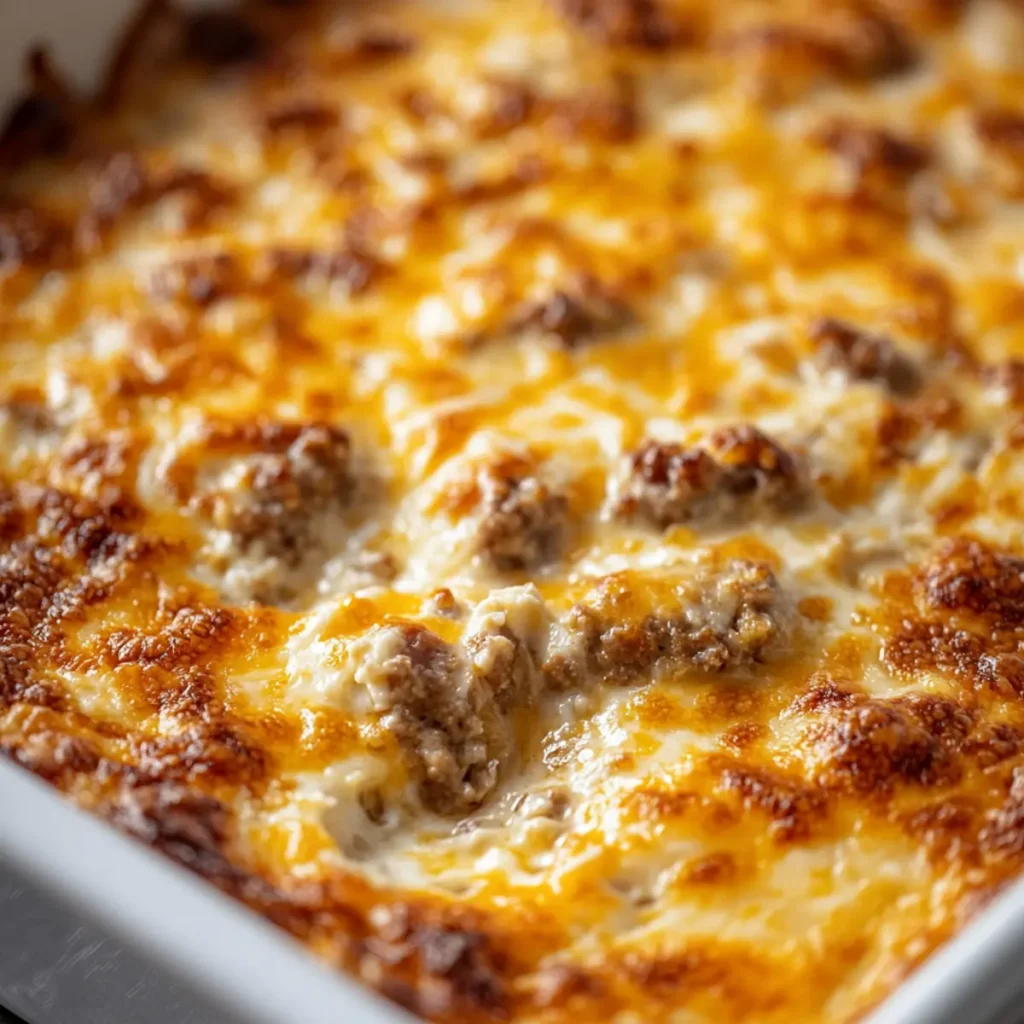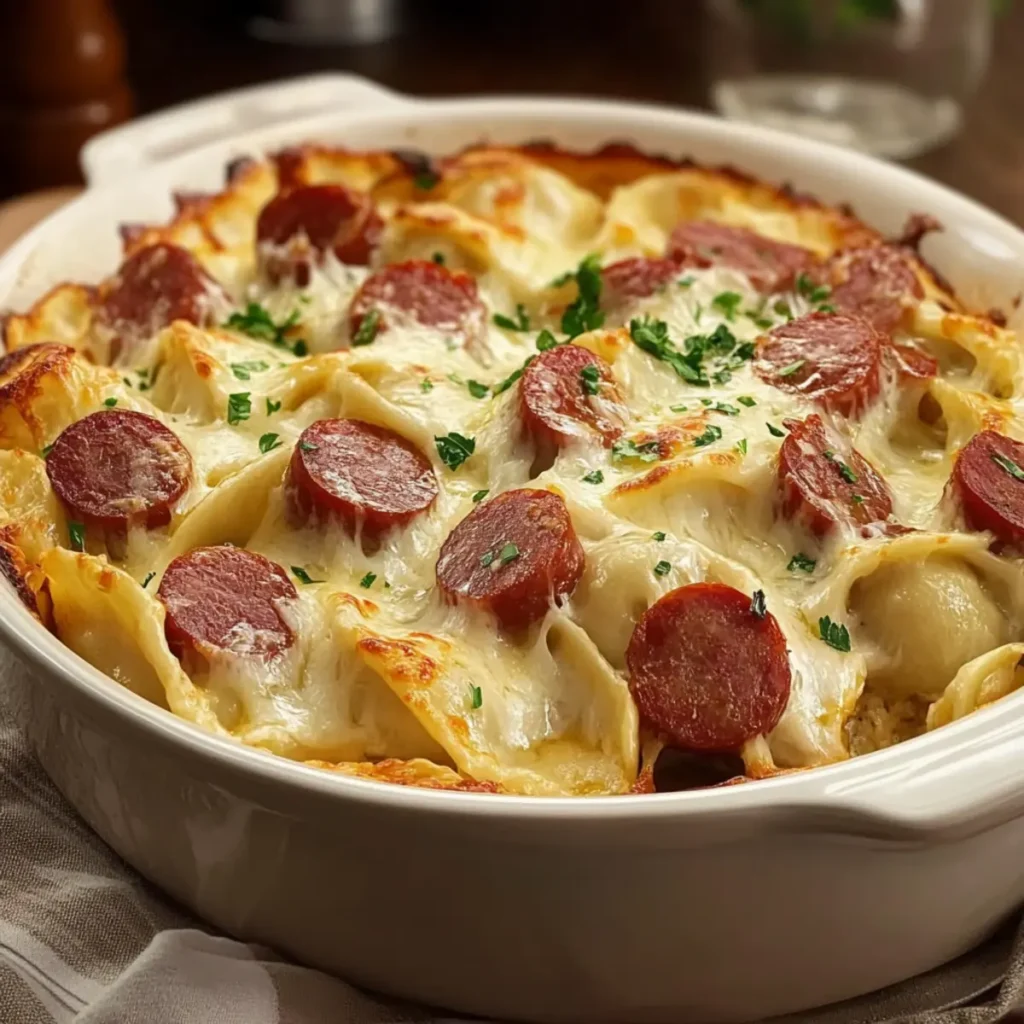
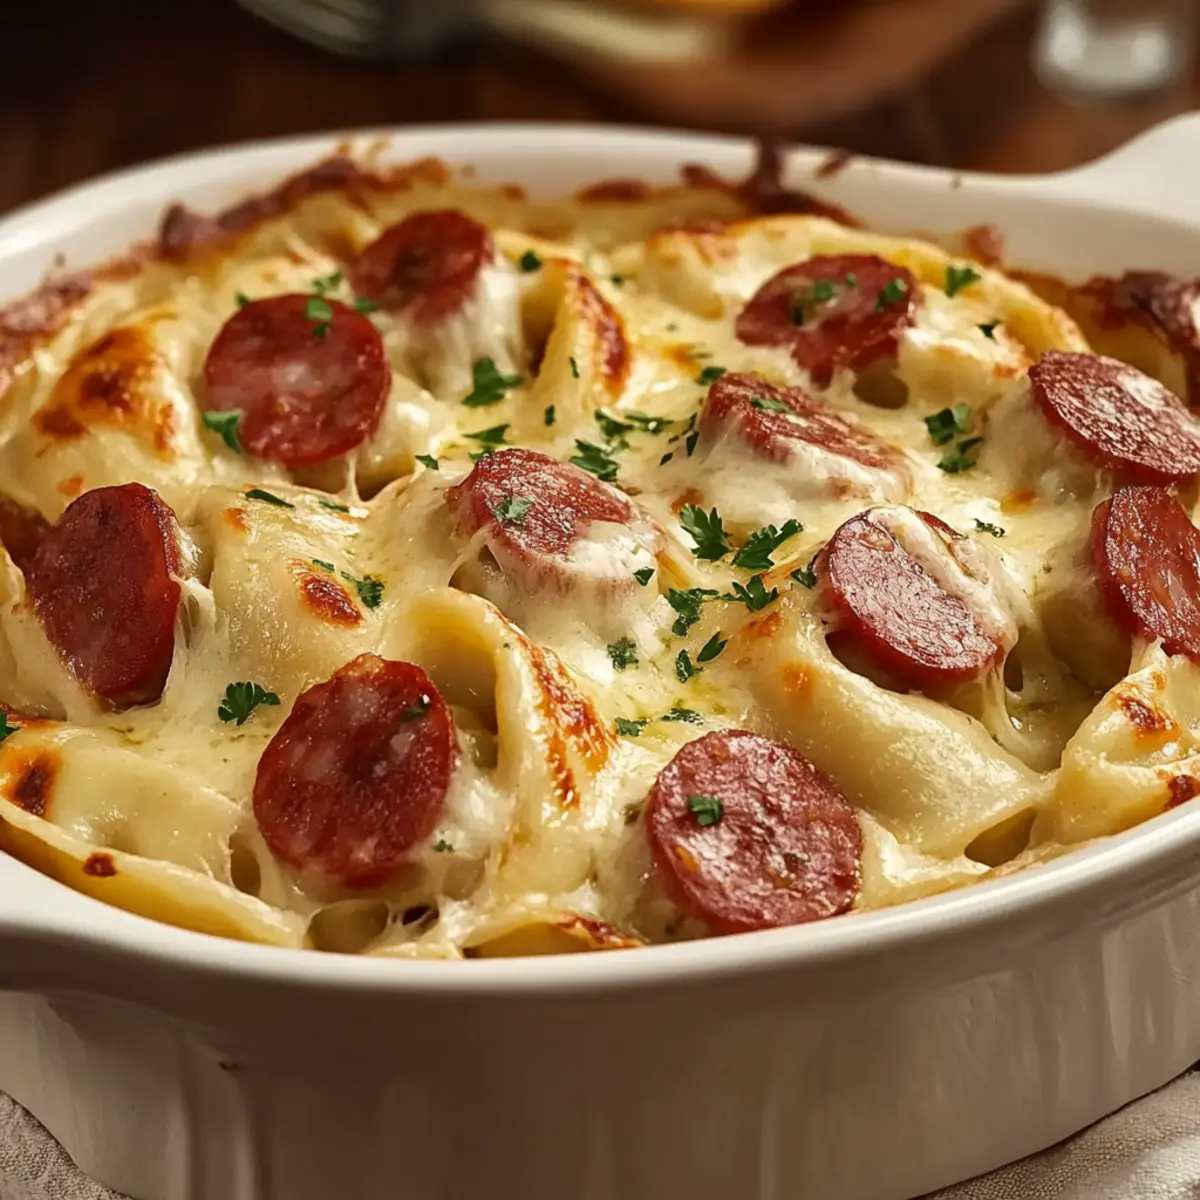
In the midst of a chillier season, the rich and heartwarming aroma of Kielbasa and Pierogi Bake brings instant comfort and nostalgia. This delightful dish showcases the perfect blend of cheesy pierogies and smoky kielbasa, all enveloped in a creamy, zesty sauce that dances on the palate. What I love most about this one-dish meal is how effortlessly it caters to everyone—whether you’re hosting family game night or simply seeking a cozy dinner after a long day. Plus, it can easily accommodate different dietary preferences, making it a versatile favorite. As you dive into this crowd-pleaser, I guarantee you’ll find yourself planning to make it again and again. Ready to whip up a little magic in your kitchen? Let’s get started!
Why is this recipe a must-try?
Comforting and Familiar: This Kielbasa and Pierogi Bake brings warmth and nostalgia, perfect for cozy family dinners.
One-Dish Wonder: Enjoy a delicious meal without the hassle of multiple pots and pans—just layer and bake!
Customizable: Easily adapt for dietary needs, whether you prefer vegetarian options or different cheese varieties.
Quick Prep Time: With minimal prep involved, you’ll have a comforting meal ready in no time after a busy day.
Crowd-Pleasing Flavor: The rich blend of smokiness and creaminess makes this dish a guaranteed hit with family and friends. For another hearty meal idea, check out Baked Teriyaki Salmon or consider a sweet treat like Baked Apple Fritters.
Kielbasa and Pierogi Bake Ingredients
For the Bake
- Pierogies – Frozen pierogies are a convenient choice that retains flavor and texture.
- Kielbasa – This smoky sausage adds a rich, savory depth; consider meat-free sausage for a vegetarian alternative.
- Cream Cheese – Provides creaminess and a tangy kick; opt for low-fat cream cheese if you’re looking for a lighter version.
- Sour Cream – Enhances richness and tang; feel free to use low-fat sour cream as a substitute.
- Onions – Sautéed onions add sweetness and depth; you can also use shallots for a milder taste.
- Cheddar Cheese – A classic, creamy topping; experiment with gouda or Monterey Jack for a delicious twist.
- Parsley – Fresh parsley brightens up the dish; chives work well as a tasty substitute too.
Optional Toppings
- Breadcrumbs – Sprinkling a breadcrumb topping before broiling adds a satisfying crunch.
- Additional Cheese – Feel free to mix in different types of cheese for an extra burst of flavor in your Kielbasa and Pierogi Bake.
Each ingredient plays a role in making this dish come together wonderfully, ensuring each bite is loaded with comfort and joy.
Step‑by‑Step Instructions for Kielbasa and Pierogi Bake
Step 1: Preheat the Oven
Begin this comforting Kielbasa and Pierogi Bake by preheating your oven to 350°F (175°C). This ensures an even cooking temperature throughout the dish. While the oven warms up, you can gather your ingredients and get ready to create your warming one-dish meal.
Step 2: Sauté the Onions
In a medium skillet over medium heat, add a touch of oil and toss in your chopped onions. Cook them for 6–8 minutes, stirring often until they turn golden and caramelized. This step infuses the dish with sweetness and depth, laying a delightful foundation for your Kielbasa and Pierogi Bake.
Step 3: Prepare the Baking Dish
Grab a large baking dish and layer the frozen pierogies across the bottom. Next, slice your kielbasa into bite-sized pieces and evenly distribute them over the pierogies. The layering creates a beautiful base for the bake, combining rich flavors and textures right from the start.
Step 4: Mix the Creamy Topping
In a bowl, combine the cream cheese, sour cream, and your preferred seasonings. Mix vigorously until smooth and creamy. Spread this luscious mixture generously over the layered pierogies and kielbasa, ensuring every corner is covered. This will create a tangy, creamy topping that enhances the dish beautifully.
Step 5: Add the Cheese
Sprinkle a generous layer of shredded cheddar cheese over the creamy topping. Not only does this provide delicious melty goodness, but it also gives your Kielbasa and Pierogi Bake that appetizing golden crust. Feel free to use your favorite cheese blend to elevate the flavor.
Step 6: Bake Covered
Cover the baking dish tightly with aluminum foil and place it in the preheated oven. Bake for 25–30 minutes, allowing the ingredients to meld and heat through. You’ll know it’s almost ready when the cheesy aroma begins to fill your kitchen, teasing your taste buds with warmth.
Step 7: Broil for Golden Crust
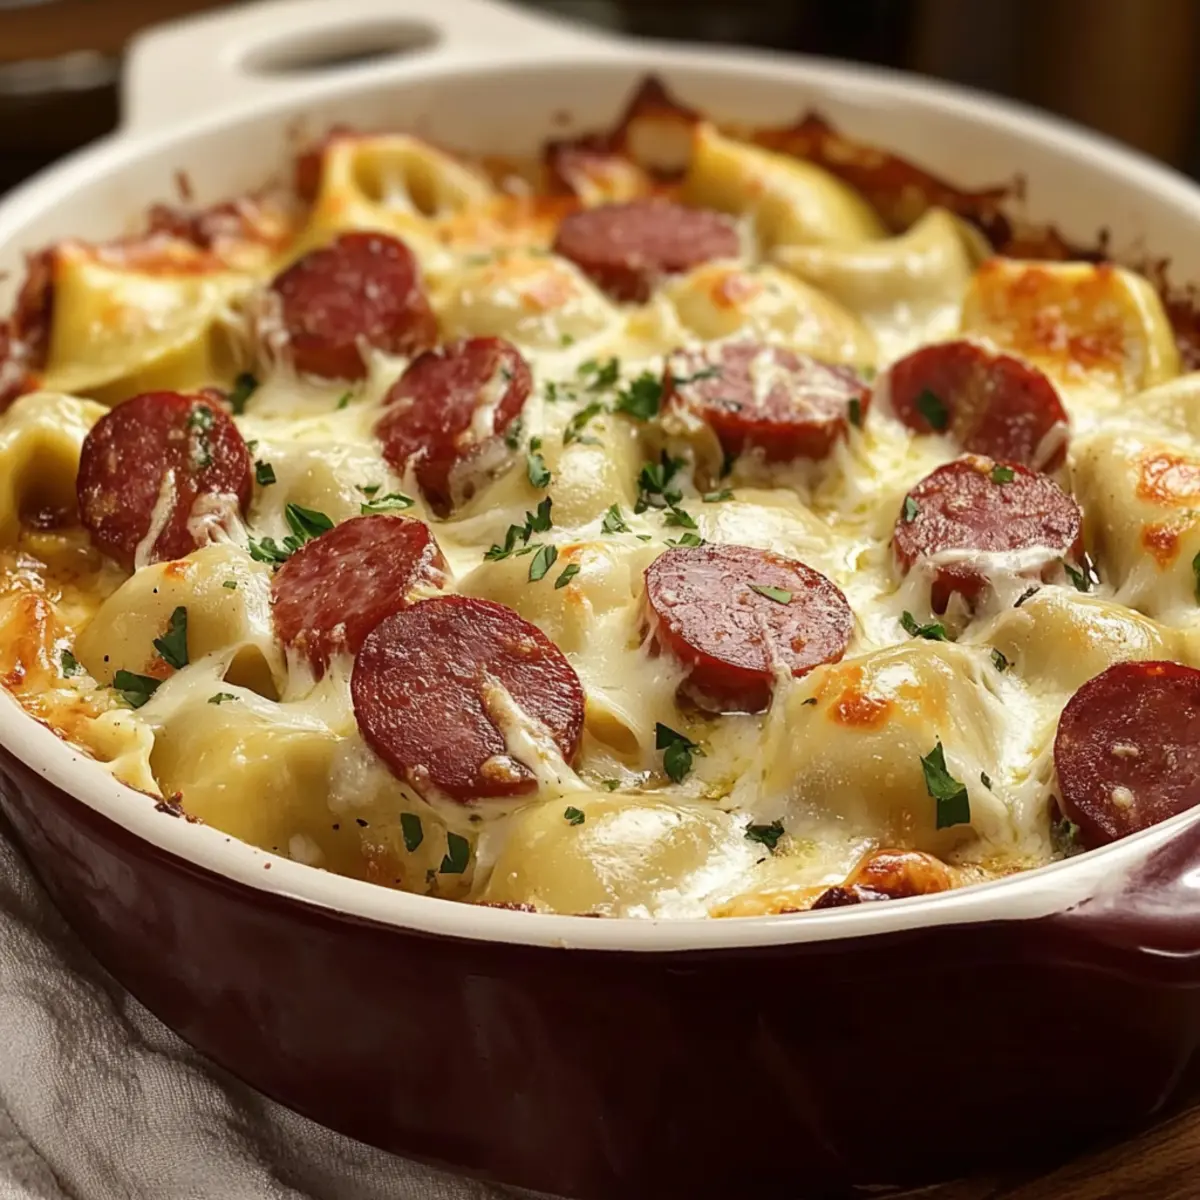
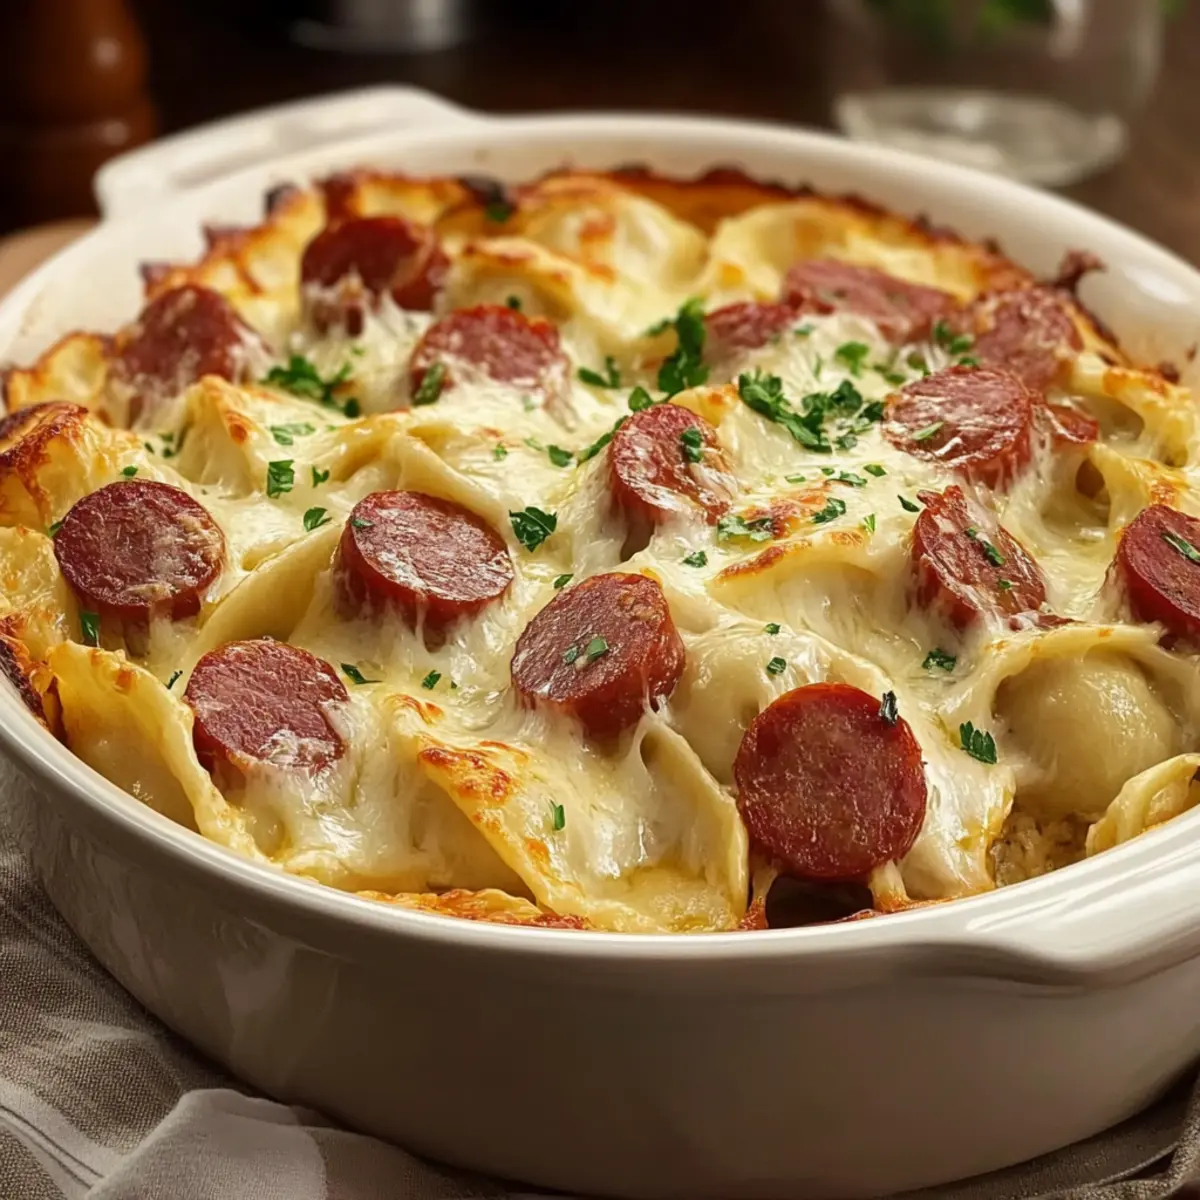
After baking, carefully remove the foil and switch your oven to broil. Broil the bake for an additional 2–3 minutes until the cheese becomes bubbly and turns a golden brown. Keep a close eye, as broiling can quickly turn from perfect to overdone—you want that beautiful crust without burning!
Step 8: Garnish and Serve
Once broiling is complete, carefully remove the baking dish from the oven. Allow it to cool for a few minutes before garnishing with freshly chopped parsley. This step adds a vibrant touch and a burst of freshness to your warm Kielbasa and Pierogi Bake. Now it’s time to dig in and share the joy!
Make Ahead Options
These Kielbasa and Pierogi Bake are perfect for busy weeknights! You can assemble the entire dish up to 24 hours in advance, covering it tightly with foil and refrigerating to keep it fresh. To prevent the pierogies from becoming soggy, layer them with the kielbasa and creamy topping right before baking. When you’re ready to serve, simply preheat the oven and bake for about 30-35 minutes if cooking straight from the fridge, allowing for the flavors to meld beautifully. Trust me, this comforting bake will be just as delicious and satisfying, saving you valuable time while still delivering that heartwarming experience your family craves!
How to Store and Freeze Kielbasa and Pierogi Bake
Fridge: Store leftovers in an airtight container for up to 4 days. Ensure it’s completely cooled before sealing to maintain freshness.
Freezer: For longer storage, freeze assembled, uncooked Kielbasa and Pierogi Bake covered tightly in foil for up to 2 months. Thaw in the fridge overnight before baking.
Reheating: Reheat leftovers in the oven at 350°F (175°C) for about 20 minutes, or until heated through. This keeps the cheese topping from becoming rubbery and retains the dish’s wonderful texture.
Make-Ahead Tip: Assemble the dish a day in advance, refrigerate it until ready to bake, and add an additional 10 minutes to the baking time if starting from cold.
What to Serve with Kielbasa and Pierogi Bake
Nothing elevates a comforting bake like the perfect sides to balance flavors and textures.
-
Crisp Green Salad: A fresh salad with a tangy vinaigrette brightens the rich flavors of the bake, offering a delightful contrast. This refreshing accompaniment enhances your dining experience, making each bite of the bake even more enjoyable.
-
Roasted Brussels Sprouts: These caramelized sprouts add a hint of nuttiness and crunch that complements the creamy pierogies beautifully. Their slightly bitter flavor pairs perfectly with the richness of the cheese and sausage.
-
Garlic Bread: Warm, buttery garlic bread is the ideal partner, soaking up any creamy sauce from your Kielbasa and Pierogi Bake. Each bite serves as a delightful canvas for the scrumptious flavors of the bake.
-
Vegetable Stir-Fry: A mix of colorful vegetables sautéed in olive oil offers a light and vibrant addition to your meal. This option not only adds nutrition but also brings bright flavors that balance the heaviness of the bake.
-
Applesauce: The natural sweetness of applesauce makes for an unexpected yet lovely contrast to the savory dish, evoking a sense of homeliness. It’s an easy, enjoyable pairing that pleases both kids and adults.
-
Lightly Sparkling Water: A refreshing sparkling water with a slice of lemon or lime serves as a palate cleanser, enhancing the overall dining experience. Its effervescence invigorates the senses between bites, making every mouthful feel refreshing.
-
Chocolate Chip Cookies: For a sweet finish, serve homemade chocolate chip cookies alongside. Their soft, gooey centers provide a charming end to a comforting meal filled with warmth and nostalgia.
Variations & Substitutions for Kielbasa and Pierogi Bake
Feel free to get creative and customize this comforting dish to suit your taste and dietary preferences—let your imagination run wild!
-
Vegetarian Swap: Replace kielbasa with meat-free sausage or sautéed mushrooms for a deliciously hearty vegetarian option. This twist ensures everyone at the table can enjoy the meal without missing out on flavor.
-
Cheese Varieties: Experiment with different cheeses like smoked gouda or blue cheese for a unique and rich flavor experience. Each cheese brings its own character, enhancing the overall taste of your bake.
-
Add Greens: Toss in some spinach or kale for extra nutrition and a pop of color. These leafy greens not only add health benefits but also give a delightful texture contrast.
-
Spicy Kick: If you’re a fan of heat, mix in some diced jalapeños or a splash of hot sauce. This adds a vibrant zing that elevates the flavor profile and makes your dish irresistibly bold.
-
Creaminess Boost: For a richer taste, use mascarpone or ricotta instead of cream cheese. These creamy alternatives create an even more luxurious sauce, leaving your taste buds dancing with joy.
-
Mixed Veggies: Incorporate bell peppers, mushrooms, or even sweet corn for added texture and flavor. These colorful veggies not only enrich the dish but make it visually appealing as well.
-
Crunchy Topping: Crushed potato chips or panko breadcrumbs sprinkled on top before broiling gives a satisfying crunch that contrasts delightfully with the creamy filling. It’s a fun twist that the whole family will love!
-
Herb Variations: Substitute parsley with fresh dill or chives for a different aromatic touch. Each herb brings its own flavor, so try out various combinations to find your favorite!
Customizing your Kielbasa and Pierogi Bake not only brings new life to the dish but also keeps your mealtime exciting. If you’re interested in other hearty meals, check out the delightful flavors of Crockpot Beef Noodles for your next dinner!
Expert Tips for Kielbasa and Pierogi Bake
-
Avoid Sogginess: Don’t overcrowd the baking dish with pierogies. This prevents them from becoming soggy, ensuring a perfect texture in your Kielbasa and Pierogi Bake.
-
Brown the Kielbasa: For extra flavor, brown the kielbasa in the skillet before layering it in the bake. This adds depth to the dish.
-
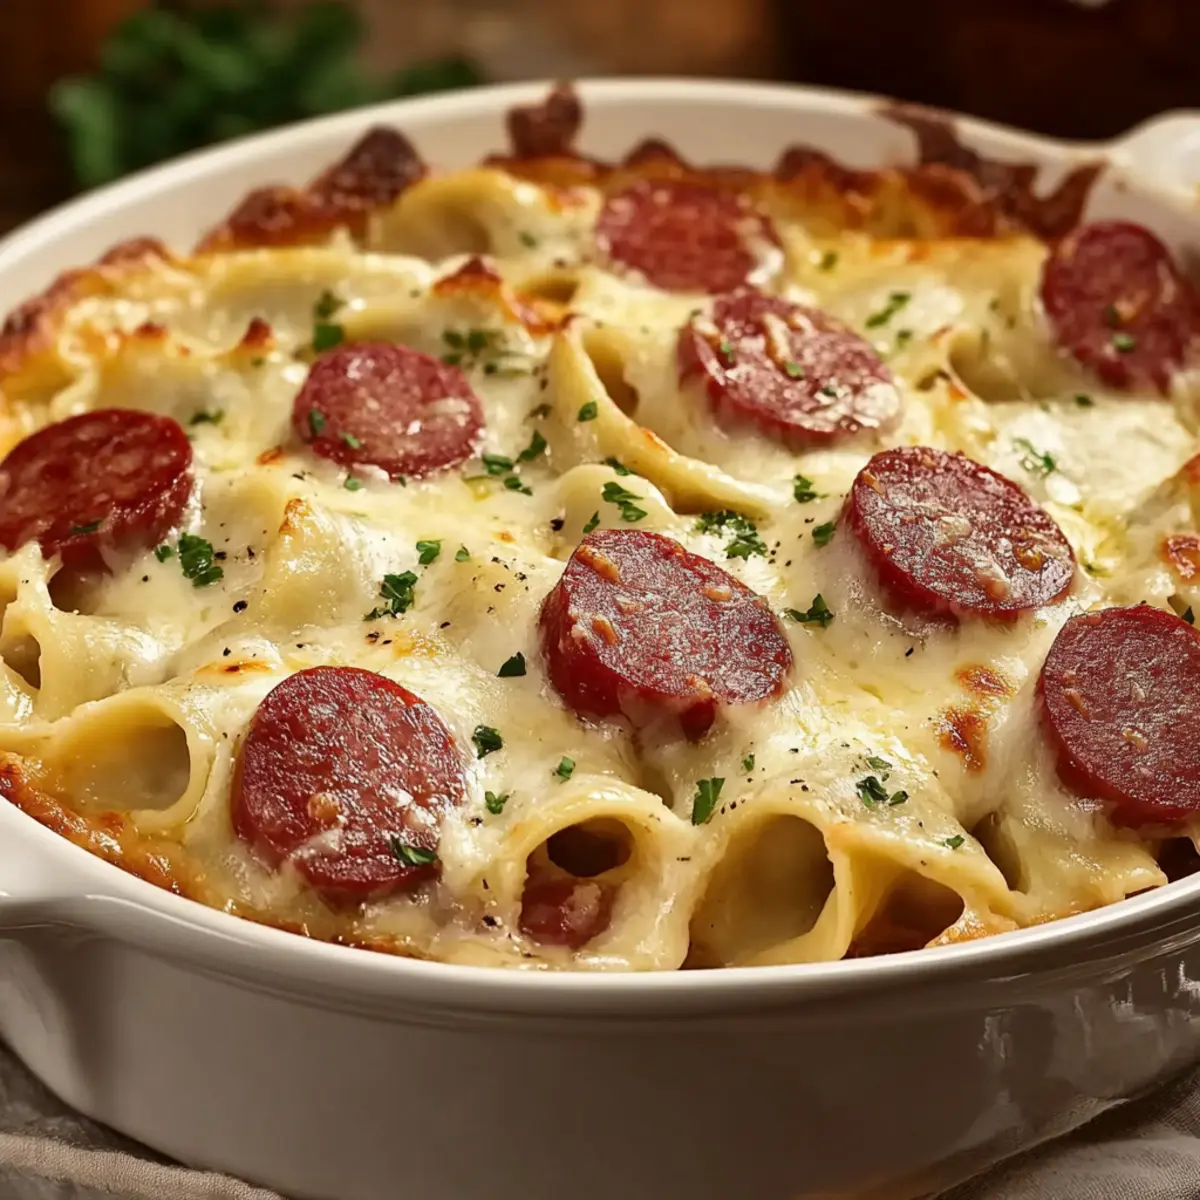
Crisp the Top: Broil the dish for a few minutes at the end of baking to achieve a delightful crispy cheese crust. Just keep an eye on it to avoid burning.
-
Involve the Kids: Let little ones help by arranging the pierogies or sprinkling cheese on top. It’s a fun way to make kitchen memories together!
-
Store Leftovers Properly: Store any leftovers in an airtight container in the fridge for up to 4 days. Reheat gently in the oven to maintain the texture.
Kielbasa and Pierogi Bake Recipe FAQs
What kind of pierogies should I use for the bake?
I recommend using frozen pierogies for convenience, as they maintain their flavor and texture well during baking. However, if you’re feeling adventurous, fresh or homemade pierogies can also work wonderfully, just adjust the baking time accordingly.
How should I store leftovers?
Store any leftovers in an airtight container in the fridge for up to 4 days. Make sure the dish is completely cooled before sealing it to help maintain freshness. It’s best to reheat in the oven to restore the lovely texture instead of using the microwave.
Can I freeze Kielbasa and Pierogi Bake?
Absolutely! For longer storage, you can freeze the assembled, uncooked Kielbasa and Pierogi Bake. Cover it tightly in foil and it’ll be good for up to 2 months. When you’re ready to enjoy it, just thaw it in the fridge overnight before baking.
What if my bake is too dry or soggy?
If you find your Kielbasa and Pierogi Bake is dry, your sauce may not have been creamy enough. Consider adding a bit more cream cheese or sour cream next time for extra moisture. On the other hand, if it’s too soggy, ensure you’re not overcrowding the pierogies and allow the dish to bake without the foil covering for the last few minutes to give it a chance to crisp up.
Is this recipe gluten-free or suitable for my dietary restrictions?
Although the traditional ingredients may not be gluten-free, you can still enjoy a delicious version by using gluten-free pierogies and choosing a gluten-free kielbasa. Always check labels for any additional ingredients to ensure they fit your dietary needs, especially regarding allergies.
What’s the best way to reheat leftovers?
To reheat, place your leftovers in an oven-safe dish and bake at 350°F (175°C) for about 20 minutes or until heated through. This method keeps the cheese topping from becoming rubbery while retaining the wonderful texture of the dish.
Savory Kielbasa and Pierogi Bake
Ingredients
Equipment
Method
- Preheat the oven to 350°F (175°C).
- Sauté the chopped onions in a skillet with a touch of oil for 6–8 minutes until golden.
- Layer frozen pierogies in a large baking dish, then add sliced kielbasa on top.
- In a bowl, mix cream cheese, sour cream, and seasonings until smooth, then spread over pierogies and kielbasa.
- Sprinkle cheddar cheese on top of the creamy mixture.
- Cover with aluminum foil and bake for 25–30 minutes.
- Remove the foil and broil for 2–3 minutes until the cheese is bubbly and golden.
- Garnish with freshly chopped parsley before serving.