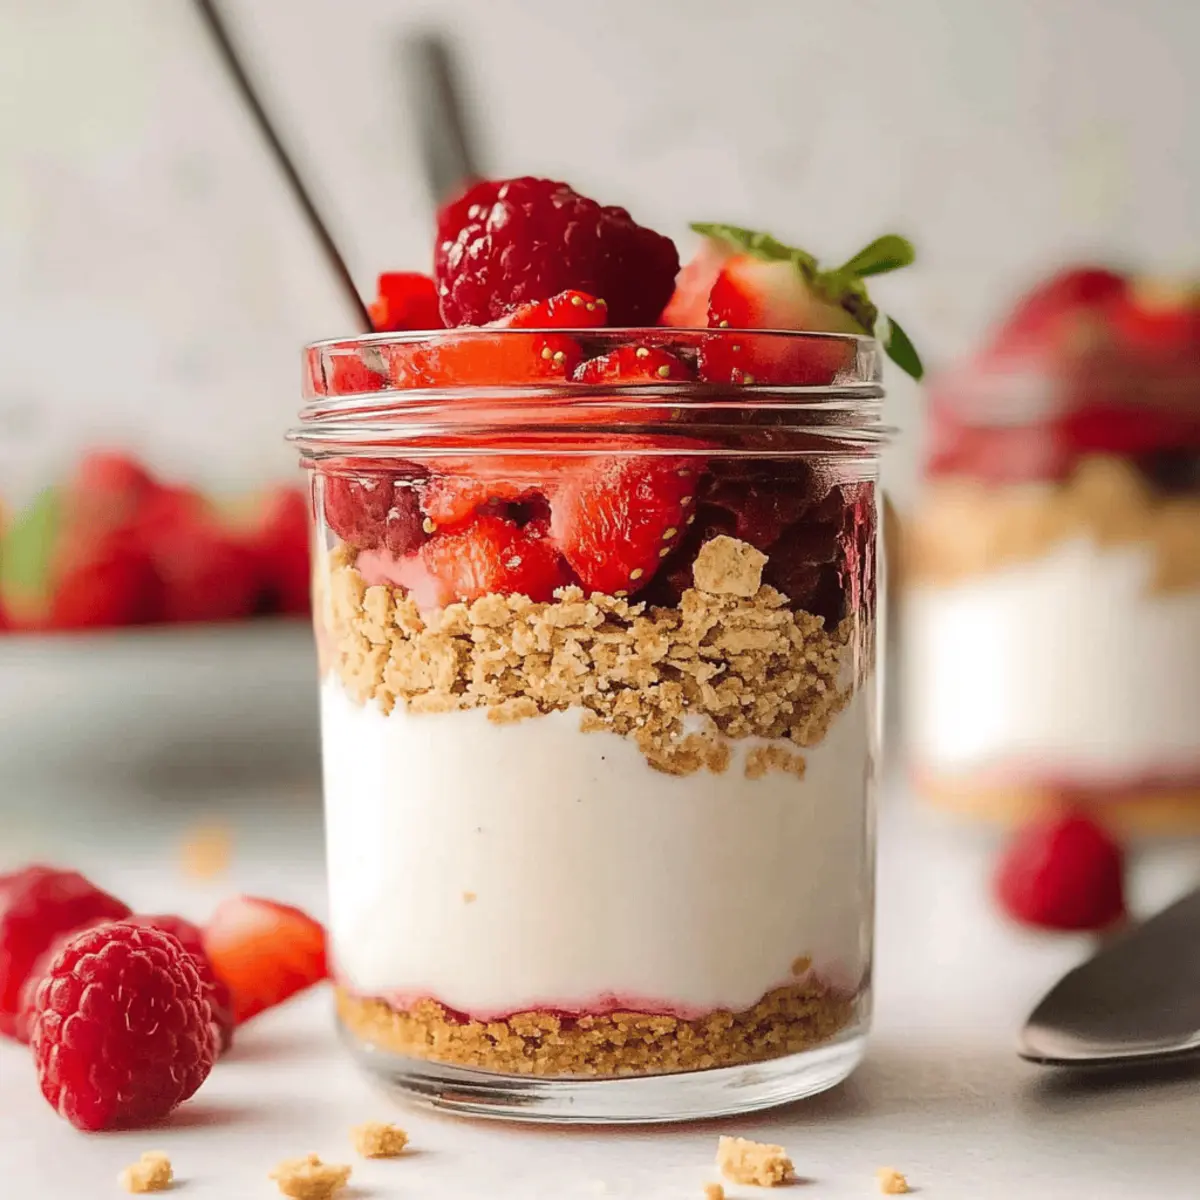
As I savored that first spoonful of my creamy High Protein Cheesecake Jars, I couldn’t help but marvel at how such a delightful dessert could be both indulgent and healthy. No-bake and packed with 30 grams of protein, these jars are perfect for satisfying your sweet tooth while staying on track with your wellness goals. Made with just five ingredients, they come together in a mere 15 minutes, making them ideal for busy days when you crave something sweet yet nutritious. And the best part? You can easily customize them by swapping out maple syrup for honey or mixing in your favorite fruits. So, are you ready to elevate your dessert game while keeping it guilt-free? Let’s dive into this delightful recipe!
Why are these cheesecake jars a must-try?
Indulgent yet guilt-free: You’ll love how these jars let you enjoy a decadent dessert without the guilt, packed with tasty protein. Quick and Easy: Perfect for those busy days, these no-bake jars come together in just 15 minutes! Versatile Options: Feel free to play with flavors and textures by swapping out fruits or sweeteners, just like in my Cobb Egg Salad. Fresh Presentation: Serve them in cute jars for a stunning dessert at your next gathering, or as a post-workout treat. Meal Prep Friendly: Make these ahead to satisfy your sweet cravings throughout the week without any fuss! You won’t be able to resist a second scoop!
High Protein Cheesecake Jars Ingredients
-
For the Cheesecake Base
• Cottage Cheese (2 cups, 2% MF) – Provides the creamy texture and serves as the primary protein source in the high protein cheesecake jars; you can use low-fat cottage cheese for a lighter option.
• Plain Greek Yogurt (3 cups, full fat) – Enhances the creaminess while boosting the protein content; consider swapping for low-fat yogurt if desired. -
For Sweetness & Flavor
• Maple Syrup (4 tablespoons) – Acts as a natural sweetener, enhancing the flavor of the cheesecake; feel free to substitute with honey or agave syrup if preferred. -
For the Crunchy Layer
• Crushed Graham Crackers (2 cups) – Provides a delightful crunchy layer that adds texture; look for gluten-free options if needed. -
For Topping
• Berries (1 cup, or more) – Adds a pop of freshness and color to your dessert; you can mix it up with other fruits like bananas or peaches for variety.
Step‑by‑Step Instructions for High Protein Cheesecake Jars
Step 1: Blend the Cottage Cheese
Start by placing 2 cups of cottage cheese in a large food processor. Blend for 1-2 minutes until the mixture is smooth and creamy, ensuring there are no lumps. This step is crucial for achieving that rich cheesecake texture in your High Protein Cheesecake Jars. Scrape down the sides of the bowl as needed to ensure an even blend.
Step 2: Incorporate the Sweetener
Next, add 4 tablespoons of maple syrup to the blended cottage cheese. Blend for an additional 30 seconds until the sweetener is fully incorporated. Taste the mixture and adjust the sweetness if desired, ensuring it balances perfectly with the creamy profile of the cheesecake.
Step 3: Fold in the Greek Yogurt
In a separate mixing bowl, gently fold in 3 cups of plain Greek yogurt using a silicone spatula. Combine it with the whipped cottage cheese mixture until well integrated; the goal is to create a smooth and creamy filling for your High Protein Cheesecake Jars. Be careful not to over-mix, as you want to maintain the light and airy texture.
Step 4: Assemble the Jars
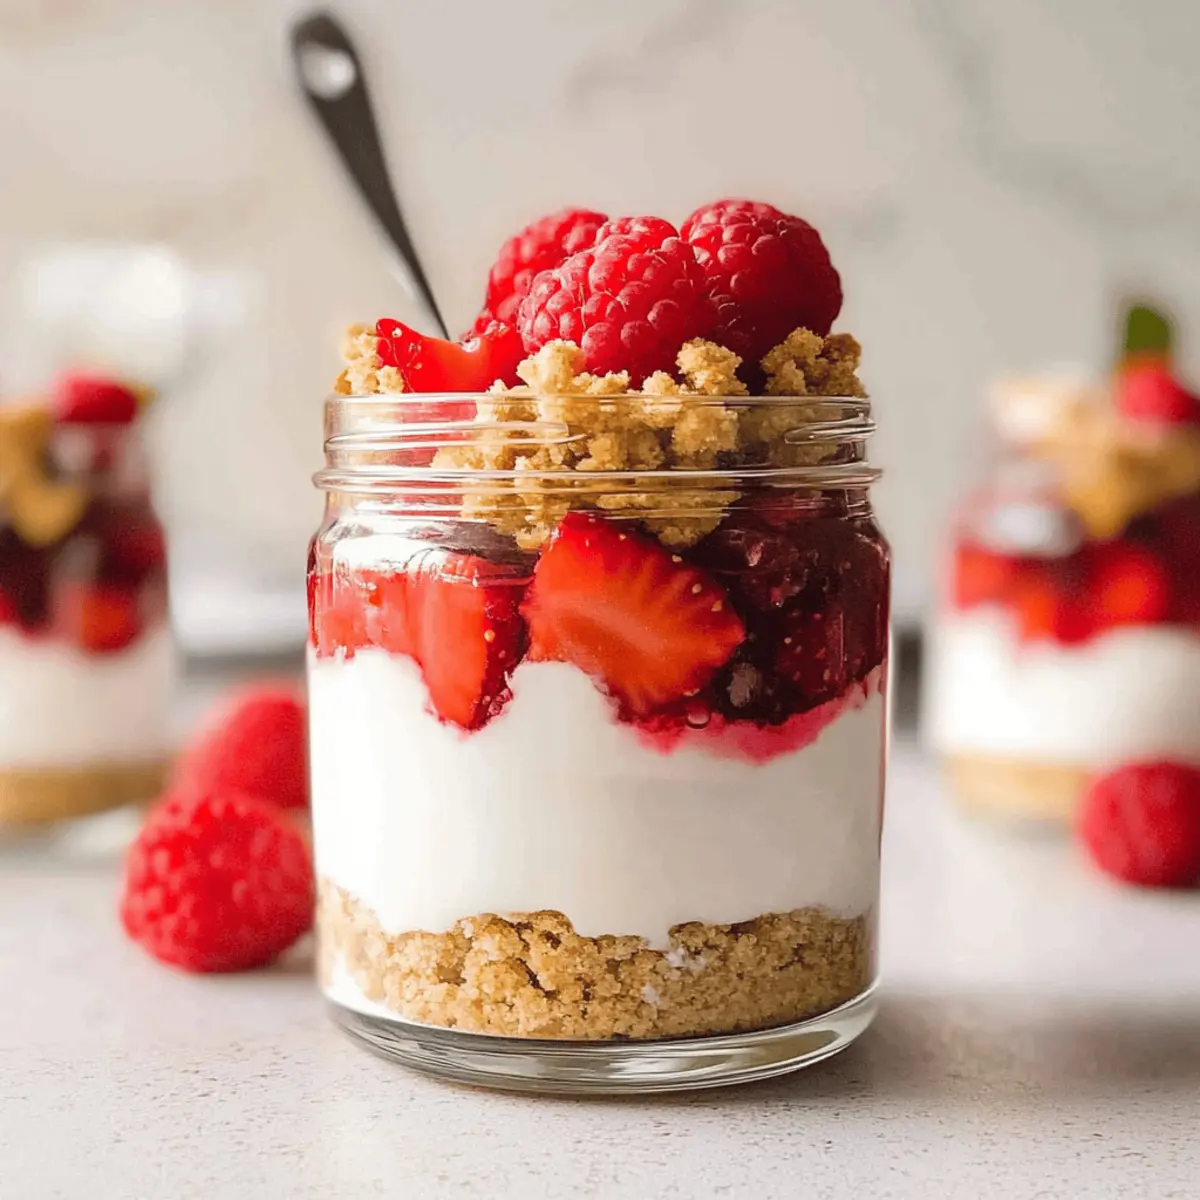
Begin layering your jars by adding a generous layer of crushed graham crackers as the base. Follow with a layer of the cheesecake mixture, spreading it evenly. Repeat the process, alternating layers of graham crackers and cheesecake filling, then top with more cheesecake filling, creating a visually appealing dessert.
Step 5: Add Fresh Toppings
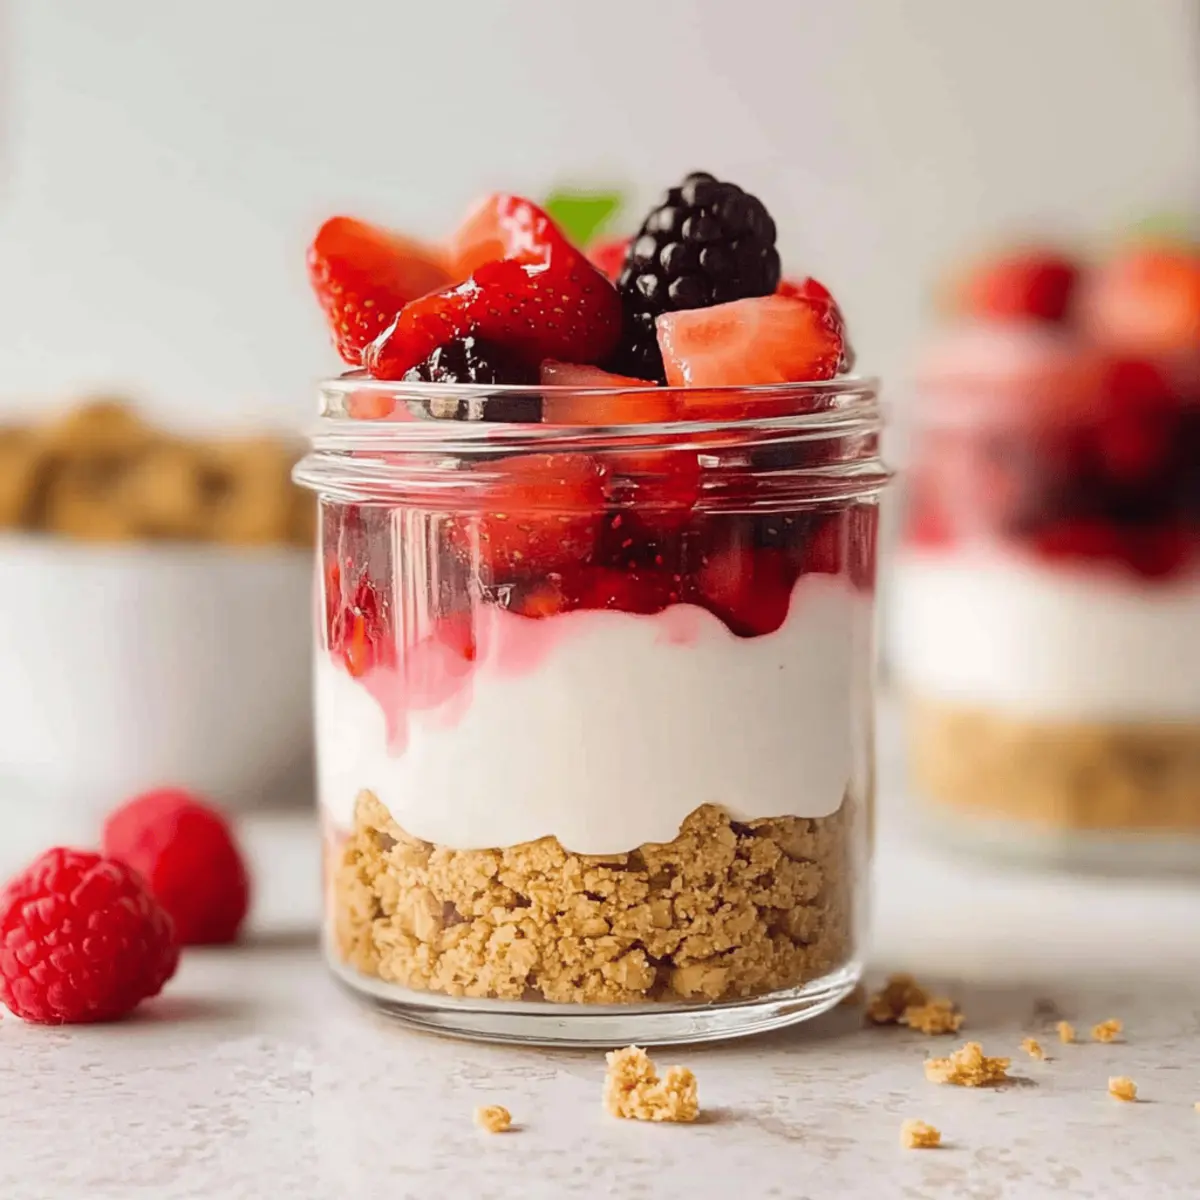
Finish off your High Protein Cheesecake Jars by garnishing with a cup of fresh berries on top. This not only adds a burst of color but also complements the creaminess of the cheesecake with a refreshing flavor. Feel free to get creative with your berry choices or even mix in some sliced bananas or peaches.
Step 6: Chill and Serve
Cover the jars with lids or plastic wrap and place them in the refrigerator to chill for at least 30 minutes. This allows the flavors to meld beautifully, enhancing the experience of your no-bake dessert. When ready to serve, enjoy your delightful High Protein Cheesecake Jars chilled for a refreshing treat!
Make Ahead Options
These High Protein Cheesecake Jars are perfect for meal prep enthusiasts looking to save time during busy weeks! You can assemble the jars and refrigerate them up to 3 days in advance, allowing the flavors to develop beautifully. To maintain that delightful texture, keep the layers of graham crackers separate until just before serving; this will prevent them from becoming soggy. Simply layer the cheesecake mixture and fresh berries in your jars ahead of time, and when you’re ready to indulge, garnish with the crunchy graham crackers and extra berries for a burst of freshness. Enjoy hassle-free, delicious desserts with minimal effort!
How to Store and Freeze High Protein Cheesecake Jars
Fridge: Keep your High Protein Cheesecake Jars in an airtight container in the refrigerator for up to 3 days. This ensures they stay fresh and delicious.
Freezer: For longer storage, freeze the jars without toppings for up to 2 months. Thaw in the fridge overnight before indulging again.
Reheating: These jars are best enjoyed chilled, so no reheating is necessary. Just serve straight from the fridge for a refreshing treat!
Make-Ahead: Prepare the jars ahead of time for a convenient dessert option. With their easy storage, you can satisfy cravings any day of the week!
High Protein Cheesecake Jars Variations
Feel free to get creative with your High Protein Cheesecake Jars and make them uniquely yours!
-
Dairy-Free: Substitute Greek yogurt with a dairy-free yogurt to make this dessert vegan-friendly without losing its creamy consistency.
Exploring plant-based options is a tasty way to enjoy dessert guilt-free. -
Flavored Yogurt: Use a flavored Greek yogurt, like vanilla or peach, to infuse your cheesecake jars with delightful flavor twists.
This small change can take your jars from basic to extraordinary with minimal effort! -
Chocolate Treat: Add 2-3 tablespoons of cocoa powder to the cheesecake mixture for a rich chocolate version that’s sure to delight chocolate lovers.
Imagine the satisfying combination of chocolate and creaminess in every spoonful! -
Nutty Crunch: Mix in crushed nuts, such as almonds or pecans, with the graham cracker layer for an extra crunchy texture that offers delightful contrast.
This variation adds not just flavor but also a nutritional boost! -
Fruity Explosion: Replace the berries with sliced bananas, peaches, or even mangoes to create seasonal variations of your cheesecake jars.
Each fruit brings a unique taste and freshness that makes them truly refreshing. -
Spiced Up: Add a pinch of cinnamon or nutmeg into your cheesecake mixture for a warm, spicy twist that elevates your dessert experience.
This adds a comforting scent and flavor, perfect for cozy days! -
Maple-Free: Swap the maple syrup for agave syrup or coconut sugar if you’re looking for alternative sweeteners that still provide a sweet touch.
This flexibility helps cater to your taste preferences while maintaining that delicious sweetness. -
Protein Boost: Stir in a scoop of your favorite protein powder into the cheesecake base for an extra protein kick, making these jars even more muscle-friendly!
This is an easy way to transform dessert into a post-workout snack—just like my Chocolate Protein Pudding!
However you choose to customize them, your High Protein Cheesecake Jars will be a deliciously satisfying treat!
Expert Tips for High Protein Cheesecake Jars
- Blend Smoothly: Make sure to blend the cottage cheese thoroughly to ensure a creamy texture. A grainy base can ruin the luxurious feel of your High Protein Cheesecake Jars.
- Sweetness Adjustments: Start with the recommended maple syrup, but don’t hesitate to adjust the sweetness to your taste. Not all palates are the same!
- Layer Creativity: Get creative with your layers! Using different fruits not only adds flavor but also beautiful colors, making your jars Instagram-worthy.
- Chill Time: Allowing the jars to chill for at least 30 minutes helps the flavors to develop and the texture to firm up. Don’t skip this step for the best results!
- Meal Prep Magic: These jars are perfect for meal prep. Make a batch and store them in the fridge for up to three days to satisfy those sweet cravings anytime!
What to Serve with High Protein Cheesecake Jars
As you prepare to treat yourself with these delightful jars, consider pairing them with complementary flavors and textures for a well-rounded meal.
-
Fresh Fruit Salad: A medley of seasonal fruits brings a refreshing balance to the creamy texture of the cheesecake jars. The burst of flavor from juicy fruits enhances every bite.
-
Nutty Granola: The crunchy elements of granola provide a satisfying contrast to the creamy cheesecake. This pairing adds an enjoyable mouthfeel, making each spoonful a delightful adventure.
-
Dark Chocolate Shavings: Add an elegant touch with dark chocolate shavings. Their rich and slightly bitter notes complement the sweetness of the jars, offering a sophisticated flavor profile.
-
Herbal Iced Tea: Serve with a sweetened herbal iced tea for a refreshing drink that complements the dessert’s richness. The lightness of the tea helps to cleanse the palate beautifully.
-
Almond Butter Cookies: These soft, chewy cookies are a perfect dunking companion for the cheesecake jars. Their nutty flavor resonates with the mild sweetness, making dessert time even more enchanting.
-
Chilled Whipped Cream: A dollop of freshly whipped cream adds a luxurious finish to your cheesecake jars. This light and airy complement enhances the overall dessert experience.
High Protein Cheesecake Jars Recipe FAQs
What’s the best way to select cottage cheese for these jars?
Absolutely! When choosing cottage cheese, look for a brand that offers a smooth texture—preferably 2% milk fat for creaminess without excess calories. Check the expiration date to ensure freshness, and avoid any containers with excessive liquid or graininess.
How long can I store the High Protein Cheesecake Jars in the fridge?
You can keep your High Protein Cheesecake Jars in an airtight container in the refrigerator for up to 3 days. Just make sure they’re well-sealed to maintain their freshness and deliciousness!
Can I freeze the cheesecake jars for later enjoyment?
Certainly! To freeze, layer the cheesecake mixture in your jars without any toppings. Seal them tightly, and they can be stored in the freezer for up to 2 months. When you’re ready to enjoy, simply thaw them overnight in the fridge—easy and convenient for a yummy treat on demand!
What should I do if my cheesecake mixture is grainy?
If you find that your cheesecake mixture has a grainy texture, don’t worry! Simply transfer it back into the food processor and blend for an additional minute or two. This should help achieve that smooth, creamy consistency you’re looking for. Remember to scrape down the sides of the bowl for even blending!
Are these jars suitable for people with lactose intolerance?
Great question! If you or someone you’re serving has lactose intolerance, consider using lactose-free cottage cheese and Greek yogurt to make these jars. You can also opt for a dairy-free yogurt alternative for a delicious and accommodating dessert option!
What can I substitute for fresh berries if they aren’t available?
If fresh berries aren’t an option, feel free to get creative! You can use sliced bananas or peaches for a different flavor twist. Alternatively, consider adding a spoonful of fruit preserves or compote as a topping—they’re both delightful and often enhance the sweetness of the cheesecake jars.
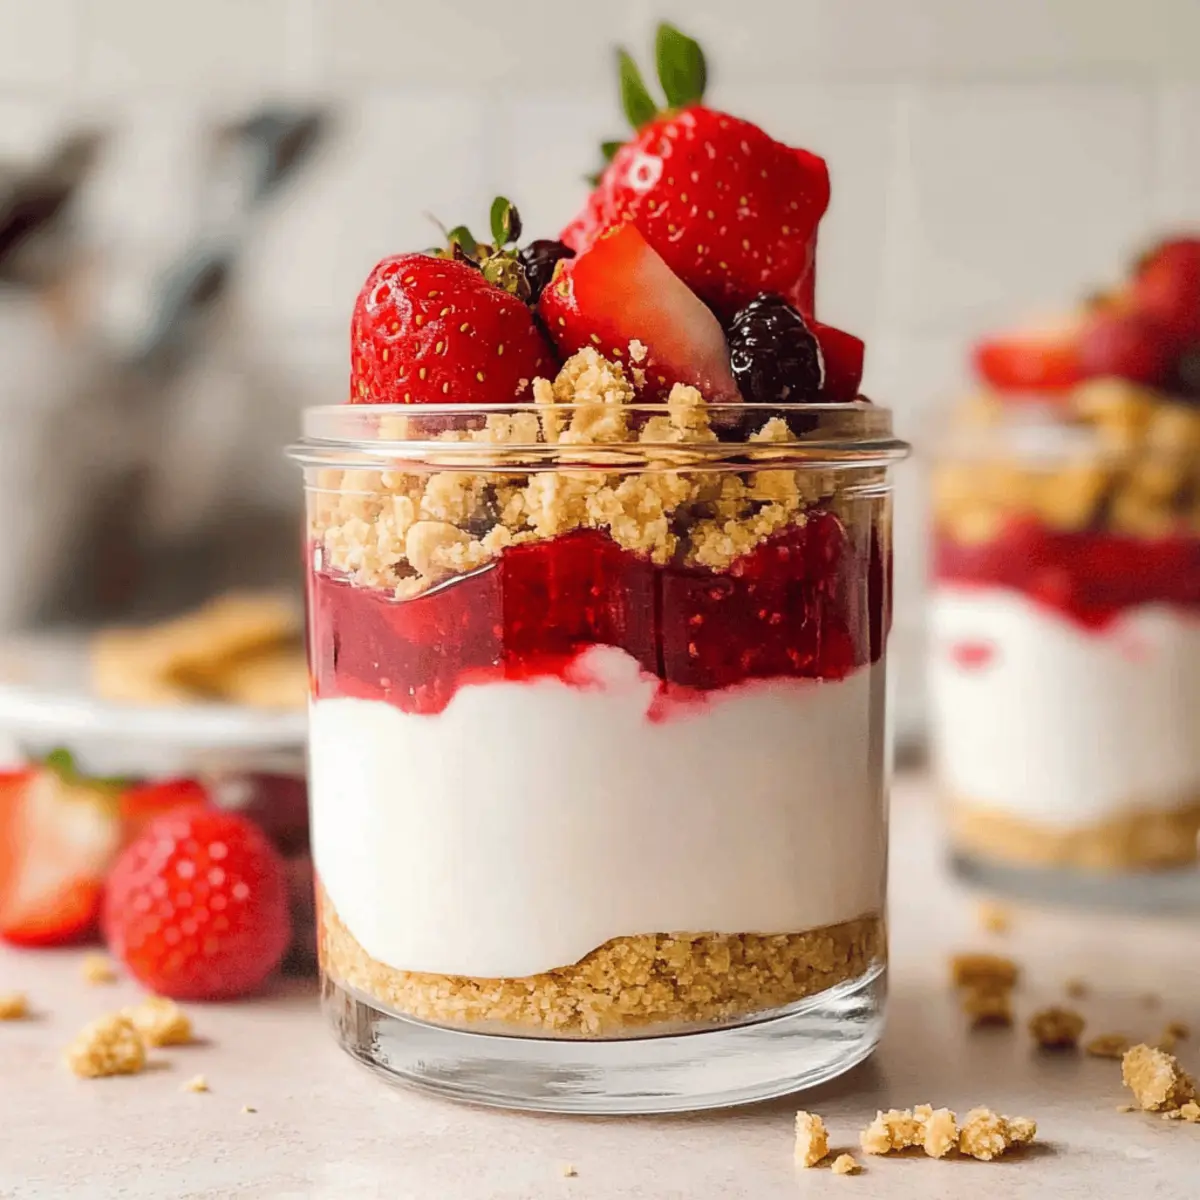
Delicious High Protein Cheesecake Jars: No-Bake & Guilt-Free
Ingredients
Equipment
Method
- Blend the Cottage Cheese: Place 2 cups of cottage cheese in a large food processor. Blend for 1-2 minutes until smooth and creamy.
- Incorporate the Sweetener: Add 4 tablespoons of maple syrup to the blended cottage cheese. Blend for an additional 30 seconds.
- Fold in the Greek Yogurt: Gently fold in 3 cups of plain Greek yogurt using a spatula until well combined.
- Assemble the Jars: Layer crushed graham crackers, followed by the cheesecake mixture, repeating layers and ending with the cheesecake filling.
- Add Fresh Toppings: Garnish with 1 cup of fresh berries on top for color and flavor.
- Chill and Serve: Cover and refrigerate for at least 30 minutes before serving.


