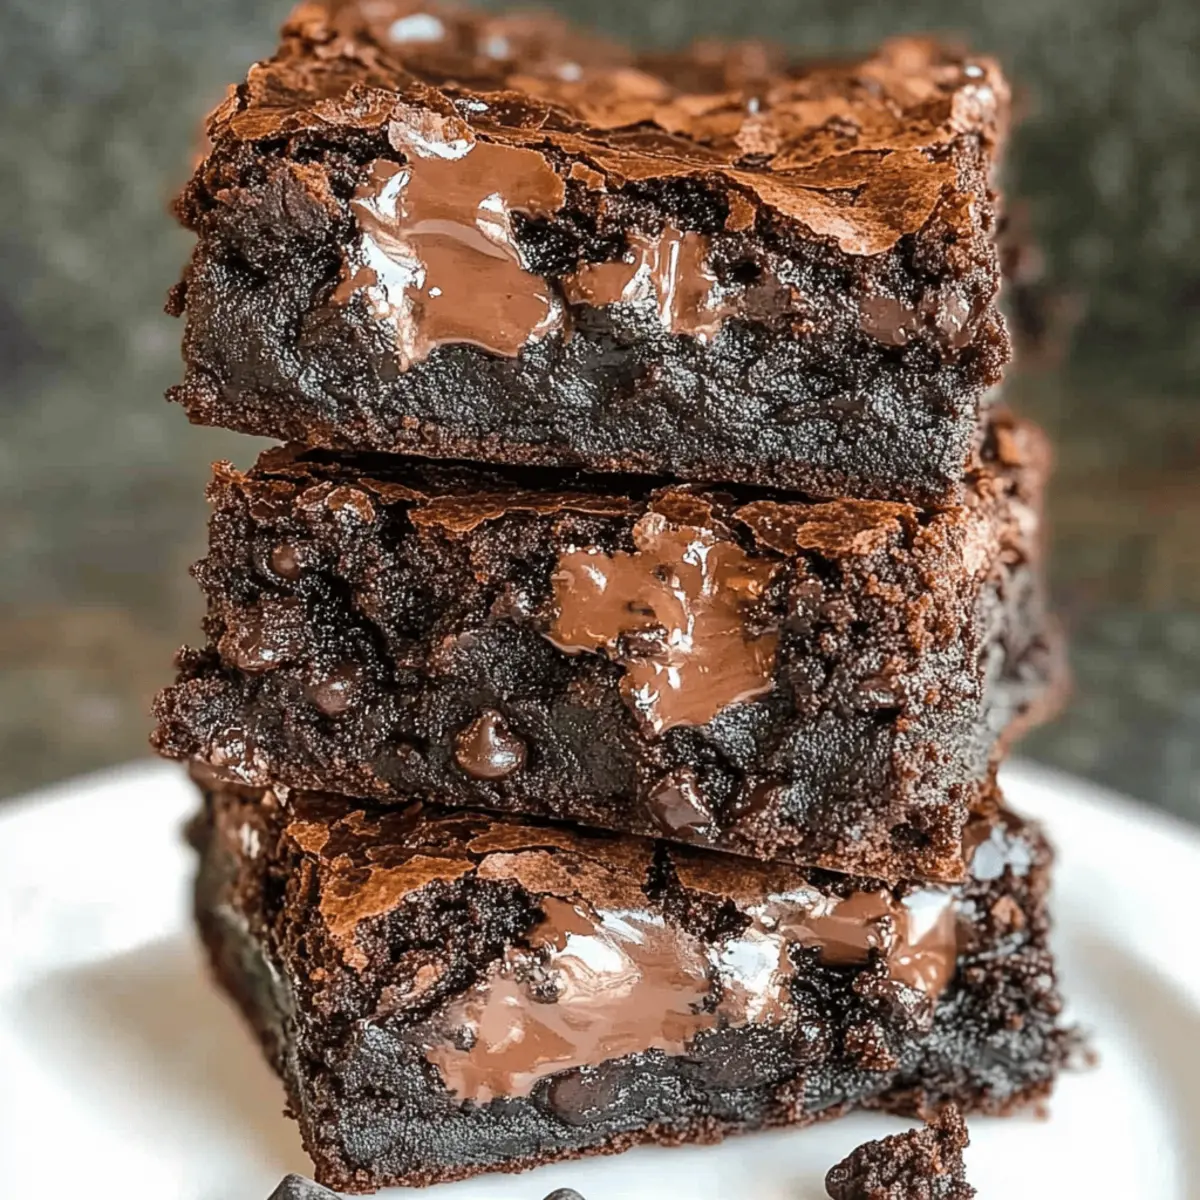
There I was on a rainy afternoon, the kind that begs for baking and warm chocolate aromas wafting through the house. As I rummaged through my pantry, I stumbled upon a treasure: Greek yogurt! This unexpected ingredient changed my whole dessert game by allowing me to whip up a batch of Greek Yogurt Brownies that are not just fudgy and gooey, but also surprisingly low in calories. Each slice packs in only 100 calories, making this a delightful low-calorie treat perfect for when I need a little chocolate comfort. Plus, they’re made in just one bowl, meaning less cleanup and more time to enjoy these guilt-free indulgences. Curious how to bring this deliciousness to your kitchen? Let’s dive into how to create these crave-worthy brownies!
Why Should You Try These Brownies?
Healthier Option: These Greek Yogurt Brownies are low in calories and fat while still delivering that indulgent chocolate flavor you crave.
One-Bowl Wonder: Enjoy hassle-free baking with just one bowl, meaning less mess and more delicious results.
Versatile Variations: Whether you’re vegan or gluten-free, there are easy substitutions that allow everyone to enjoy these sweet treats.
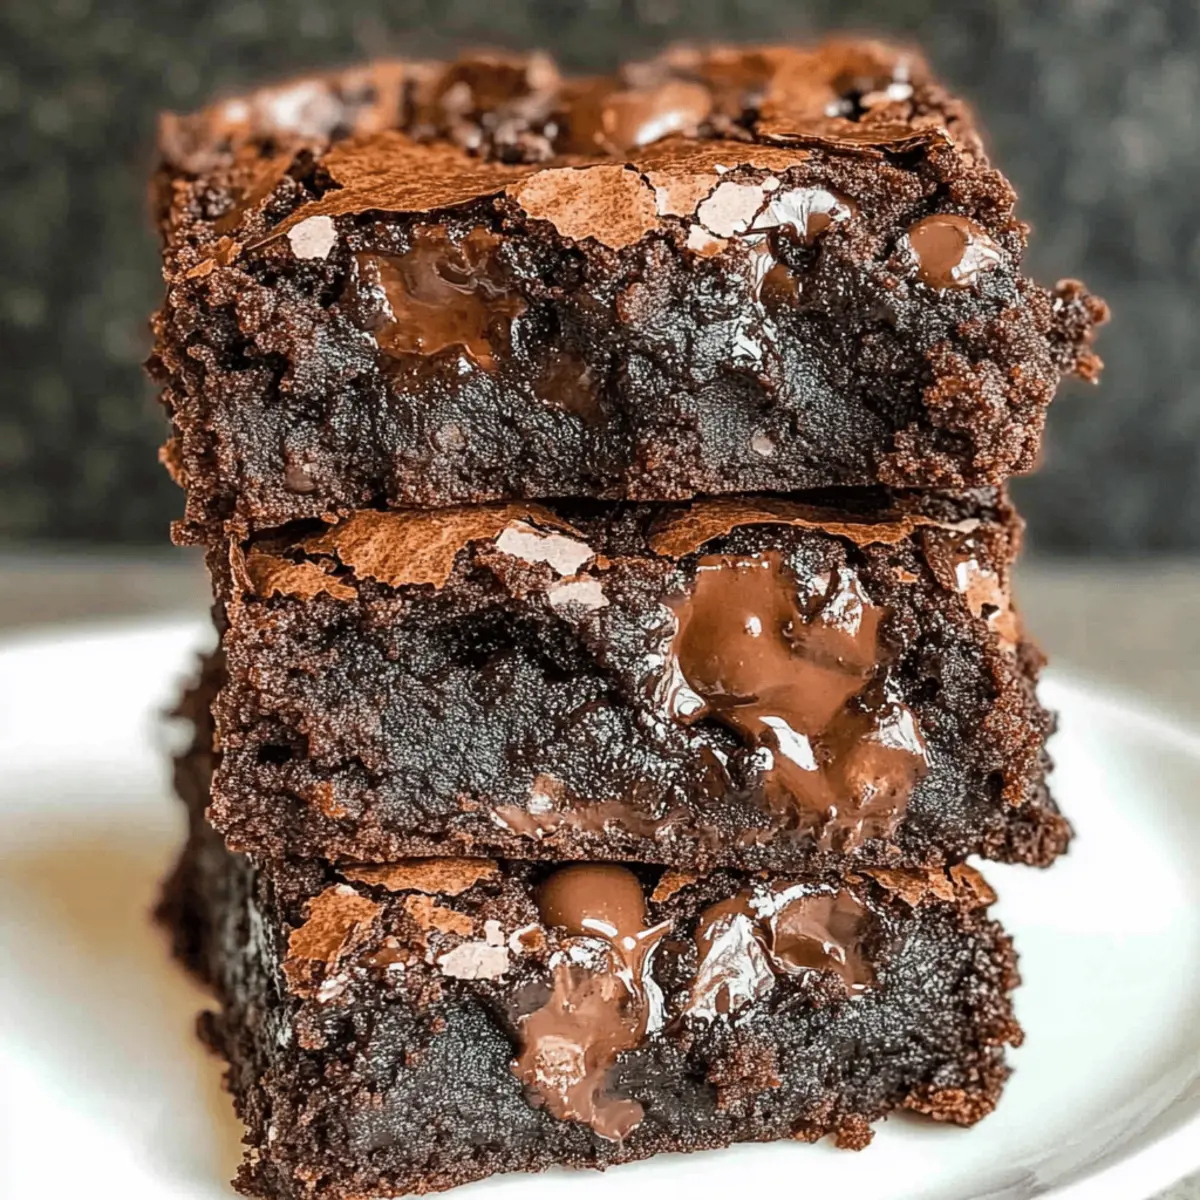
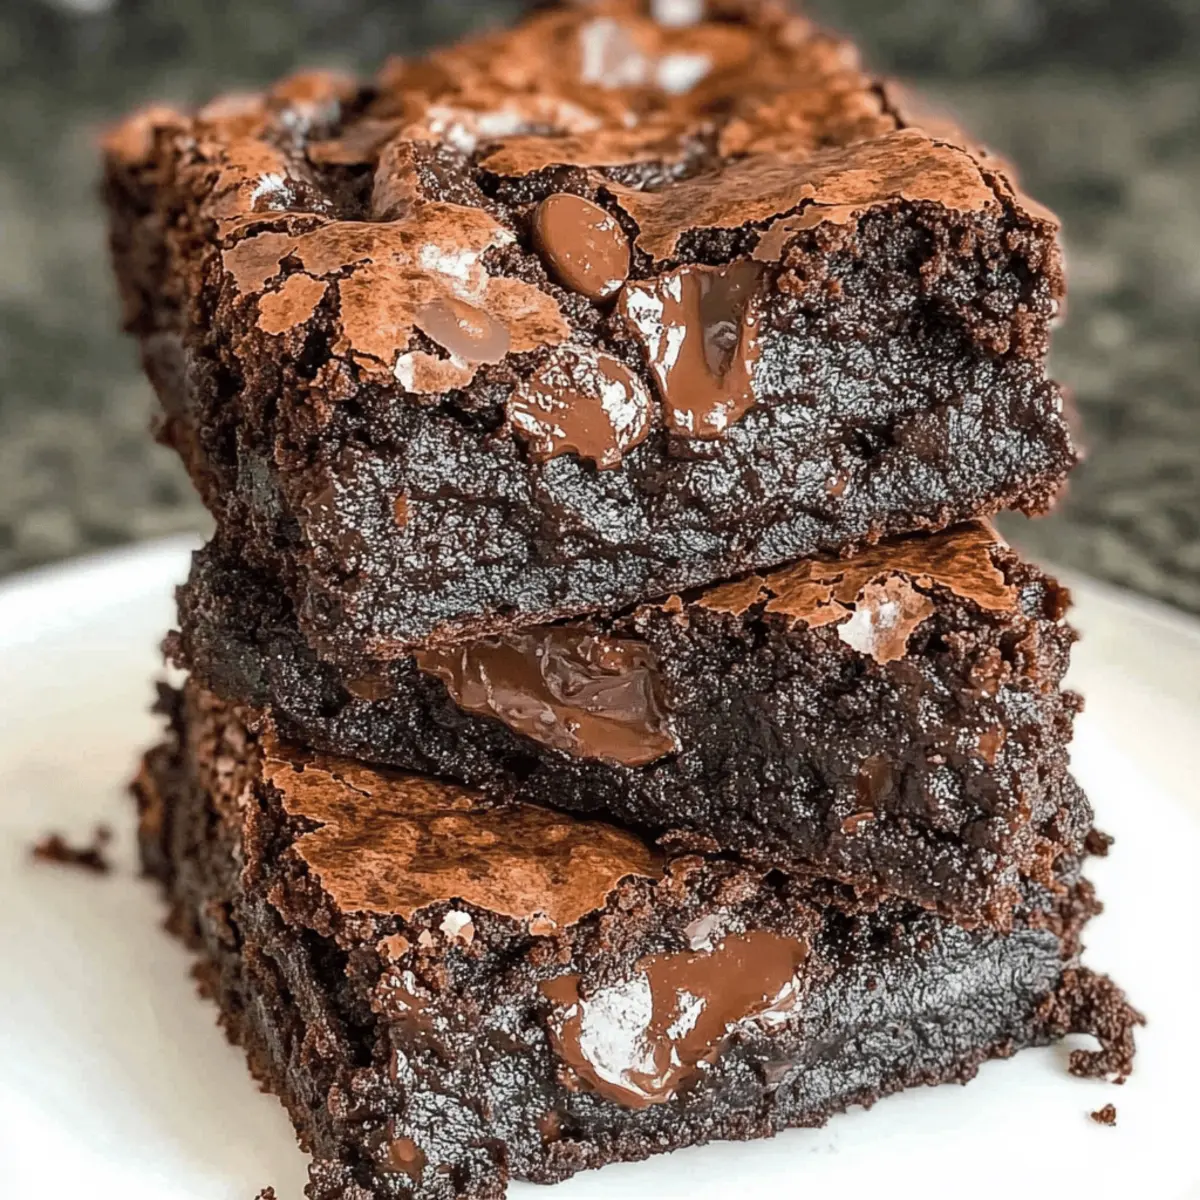
Fudgy Delight: Experience a perfect blend of chewy and fudgy textures that mimic classic brownies without any guilt!
Crowd-Pleaser: These brownies are sure to win over friends and family, making them a delightful addition to any gathering.
Try pairing them with a scoop of low-calorie ice cream or explore healthier options like Homemade Drinkable Yogurt to complement your dessert experience!
Greek Yogurt Brownie Ingredients
• Get ready to bake something delicious!
For the Brownie Batter
- Chocolate (1/2 cup, chopped) – Use dark or semi-sweet chocolate for a richer flavor.
- Vanilla Yogurt (1 cup) – Replaces butter/oil, maintaining moisture while keeping calories low.
- Sugar (1/2 cup) – Sweetens the brownies; consider white, brown, or sugar-free alternatives.
- All-Purpose Flour (3/4 cup) – Provides structure; for a gluten-free version, use a gluten-free all-purpose blend.
- Cocoa Powder (1/2 cup) – Adds depth to the chocolate flavor; opt for unsweetened.
- Baking Soda (1/2 teaspoon) – Acts as a leavening agent to help brownies rise.
- Milk (1/2 cup) – Enhances moisture; substitute with almond or any plant-based milk for dairy-free.
- Chocolate Chips (1 cup, optional) – Adds an extra layer of chocolatey goodness; choose dark, milk, or vegan chips.
Step‑by‑Step Instructions for Greek Yogurt Brownies
Step 1: Preheat the Oven
Begin by preheating your oven to 180°C (350°F). While it heats, line an 8×8 inch baking pan with parchment paper, letting the edges overhang slightly for easy removal. This step ensures your Greek Yogurt Brownies bake evenly and remove effortlessly once done.
Step 2: Melt the Chocolate
In a microwave-safe bowl, combine the chopped chocolate. Heat in short intervals of 30 seconds, stirring in between until fully melted and smooth. Let it cool slightly before whisking in the yogurt and sugar. This creates a rich, creamy base for your brownies that keeps them moist.
Step 3: Mix Dry Ingredients
In a separate bowl, whisk together the flour, cocoa powder, and baking soda until well combined. This ensures even distribution of the leavening agent and adds depth to your chocolate flavor. Gradually incorporate this dry mixture into the chocolate mixture, stirring until just combined to maintain the fudgy texture.
Step 4: Add Wet Ingredients
Pour in the milk and gently fold the mixture until fully combined. Be mindful not to over-mix, as this can affect the brownies’ texture. If desired, add chocolate chips for extra indulgence and fold them in gently. This final step brings all components together for a deliciously chocolatey batter.
Step 5: Bake the Brownies
Transfer the brownie batter into the prepared pan, spreading it evenly with a spatula. Bake in your preheated oven for 25-30 minutes, or until a toothpick inserted in the center comes out clean or with a few moist crumbs. This is key to achieving that perfect fudgy consistency in your Greek Yogurt Brownies.
Step 6: Cool and Slice
Once baked, remove the pan from the oven and let it cool in the pan for about 10 minutes. Then, carefully lift the brownies out using the parchment overhang and transfer them to a wire rack to cool completely. This cooling time is crucial for cleaner, more precise slices when you cut into your brownies.
Helpful Tricks for Greek Yogurt Brownies
Perfect Texture: Don’t over-mix: Mix until just combined after adding flour to keep your brownies fudgy and melt-in-your-mouth delicious.
Cooling Tip: Allow to cool completely: Cutting warm brownies can lead to messy slices; ensure they cool for cleaner cuts.
Sweetness Adjustment: Personalize your brownies: Reduce sugar for a less sweet treat based on your taste preferences while staying within the healthy brownie theme.
Oven Variability: Check doneness early: Oven temperatures can vary; test with a toothpick a few minutes before the recommended baking time.
Variation Friendly: Substitute wisely: For vegan Greek Yogurt Brownies, use a plant-based yogurt and flax egg to maintain the same fudgy quality.
What to Serve with Greek Yogurt Brownies
When it comes to serving these delightful brownies, the right accompaniments can elevate your dessert experience to a whole new level.
-
Vanilla Ice Cream: A scoop of creamy vanilla ice cream offers a cool contrast to the warm, fudgy texture of the brownies, creating a classic combination. It’s the ultimate treat—rich chocolate meets smooth, velvety creaminess that will leave you wanting more.
-
Fresh Berries: Brighten your plate with a handful of fresh strawberries or raspberries. Their tartness cuts through the sweetness of the brownies, providing a refreshing, juicy burst that enhances every bite.
-
Chocolate Dipping Sauce: Take indulgence up a notch with a warm chocolate sauce for dipping. The silky, rich sauce makes each brownie even richer, perfect for those extra chocolate cravings.
-
Whipped Coconut Cream: For a dairy-free option, top the brownies with fluffy whipped coconut cream. Its lightness and hint of coconut add a tropical twist that complements the chocolate perfectly.
-
Espresso or Coffee: Serve with a cup of strong espresso or brewed coffee for an energizing pairing. The bitterness of the coffee enhances the deep chocolate flavor of the brownies, making every bite even more decadent.
-
Nutty Granola: Crushed nutty granola sprinkled on top provides a delightful crunch that contrasts with the soft, fudgy brownies. This adds a great texture that’s sure to please everyone!
-
Caramel Drizzle: A drizzle of salted caramel over the brownies adds a luscious sweetness that beautifully balances with the rich chocolate. It’s a sweet twist that feels luxurious and indulgent.
-
Herbal Tea: Enjoy a warm cup of herbal tea alongside your brownies for a cozy experience. The lightness of chamomile or mint tea can cleanse the palate and enhance the flavors of your dessert.
Make Ahead Options
These Greek Yogurt Brownies are a fantastic choice for meal prep, allowing you to enjoy a sweet treat whenever you crave! You can prepare the batter up to 24 hours in advance by mixing all the ingredients together and keeping it tightly covered in the refrigerator. Alternatively, you can bake the brownies ahead of time and store them in an airtight container at room temperature for up to 5 days. To maintain their fudgy texture, ensure they are completely cooled before sealing. When you’re ready to indulge, simply slice and serve! These brownies are just as delicious the next day, making them perfect for busy weeknights or spontaneous dessert cravings.
Greek Yogurt Brownies: Variations & Substitutions
Feel free to customize these brownies to suit your taste buds! Each new twist can enhance their flavor and texture.
-
Vegan Option: Substitute yogurt with a plant-based yogurt and replace eggs with a flax egg for binding.
-
Gluten-Free: Use a gluten-free all-purpose flour blend instead of regular flour, ensuring everyone can join in the fun!
-
Nutty Flavor: Add 1/2 cup chopped nuts, like walnuts or pecans, to introduce a delightful crunch and extra nutrition.
-
Fruit Forward: Mix in 1/2 cup of mashed bananas or applesauce for natural sweetness and extra moisture.
-
Spiced Up: Infuse your batter with 1 teaspoon of cinnamon or a pinch of nutmeg for a warming, aromatic twist.
-
Chocolate Explosion: Toss in some chocolate chips or chunks, or even a dollop of nut butter, for increased indulgence.
-
Cocoa Deep Dive: Swap out some flour for additional cocoa powder to amplify the rich chocolatey flavor; just reduce sugar to balance.
-
Chilly Delight: Serve with a scoop of low-calorie ice cream or a splash of Homemade Drinkable Yogurt for a refreshing contrast!
Embrace your inner chef and let your creativity shine as you modify these delightful Greek Yogurt Brownies!
How to Store and Freeze Greek Yogurt Brownies
Room Temperature: Store brownies in a sealed container at room temperature for up to 5 days. This keeps them moist and fudgy for a delightful treat anytime!
Fridge: If you prefer a chilled brownie, keep them in the fridge. They’ll stay fresh for about 7 days, but make sure to wrap them tightly to prevent drying out.
Freezer: For longer storage, freeze brownies for up to 6 months. Cut them into squares, wrap individually in plastic wrap, and place in an airtight container.
Reheating: To enjoy frozen Greek Yogurt Brownies, simply thaw overnight in the fridge, then warm in the microwave for a few seconds before serving for that freshly baked experience!
Greek Yogurt Brownies Recipe FAQs
What type of yogurt works best for this recipe?
Absolutely! You can use vanilla, nonfat, or low-fat Greek yogurt. If you want to go dairy-free, simply substitute it with a plant-based yogurt, like almond or coconut, and still achieve that delicious fudgy texture.
How should I store Greek Yogurt Brownies?
To keep your brownies fresh and moist, store them in a sealed container at room temperature for up to 5 days. If you prefer a chilled treat, they can also be stored in the fridge for about 7 days, but make sure they’re wrapped tightly to prevent drying out.
Can I freeze Greek Yogurt Brownies?
Yes, you can freeze these brownies! Cut them into squares and wrap each piece individually in plastic wrap before placing them in an airtight container. They will last up to 6 months in the freezer. When you’re ready to eat, simply thaw them overnight in the fridge, and they’re ready to enjoy!
What do I do if my brownies come out too dry?
If you find your brownies are a bit dry, it could be due to overbaking. Always check the doneness a few minutes before the suggested time. If they are dry, I recommend adjusting your baking time next time and ensuring not to overmix the batter after adding the flour, which can make them tough.
Can these brownies be made gluten-free?
Very! To make your Greek Yogurt Brownies gluten-free, simply swap in a gluten-free all-purpose flour blend for the regular all-purpose flour. Look for blends that include xanthan gum for the best texture!
Are there options for those with sugar sensitivities?
Definitely! You can use sugar-free sweeteners or reduce the amount of sugar according to your taste. Alternatives like coconut sugar or agave syrup can also be used. Just remember to adjust the wet ingredients slightly if using liquid sugars!
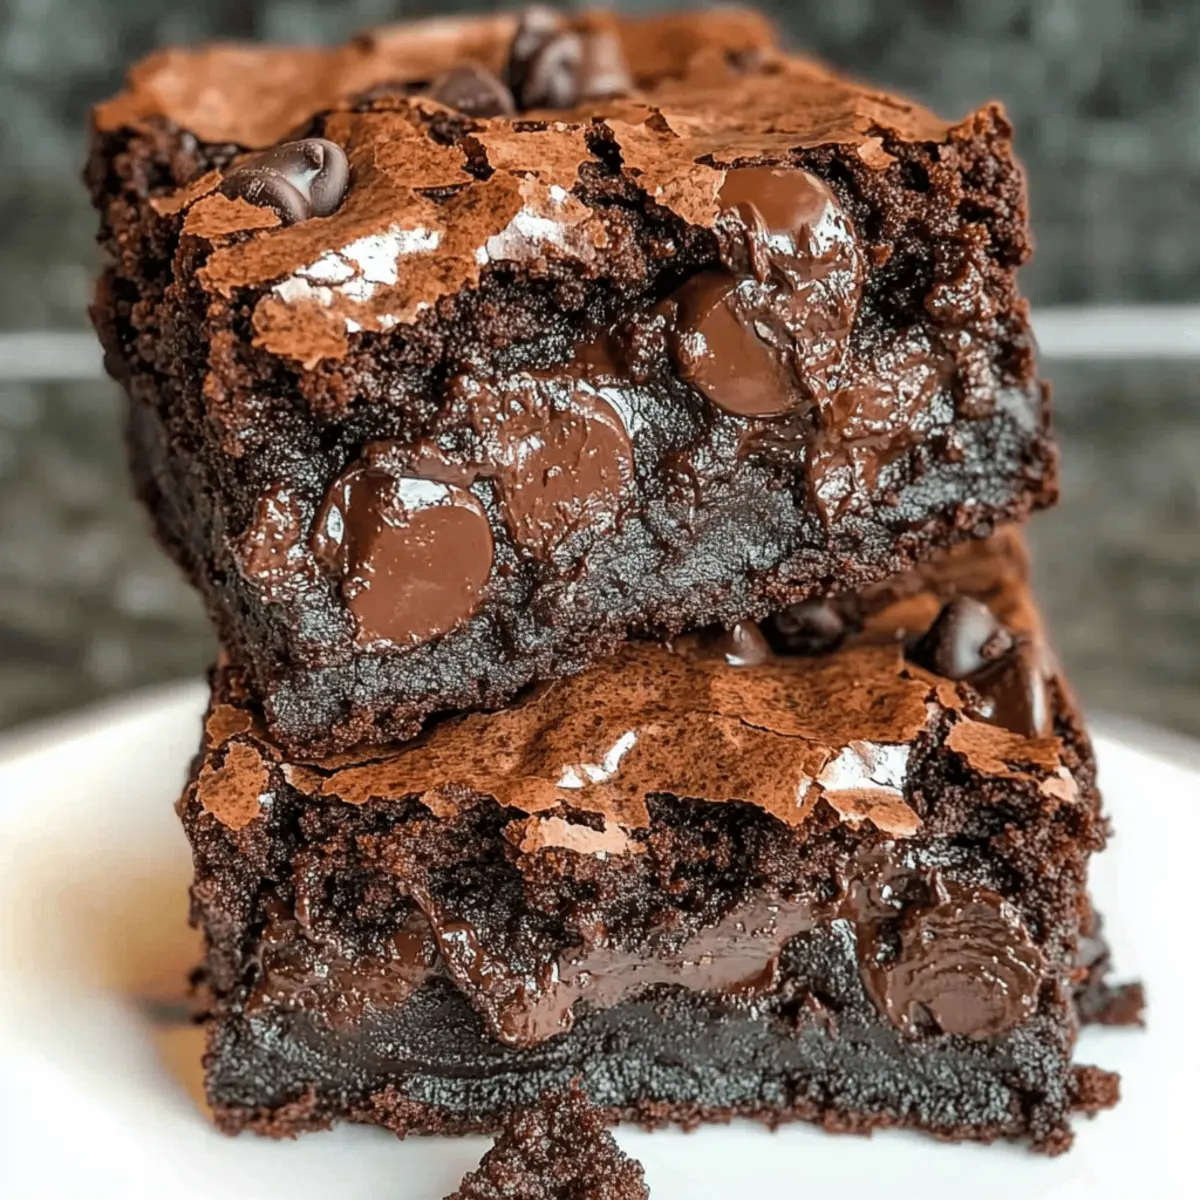
Greek Yogurt Brownies: Fudgy, Guilt-Free Chocolate Bliss
Ingredients
Equipment
Method
- Preheat your oven to 180°C (350°F) and line an 8x8 inch baking pan with parchment paper.
- In a microwave-safe bowl, melt the chopped chocolate in short intervals until smooth, then whisk in yogurt and sugar.
- Whisk together flour, cocoa powder, and baking soda, then gradually incorporate into the chocolate mixture until just combined.
- Pour in the milk and fold in gently with the chocolate chips, if using.
- Transfer the batter to the baking pan and bake for 25-30 minutes, or until a toothpick comes out clean.
- Allow to cool in the pan for 10 minutes before transferring to a wire rack to cool completely.


