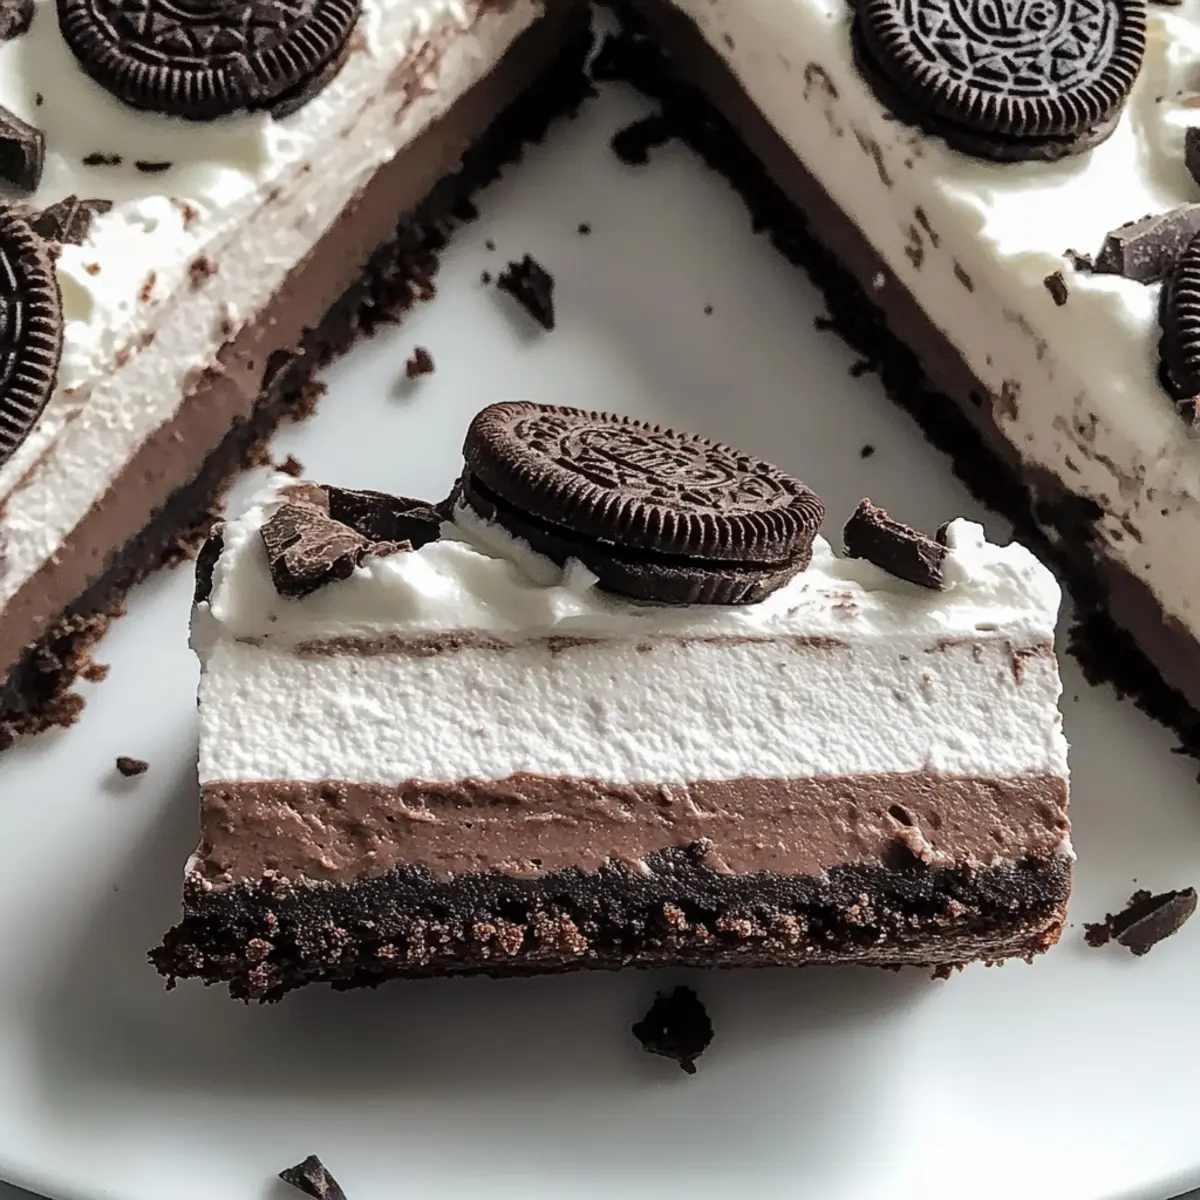
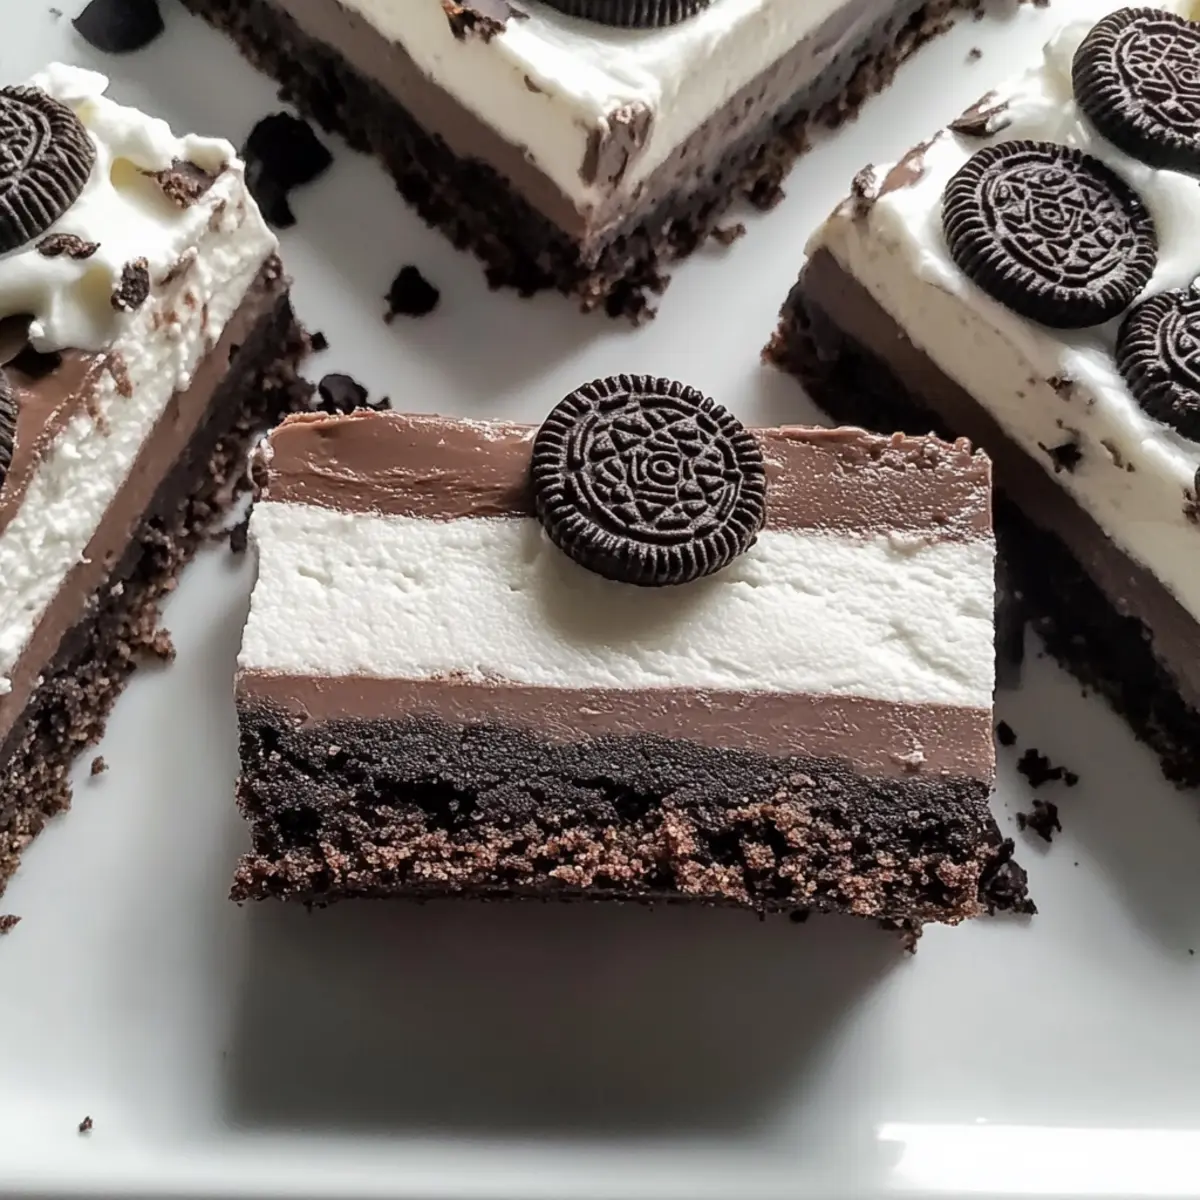
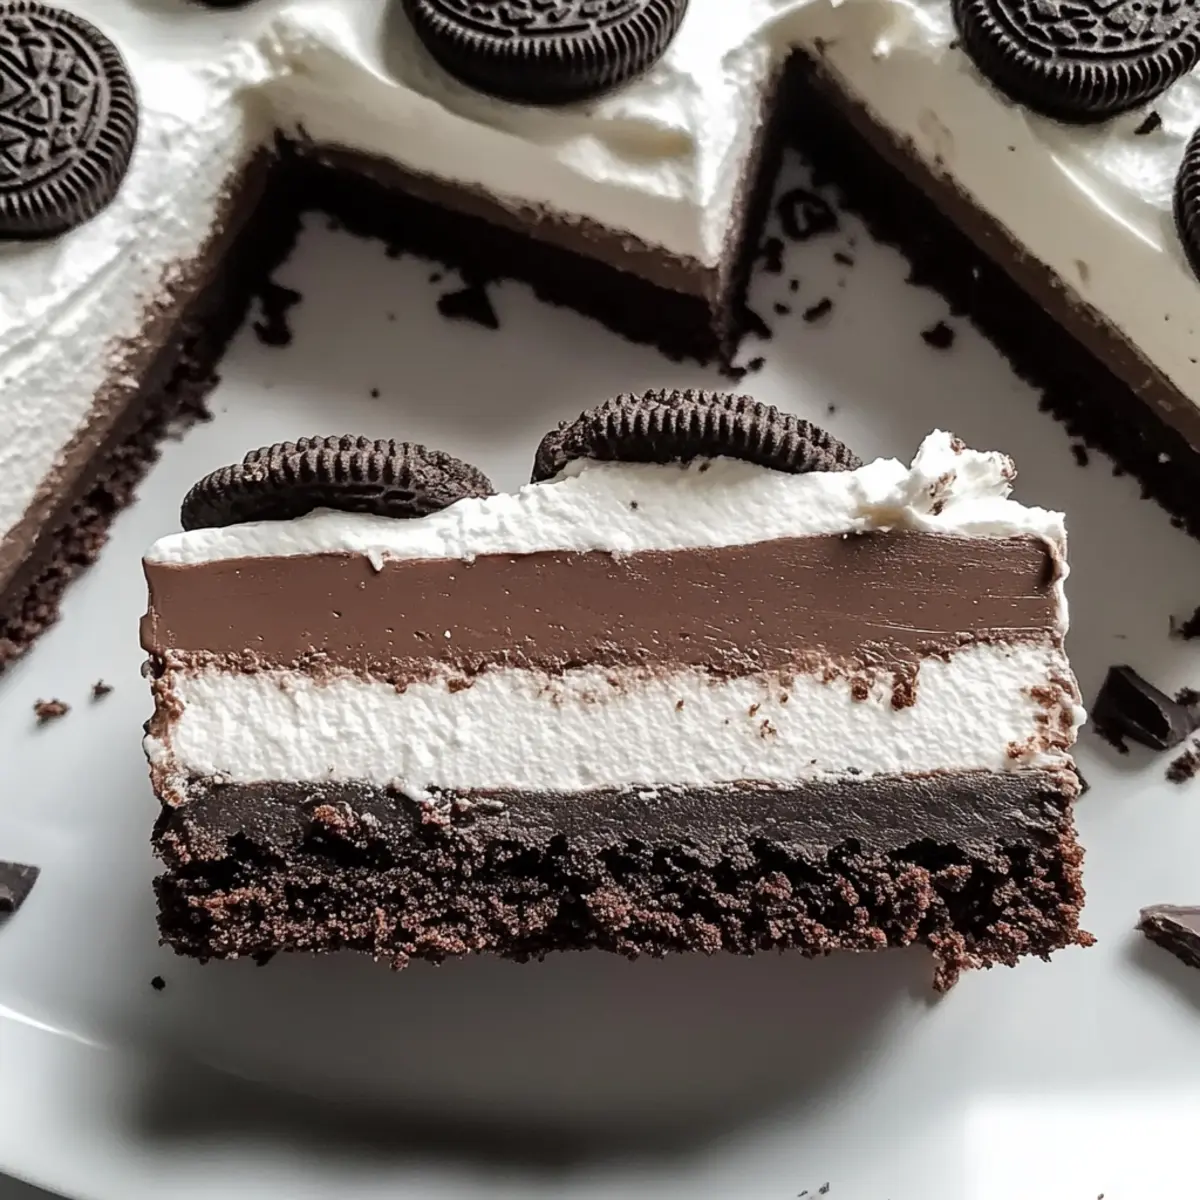
As I stood in my kitchen, a wave of nostalgia washed over me, reminding me of the time I first tasted a chocolate cream pie at my grandmother’s house. This inspired me to create a delectable twist on that classic—irresistible No-Bake Chocolate Cream Pie Bars. With a luscious chocolate filling nestled atop a crispy Oreo crust, these bars offer two incredible perks: they’re not only easy to whip up but also gluten-free and dairy-free adaptable, allowing all dessert lovers to enjoy a slice of joy. Whether you’re looking to impress your guests or simply satisfy a sweet craving, these bars promise to deliver on flavor without the fuss. Ready to dive into a dessert that’s as fun to make as it is to eat? Let’s get started!
Why are these Chocolate Cream Pie Bars irresistible?
Indulgent, The ultimate dessert for chocolate lovers, these pie bars boast a rich, creamy chocolate filling that melts in your mouth. No-Bake Ease, Perfect for busy days, you can whip these up in no time without the hassle of baking. Versatile Options, With gluten-free and dairy-free alternatives, everyone can savor a piece of this deliciousness. Make-Ahead Friendly, Prepare them in advance for gatherings—they keep beautifully in the fridge or freezer. Crowd-Pleasing, With their delightful blend of flavors and textures, they’re sure to impress at any gathering. Pair them with a scoop of vanilla ice cream or fresh berries for a delightful contrast!
Chocolate Cream Pie Bars Ingredients
For the Crust
- Oreo cookie crumbs – Provides the crispy base for the dessert; substitute with gluten-free Oreos for a gluten-free version.
- Unsalted butter (5 tbsp) – Binds the cookie crumbs together, creating a solid crust; use vegan butter for a dairy-free option.
For the Filling
- Heavy whipping cream (1 cup) – Adds richness to the filling and is used for the whipped topping; dairy alternatives can be used for a non-dairy option.
- Semi-sweet chocolate chips (5 oz) – Key ingredient for the chocolate flavor; use high-quality brands for better taste. Dark chocolate can be substituted for a richer flavor.
- Full-fat cream cheese (6 oz) – Adds creaminess and a slight tang to the filling; Neufchâtel cheese can be used as a lighter option.
- Powdered sugar (1 ½ cups) – Sweetens the filling; can be reduced for less sweetness or substituted with a sugar alternative.
- Unsweetened cocoa powder (⅓ cup) – Enhances chocolate flavor; Dutch-processed cocoa can be used for a milder flavor.
- Vanilla extract (2 tsp) – Adds depth of flavor; ensure it’s pure for the best taste.
- Salt (½ tsp) – Enhances sweetness and balances flavors.
For the Topping
- Additional heavy cream – Whipped and spread on top adds a delightful finish.
- Chocolate shavings – A beautiful garnish that elevates the presentation of your Chocolate Cream Pie Bars.
Step‑by‑Step Instructions for Chocolate Cream Pie Bars
Step 1: Preheat and Prepare
Preheat your oven to 350°F (175°C) while you line an 8×8 inch baking pan with parchment paper, leaving some overhang for easy removal later. This will ensure your bars have a crisp and sturdy base when baked.
Step 2: Make the Crust
In a food processor, pulse Oreo cookies until finely crushed, then combine with melted butter until evenly mixed. Press this crumb mixture firmly into the bottom of your prepared baking pan. Bake for 10 minutes until set, then remove and let it cool completely while you prepare the filling.
Step 3: Whip the Cream
In a stand mixer fitted with a whisk attachment, beat 1 cup of heavy cream along with 1 ½ cups of powdered sugar on medium-high speed. Continue whipping until the mixture forms firm peaks, which usually takes about 3-5 minutes. Once done, transfer it to the refrigerator to chill while you work on the next steps.
Step 4: Melt Chocolate and Butter
Set up a double boiler by simmering a small pot of water and placing a heatproof bowl on top. Add 5 oz of semi-sweet chocolate chips and 5 tablespoons of unsalted butter, stirring continually until melted and smooth, which should take about 5 minutes. Remove from heat and let it cool slightly before using.
Step 5: Prepare the Filling
In a mixing bowl, beat 6 oz of full-fat cream cheese until smooth and creamy. Gradually mix in the cooled chocolate mixture along with 1 ½ cups of powdered sugar, ⅓ cup of unsweetened cocoa powder, 2 teaspoons of vanilla extract, and ½ teaspoon of salt until well combined and fluffy.
Step 6: Combine Whipped Cream and Filling
Take the chilled whipped cream from the refrigerator and gently fold it into the chocolate mixture using a spatula. Be careful not to deflate the whipped cream; continue folding until no streaks remain and the filling is light and airy.
Step 7: Assemble the Bars
Spread the luscious chocolate filling evenly over the cooled Oreo crust using a spatula for a smooth finish. Make sure to cover all the corners and edges. This layer is what makes your Chocolate Cream Pie Bars truly indulgent, so take your time to spread it nicely.
Step 8: Chill to Set
Cover the pan with plastic wrap and refrigerate for at least 3 hours, or preferably overnight, to allow the filling to set properly. This will help the bars maintain their shape when sliced and enhance the flavors.
Step 9: Add Topping
Once the bars are set, whip an additional cup of heavy cream with a little sugar until soft peaks form. Spread this whipped cream over the chocolate filling, creating a light and delicious topping. Finish with chocolate shavings for that elegant touch.
Step 10: Slice and Serve
Using the parchment overhang, lift the bars from the pan and place them on a cutting board. Use a hot knife for clean slices and serve your Chocolate Cream Pie Bars chilled, offering a rich, delightful experience with every bite.
Expert Tips for Perfect Chocolate Cream Pie Bars
- Chill Overnight: For cleaner slices, let the bars chill overnight. This hardens the filling and makes cutting much easier without mess.
- Cool the Chocolate: Ensure the melted chocolate mixture has cooled before adding to cream cheese; this prevents a runny filling in your Chocolate Cream Pie Bars.
- Preheat Properly: Always preheat your oven to ensure the crust sets correctly. Skipping this step can lead to a soggy base.
- Whipped Cream Care: Gently fold your whipped cream into the filling to maintain a light, airy texture—this is key to achieving that decadent mouthfeel!
- Storage Tips: Store leftovers in an airtight container in the fridge for up to 4 days. They also freeze well for two months, but remember to thaw in the fridge before serving!
What to Serve with Irresistible No-Bake Chocolate Cream Pie Bars
Indulging in rich, chocolatey goodness is a treat best enjoyed alongside complementary flavors and textures that balance each bite.
- Fresh Berries: Juicy raspberries or strawberries cut through the richness of the bars, providing a tart contrast that enhances the chocolate experience.
- Vanilla Ice Cream: A scoop of creamy vanilla ice cream adds a classic touch and delightful coolness against the luscious chocolate filling.
- Whipped Topping: Light and airy whipped cream nestled on top creates an inviting layer, mirroring the fluffy texture of the pie bars while making them even more indulgent.
- Espresso or Coffee: The bold flavors of a rich coffee or espresso intensify the chocolate, creating a harmonious pairing that coffee lovers will adore.
- Chocolate Drizzle: A drizzle of melted chocolate over the bars not only enriches the visual appeal but also delivers an extra chocolate punch for those who can’t get enough.
- Crushed Nuts: Sprinkle crushed walnuts or pecans over the bars for a crunchy texture that contrasts beautifully with the creamy filling. The nutty flavor elevates the overall taste experience.
- Mint Tea: A soothing mint tea can refresh the palate and provide a bright finish after the indulgent sweetness of these bars.
- Coconut Whipped Cream: For a tropical twist, using coconut cream as a topping brings a delightful flavor that complements the chocolate while keeping it dairy-free.
With these pairing ideas, you’ll transform your treat into a delightful dessert experience that will leave everyone craving more!
How to Store and Freeze Chocolate Cream Pie Bars
Fridge: Keep your Chocolate Cream Pie Bars in an airtight container for up to 4 days. This helps maintain their creamy texture and flavor while keeping them fresh.
Freezer: These bars freeze beautifully! Wrap them tightly in plastic wrap and store in an airtight container for up to 2 months. Thaw in the fridge before serving for the best taste.
Reheating: There’s no need to reheat; simply enjoy these bars cold straight from the fridge or after thawing from the freezer. They maintain their delightful taste and texture!
Serving Tips: For an added touch, garnish with fresh berries or a drizzle of chocolate sauce just before serving for an extra-special treat.
Make Ahead Options
These delectable Chocolate Cream Pie Bars are perfect for busy weeknights or gatherings, allowing you to prep in advance for a sweet treat that everyone will love! You can make the crust up to 24 hours ahead and store it tightly wrapped in the fridge, which ensures that it stays fresh and maintains its crispness. Additionally, the filling can be made and refrigerated for up to 3 days prior—just be sure to store it in an airtight container to keep it from absorbing any odors. When you’re ready to enjoy, simply assemble the bars with the prepared filling, chill, and whip a fresh topping before serving for delightful results that are just as delicious as when freshly made!
Chocolate Cream Pie Bars Variations
Feel free to let your creativity shine by customizing these delectable bars to suit your taste preferences and dietary needs!
- Gluten-Free: Swap out Oreo crumbs for gluten-free chocolate sandwich cookies to maintain that delicious crust without gluten.
- Dairy-Free: Use coconut cream and dairy-free butter for a rich and creamy filling everyone can enjoy.
- Mocha Flavor: Add a teaspoon of espresso powder to the filling for a delightful coffee twist that enhances the chocolate richness.
- Nutty Texture: Incorporate finely chopped nuts like walnuts or pecans into the crust for added crunch and flavor depth.
- Fruit Infusion: Layer fresh raspberries or strawberries between the crust and filling for a fruity surprise that complements the chocolate.
- Minty Freshness: Mix in a few drops of peppermint extract into the filling for a refreshing mint chocolate combination.
- Salted Caramel: Drizzle homemade or store-bought caramel sauce over the chocolate filling before adding the whipped cream for a sweet and salty kick.
- Vegan Delight: Opt for full vegan substitutes across all ingredients, ensuring everyone can indulge in these rich bars.
There’s so much joy in experimenting! If you love chocolate desserts, why not give these variations a whirl? Pair your bars with some fresh berries or serve alongside a scoop of ice cream like in my Banana Cream Pies for a delightful contrast. Enjoy every bite!
Chocolate Cream Pie Bars Recipe FAQs
How do I choose the best ingredients for my Chocolate Cream Pie Bars?
Absolutely! For the crust, using fresh Oreo cookie crumbs is key for that perfect crispy base. If you’re going gluten-free, opt for gluten-free Oreo cookies. When selecting chocolate chips, go for high-quality semi-sweet or dark chocolate for a richer flavor. Freshness also matters with cream cheese and heavy cream, so check expiration dates before starting your recipe!
What is the best way to store leftover Chocolate Cream Pie Bars?
Very! Store the bars in an airtight container in the fridge for up to 4 days. This helps preserve their creamy texture and flavor. Just remember to keep them covered to avoid any unwanted moisture or odors from other foods in your fridge.
Can I freeze my Chocolate Cream Pie Bars?
Absolutely! These bars freeze wonderfully. Wrap them tightly in plastic wrap and place them in an airtight container. They can be kept in the freezer for up to 2 months. When you’re ready to savor them, just thaw them in the fridge overnight for the best taste.
What if my Chocolate Cream Pie Bars filling is too runny?
Sometimes, this can happen! If your filling turns out runnier than expected, make sure that the melted chocolate is cooled before mixing it with the cream cheese. If it’s already mixed, you can whip in a little more powdered sugar to thicken it. Next time, ensure the whipped cream is folded carefully into the mixture to maintain that airy texture!
Are there any dietary considerations I should keep in mind for Chocolate Cream Pie Bars?
Yes! If you’re catering to various dietary needs, you can easily adapt this recipe. For a gluten-free version, use gluten-free Oreos and be mindful of other ingredients. If you have dairy allergies, opt for vegan butter and coconut cream to replace dairy components. Always check labels to guarantee all ingredients meet your dietary requirements.
How long will my Chocolate Cream Pie Bars last in the fridge?
These delicious bars can safely be stored in the fridge for up to 4 days. Just ensure they are covered properly to retain that fresh taste. If you’re planning a gathering or special occasion, consider making them a day in advance; they taste even better after chilling overnight!
Decadent Chocolate Cream Pie Bars Everyone Will Love
Ingredients
Equipment
Method
- Preheat your oven to 350°F (175°C) and line an 8x8 inch baking pan with parchment paper.
- Pulse Oreo cookies in a food processor until finely crushed, then combine with melted butter. Press into the bottom of the pan and bake for 10 minutes. Let cool.
- In a stand mixer, beat the heavy cream and powdered sugar until firm peaks form. Chill in the refrigerator.
- Set up a double boiler and melt chocolate chips and butter until smooth. Let cool slightly.
- In a mixing bowl, beat cream cheese until smooth, then mix in cooled chocolate, powdered sugar, cocoa powder, vanilla extract, and salt until fluffy.
- Gently fold the chilled whipped cream into the chocolate mixture until no streaks remain.
- Spread the chocolate filling over the cooled crust evenly.
- Cover and refrigerate for at least 3 hours or overnight to set.
- Whip an additional cup of heavy cream until soft peaks form, spread on the chocolate filling, and top with chocolate shavings.
- Lift the bars from the pan using the parchment overhang, slice with a hot knife, and serve chilled.