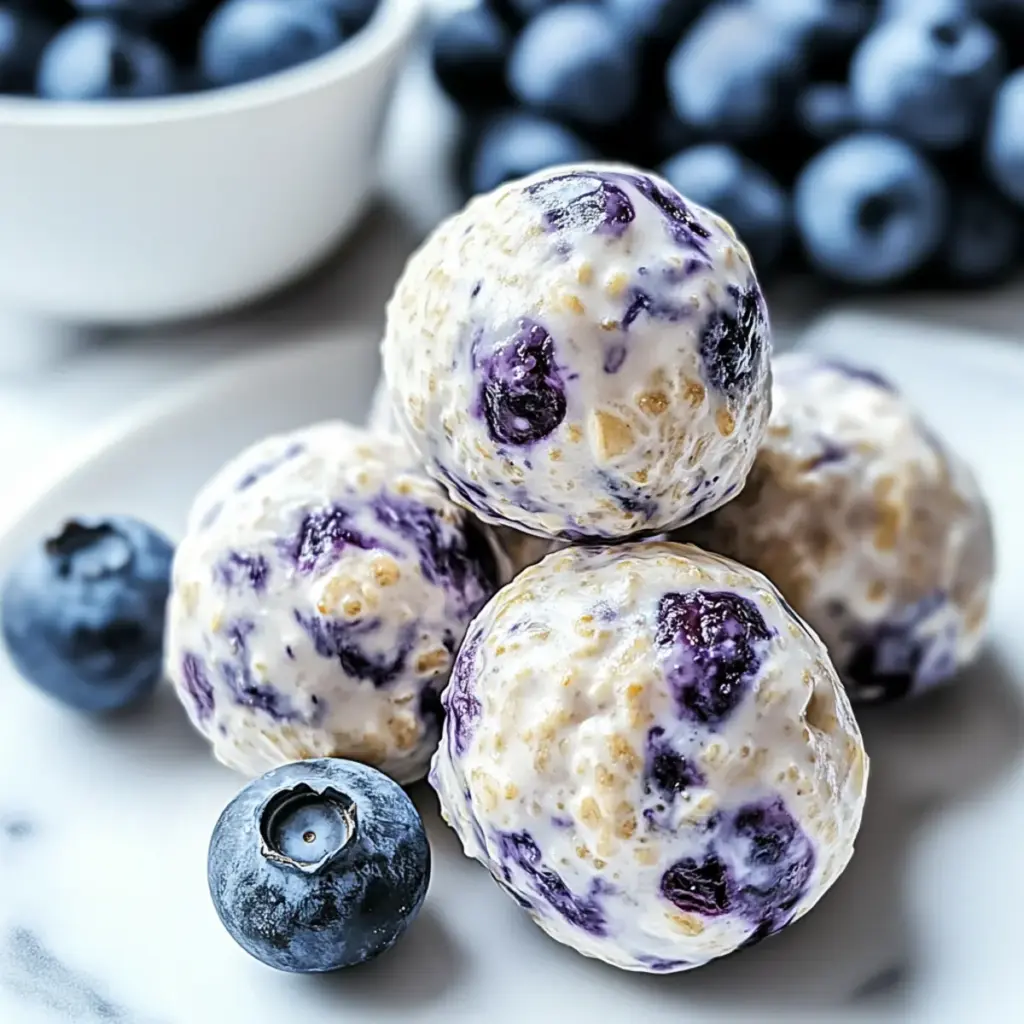
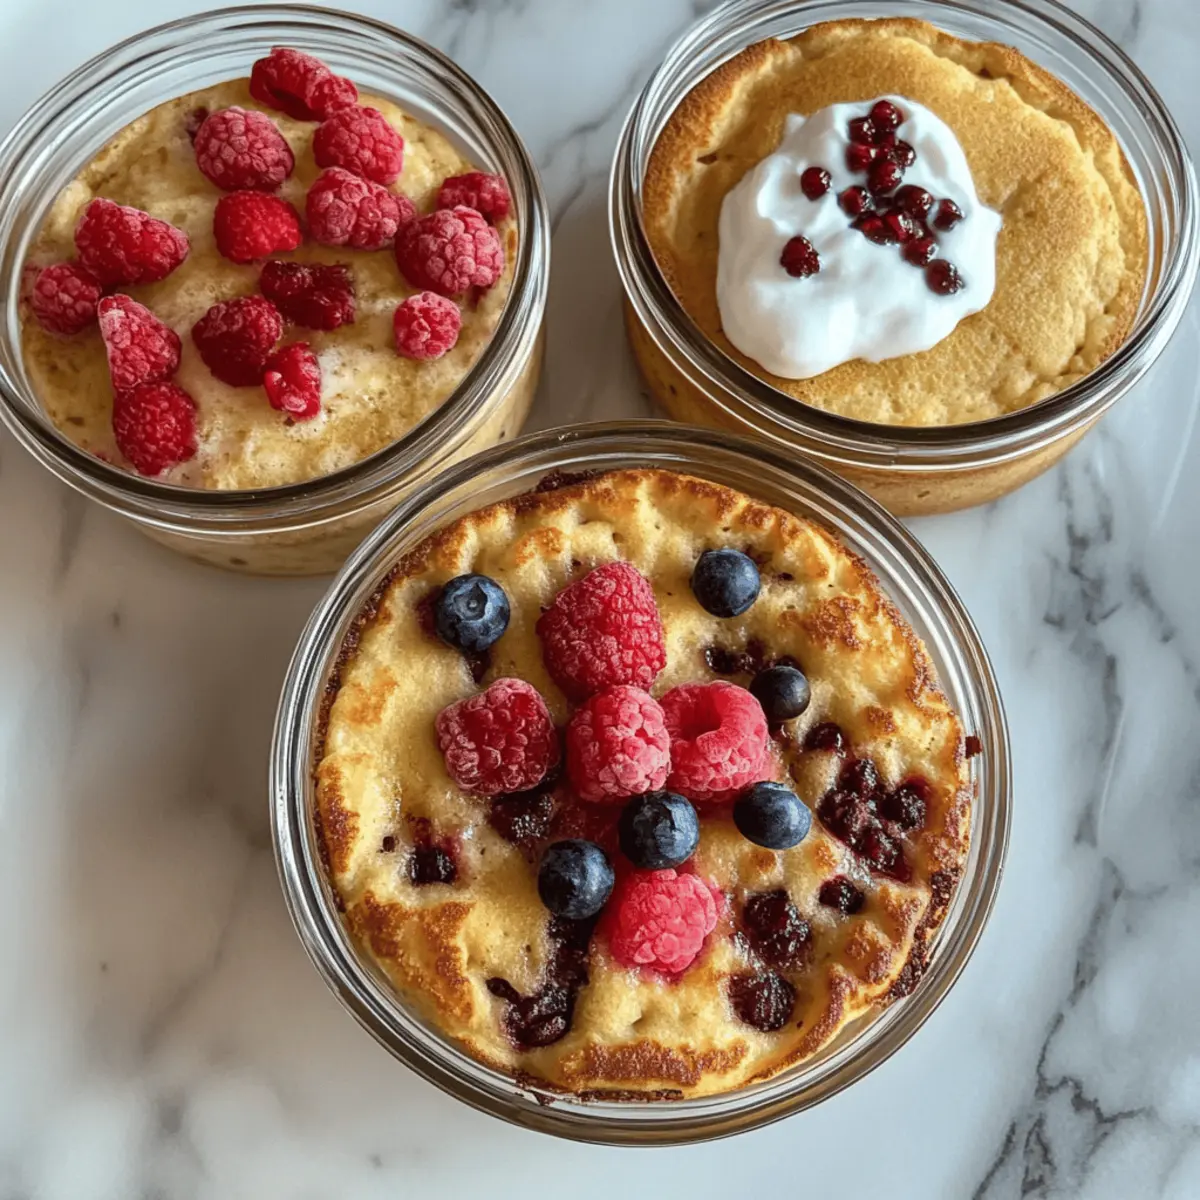
You know that moment when you realize breakfast can be both satisfying and healthy? That’s exactly what I felt when I first tried these Single Serving Fluffy Baked Protein Pancake Bowls. Bursting with an impressive 31 grams of protein, they’re not just your average early meal; they redefine what a high-protein breakfast can be. Perfect for busy mornings, these delicious bowls eliminate the hassle of flipping pancakes while still delivering that classic, comforting taste we all crave. Plus, they’re incredibly easy to prep and can be made ahead for meal prep, making them a fantastic choice for anyone tired of fast food routines. So, are you ready to indulge in some guilt-free deliciousness?
Why are Baked Protein Pancake Bowls a game-changer?
Nutritious Delight: Packed with 31 grams of protein, these pancake bowls turn breakfast into a powerhouse meal that fuels your day.
Effortless Preparation: The baking method means no flipping or fussing—just mix, bake, and enjoy!
Versatile Toppings: Customize with your favorite fruits or nuts for added flavor and fun—think of serving with a dollop of yogurt or a drizzle of sugar-free syrup.
Meal Prep Friendly: Perfect for busy schedules, these bowls can be made ahead and stored in the fridge for quick, healthy breakfasts all week!
Low Sugar Option: With a customizable sweetener choice, you can adapt these bowls to fit your dietary needs.
If you’re looking for more breakfast inspiration, don’t forget to check out the delightful Chocolate Protein Pudding or the easy-to-make Baked Ranch Chicken for your meal prep needs!
Baked Protein Pancake Bowls Ingredients
Here’s everything you’ll need to whip up these wholesome pancake bowls.
For the Batter
- Egg – Provides structure and richness; can substitute with a flax egg for vegan options.
- Yogurt (Vanilla or Unflavored) – Adds moisture and contributes to fluffiness; Greek yogurt enhances protein content.
- Milk (Soy or Almond) – Liquid for the batter that maintains moisture; any milk suits dietary preferences.
- All-Purpose Flour – Main dry ingredient for structure; substitute with spelt, oat, gluten-free flour, or buckwheat flour for variations in texture.
- Protein Powder (Vanilla or White Chocolate) – Enhances protein content and flavor; use equal parts flour if omitting protein powder.
- Sweetener (Zero-Calorie Granulated) – Optional for added sweetness; can be replaced with sugar, honey, or omitted entirely.
- Baking Powder – Essential for leavening, ensuring pancakes rise and remain fluffy.
Optional Toppings
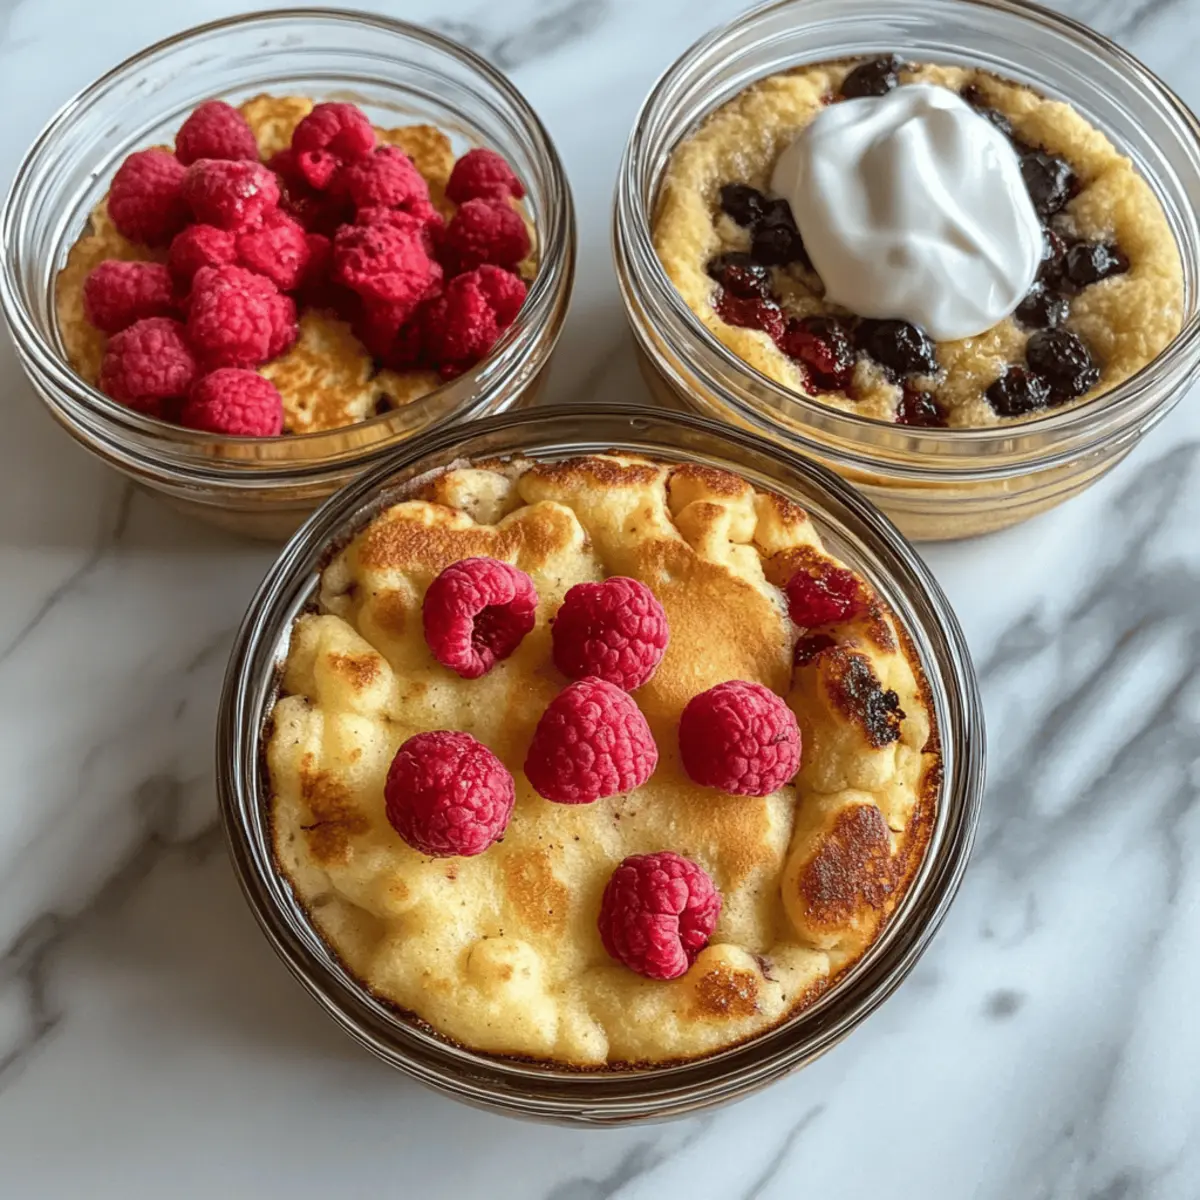
- Fresh Fruit – Adds vibrant color and natural sweetness; berries or banana slices work beautifully.
- Yogurt – A dollop on top brings extra creaminess and protein; consider flavored options for variety.
- Sugar-Free Syrup – A drizzle provides a touch of sweetness without the calories.
These Baked Protein Pancake Bowls are not just a breakfast; they are a simple yet delightful way to nourish your body and jumpstart your day!
Step‑by‑Step Instructions for Baked Protein Pancake Bowls
Step 1: Preheat the Oven
Begin by preheating your oven to 180°C (356°F). This ensures that the environment is ready for your batter to bake evenly, allowing the Baked Protein Pancake Bowls to rise nicely. While the oven heats, you can prepare your mixing area and gather all your ingredients.
Step 2: Mix Wet Ingredients
In an oven-safe glass bowl, crack an egg, then add yogurt and your choice of milk. Using a whisk or fork, mix the ingredients together thoroughly until the mixture is smooth and slightly frothy. This crucial step adds moisture and richness, creating a light base for your pancake bowls.
Step 3: Combine Dry Ingredients
Next, incorporate all-purpose flour, protein powder, optional sweetener, and baking powder into the wet mixture. Stir gently until just combined, avoiding over-mixing to maintain fluffiness. The batter should have a thick yet pourable consistency. This blend will create the sumptuous texture you’ll savor in every bite of your Baked Protein Pancake Bowls.
Step 4: Add Toppings
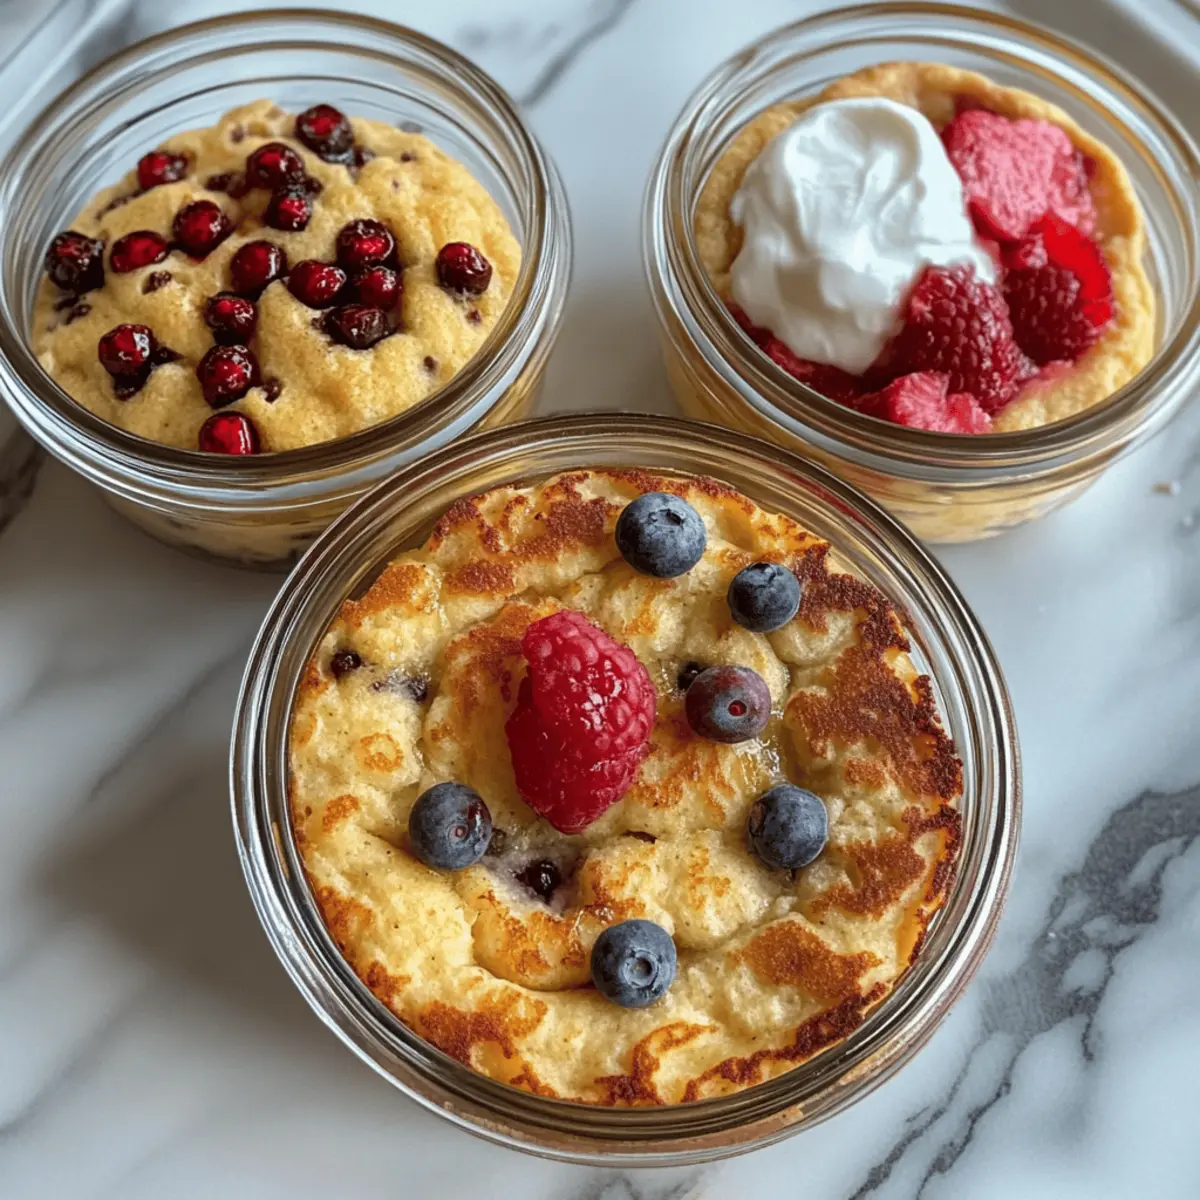
Now comes the fun part! If you’d like to enhance your pancake bowls, sprinkle in your desired toppings, such as fresh fruit or mini chocolate chips. Gently fold them into the batter, ensuring even distribution. These additions will provide bursts of flavor, transforming your Baked Protein Pancake Bowls into a personalized breakfast delight.
Step 5: Bake the Mixture
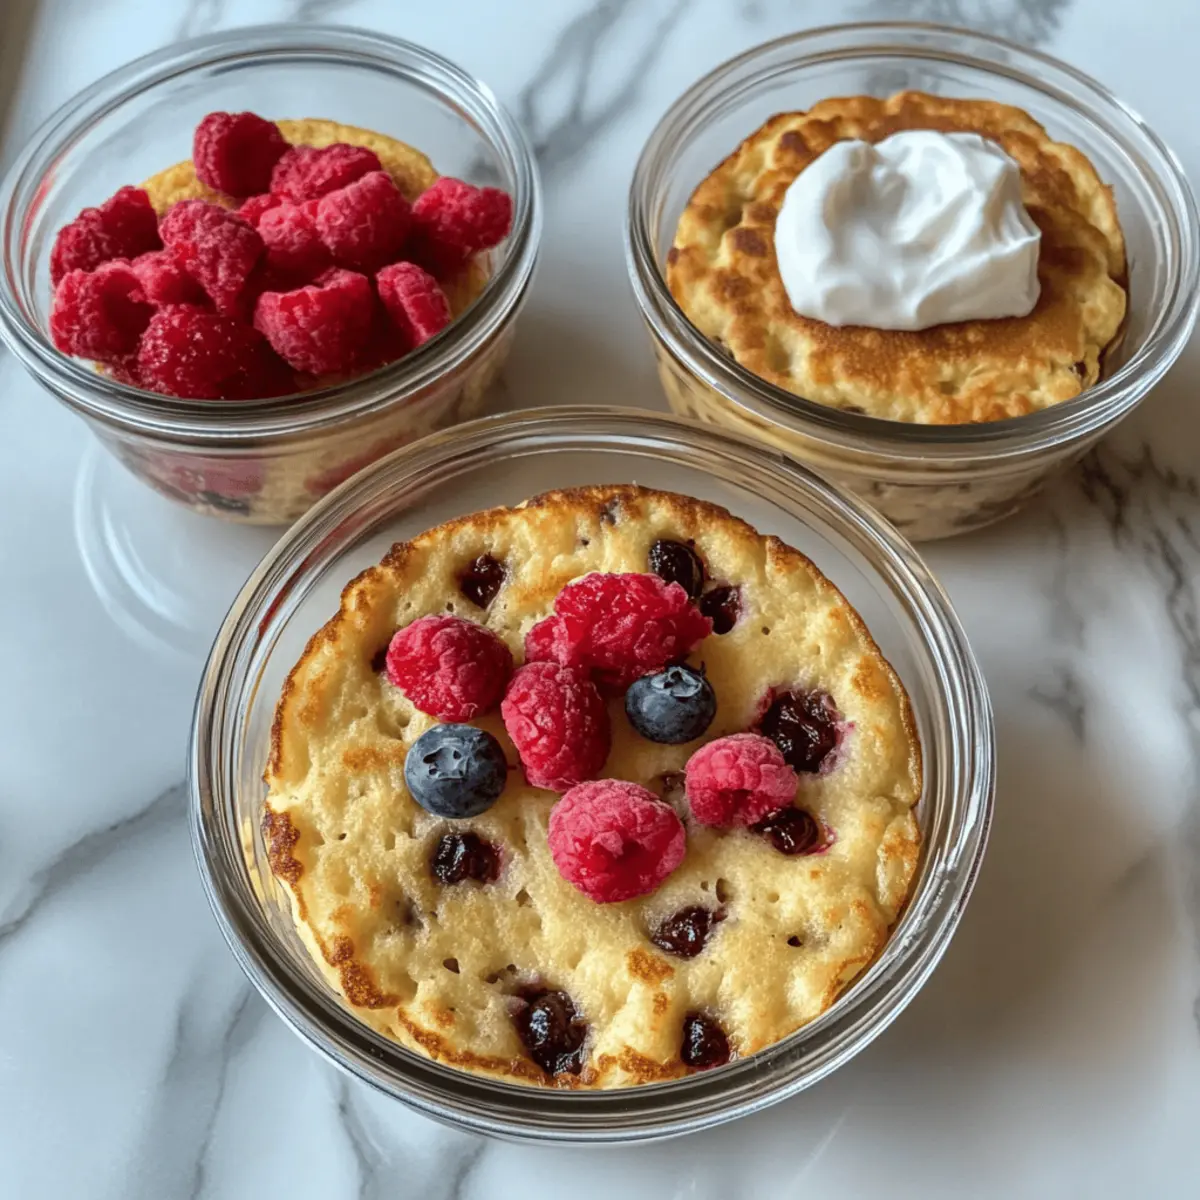
Carefully place the bowl into the preheated oven and bake for 20-22 minutes. Keep an eye on your pancake bowls; they should rise and become lightly golden on the edges. A toothpick or skewer inserted into the center should come out clean, indicating that they are fully cooked and ready to enjoy.
Step 6: Cool and Serve
Once baked, allow your Baked Protein Pancake Bowls to cool in the oven for about 5-10 minutes. This resting time helps the bowls set properly. Once cool, consider topping them with an extra dollop of yogurt or a drizzle of maple syrup for added creaminess and flavor. Enjoy your nutritious breakfast!
Expert Tips for Baked Protein Pancake Bowls
-
Ingredient Swaps: Don’t hesitate to experiment with substitutions like using a flax egg for a vegan option or gluten-free flour to meet dietary needs.
-
Avoid Overmixing: Keep the batter light by mixing just until combined; this helps ensure your Baked Protein Pancake Bowls remain fluffy and tender.
-
Check for Doneness: Use a skewer to test; if it comes out clean, your pancake bowls are ready. Bake longer if needed for a perfect cook.
-
Portion Control: For meal prep, measure out each ingredient into individual bowls to maintain consistency across your pancake bowls.
-
Stay Moist: If using a whey protein powder, be mindful of moisture levels; you may need to adjust the liquid content slightly for the right texture.
Make Ahead Options
These Fluffy Baked Protein Pancake Bowls are perfect for meal prep! You can prepare the batter up to 24 hours in advance; simply mix all the wet and dry ingredients together as instructed and refrigerate the mixture in an oven-safe bowl. This way, the batter stays fresh, ensuring quality and flavor when you bake. Just before you’re ready to enjoy, take the batter out, give it a gentle stir, add your favorite toppings, and bake as usual. This method not only saves you time on busy mornings but also ensures that you have a delicious, protein-packed breakfast ready with minimal effort!
Baked Protein Pancake Bowls Variations
Feel free to get creative with these pancake bowls and make them your own—each twist adds a delightful spin!
- Dairy-Free: Swap yogurt for applesauce to make a deliciously moist, dairy-free bowl.
- Chocolate Twist: Use chocolate protein powder for an indulgent flavor that satisfies your sweet tooth.
- Spiced Delight: Add cinnamon or nutmeg for a cozy, warm flavor that elevates your breakfast experience.
- Gluten-Free Option: Replace all-purpose flour with gluten-free flour blend for a safe alternative without sacrificing texture.
- Fruit-Infused: Stir in fresh blueberries or sliced bananas into the batter for bursts of fruity goodness.
- Nutty Profile: Incorporate chopped nuts like walnuts or almonds for a delightful crunch and extra healthy fats.
- Savory Style: For a unique twist, add a pinch of salt and fold in some cooked spinach and feta for healthy savory bowls.
- Batch Making: Prepare multiple bowls at once and freeze them for quick breakfasts all week long.
For more ideas, don’t miss the flavorful Baked Teriyaki Salmon for a nutritious lunch or dinner option after your energizing breakfast!
What to Serve with Single Serving Fluffy Baked Protein Pancake Bowls
Elevate your breakfast experience with delightful pairings that enhance every delicious bite of your pancake bowls.
-
Fresh Berries: The vibrant sweetness of strawberries, blueberries, or raspberries complements the protein-packed pancakes beautifully. Their juicy pop adds a refreshing contrast.
-
Greek Yogurt: A dollop of creamy Greek yogurt not only enhances the protein content but also provides a luscious texture that elevates your breakfast bowl. It’s perfect for dipping!
-
Nut Butter Drizzle: Peanut or almond butter adds a rich, nutty flavor that pairs harmoniously with the fluffy pancakes while boosting healthy fats. Plus, it’s oh-so-satisfying!
-
Sliced Bananas: Bananas add natural sweetness and creaminess, making them the perfect topping. They bring a comforting familiarity to your breakfast experience.
-
Sugar-Free Maple Syrup: A drizzle of sugar-free syrup brings the classic sweetness of pancakes without the guilt. It settles into the fluffy texture, creating a delectable contrast.
-
Chia Seed Pudding: For a nutritious twist, serve alongside chia seed pudding. Its creamy texture and versatility in flavor can beautifully complement your pancake bowls.
-
Cinnamon Almond Milk: A glass of warm cinnamon almond milk offers cozy flavor and hydration. It serves as a soothing sip alongside your energizing pancake dish.
-
Coffee or Tea: Pair your breakfast with a warm cup of coffee or herbal tea. The aromatic notes will perfectly round out your morning routine and awaken your senses.
-
Dark Chocolate Chips: Sprinkle some dark chocolate chips on top for an indulgent touch. They melt into the warm pancake bowls, adding a touch of sweetness that feels like dessert.
How to Store and Freeze Baked Protein Pancake Bowls
-
Fridge: Store in an airtight container for up to 5 days. These Baked Protein Pancake Bowls can be enjoyed as quick grab-and-go breakfasts throughout the week.
-
Freezer: For longer storage, freeze the pancake bowls for up to 1 month. Make sure to wrap them tightly in plastic wrap or foil before placing them in a freezer-safe bag.
-
Defrosting: To enjoy frozen pancake bowls, thaw them overnight in the fridge. This helps maintain texture and flavor.
-
Reheating: Pop the thawed Baked Protein Pancake Bowls in the microwave for 30-60 seconds until warmed through. Add a dash of yogurt or syrup to amp up the taste!
Baked Protein Pancake Bowls Recipe FAQs
What type of egg can I use in these pancake bowls?
Absolutely! You can use a regular chicken egg for the best structure and richness. For a vegan alternative, a flax egg works perfectly—simply mix 1 tablespoon of ground flaxseed with 2.5 tablespoons of water, let it sit for a few minutes until it thickens, and then use it in place of a traditional egg.
How should I store Baked Protein Pancake Bowls?
Store your pancake bowls in an airtight container in the fridge for up to 5 days. This keeps them fresh, making them an excellent option for quick breakfasts during the week. If you’re prepping for even longer, you can freeze them!
Can I freeze the pancake bowls? How?
Very! To freeze your Baked Protein Pancake Bowls, wrap them tightly in plastic wrap or foil, then place them in a freezer-safe bag. They can stay frozen for up to 1 month. When you’re ready to enjoy, simply thaw them overnight in the fridge and reheat in the microwave for 30-60 seconds until warmed through.
What should I do if my pancake bowls are too dense?
The key to light and fluffy pancake bowls is to avoid overmixing the batter. If your bowls turn out dense, ensure that you’re mixing only until just combined. Also, check that your baking powder is fresh, as it’s essential for leavening. If you find them dense even after these adjustments, consider adding a bit more milk next time to increase moisture.
Are there any dietary considerations I should be aware of?
Absolutely! These Baked Protein Pancake Bowls can be tailored to meet various dietary restrictions. For gluten-free options, substitute all-purpose flour with gluten-free flour blends. If you’re concerned about sugar, opt for your favorite low-calorie sweetener, or simply omit it entirely for a lower-sugar approach. Always make sure to check ingredient labels for any potential allergens, especially with protein powders and yogurt.
Fluffy Baked Protein Pancake Bowls for a Energizing Start
Ingredients
Equipment
Method
- Preheat your oven to 180°C (356°F).
- In a bowl, crack an egg, add yogurt and milk, whisk until smooth.
- Incorporate flour, protein powder, sweetener, and baking powder into the wet mixture, stir gently.
- Add desired toppings and fold into the batter.
- Pour mixture into an oven-safe bowl and bake for 20-22 minutes.
- Allow to cool for 5-10 minutes before serving.