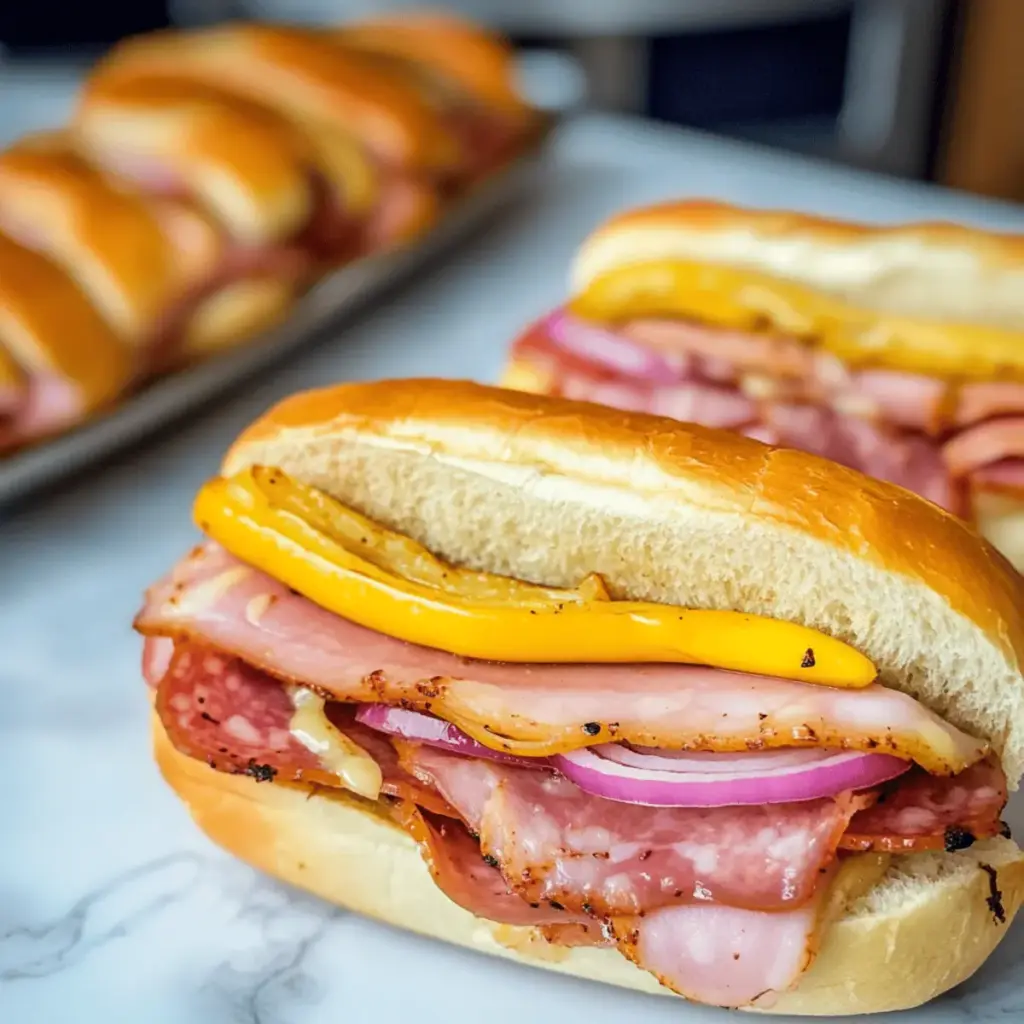
As I pulled the warm Baked Italian Subs from the oven, the intoxicating aroma filled my kitchen, instantly transporting me to a cozy Italian deli. This recipe is my go-to for a satisfying meal that brings friends and family together without any of the hassle—just a few simple ingredients and about 20 minutes of your time. Layered with gooey provolone cheese and a savory medley of meats, these comforting sandwiches deliver the perfect fusion of flavors. Not only are they incredibly easy to whip up, but they also make for a delightful crowd-pleaser at any gathering. So, are you ready to elevate your sandwich game and dive into this deliciously cheesy adventure?
Why Are Baked Italian Subs Irresistible?
Simplicity: This recipe requires minimal effort, making it perfect for busy weeknights or impromptu gatherings.
Flavor Explosion: The rich combination of salami, mortadella, and provolone creates a mouthwatering experience that is simply unforgettable.
Crowd-Pleaser: Whether serving family or hosting friends, these cheesy subs are a sure way to please everyone at your table. Pair them with a side of marinara for that authentic Italian touch!
Versatile: Feel free to experiment with your choice of meats or toppings—there’s no limit to your creativity, similar to our Baked Ranch Chicken or Baked Teriyaki Salmon ideas!
Quick Prep: With just 20 minutes of bake time, you can have a delicious meal ready in no time, perfect for those hectic days.
Texture Harmony: The crispy exterior meets the gooey center, providing a delightful contrast that keeps you coming back for more.
Baked Italian Sub Ingredients
For the Subs
• Sandwich Rolls – Use hoagie rolls or ciabatta for the best texture in your Baked Italian Sub.
• Sliced Provolone – Provides a creamy, rich flavor; mozzarella is a great substitute for a milder taste.
• Salami – Adds a spicy, robust flavor that’s essential for an authentic Italian experience.
• Mortadella – Contributes a unique, slightly sweet flavor; Bologna works well if you’re in a pinch.
• Sliced Ham – Complements the other meats nicely; choose any deli ham you prefer.
For the Extras
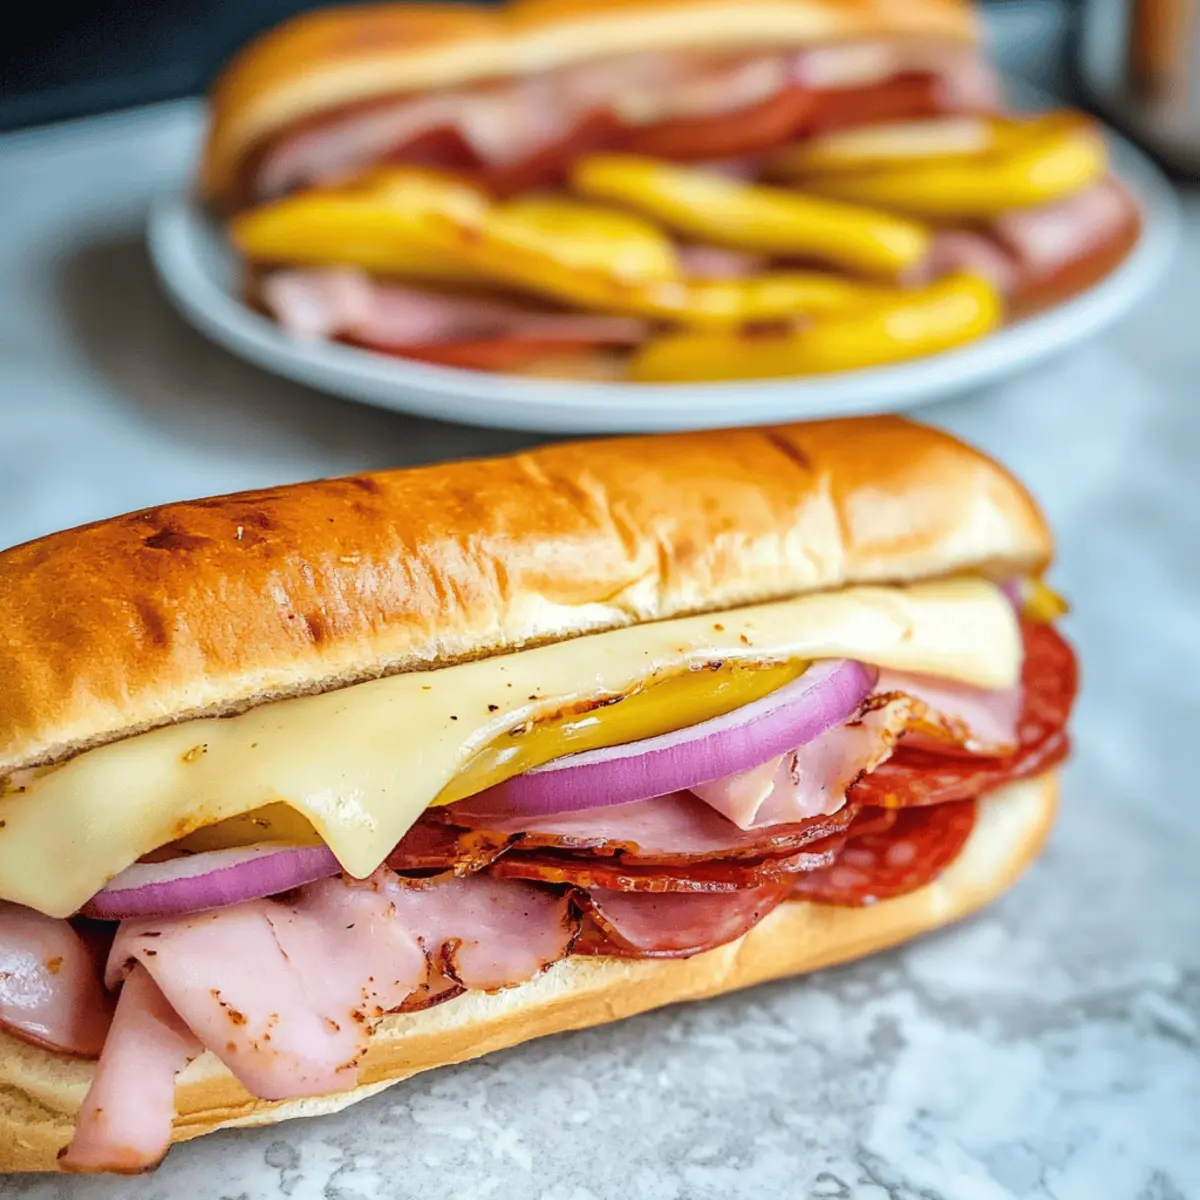
• Banana Peppers – Adds a delightful tartness and crunch; omit for less spice or substitute with pickles.
• Red Onion – Introduces sharpness and texture; green onions can be used for a milder alternative.
• Italian Dressing – A drizzle enhances flavor and keeps everything moist; homemade or a vinaigrette is perfect.
Step‑by‑Step Instructions for Baked Italian Sub
Step 1: Preheat the Oven
Begin your inviting journey to deliciousness by preheating your oven to 350°F (175°C). This is the ideal temperature for achieving that perfect crust while allowing all the flavors of the Baked Italian Sub to meld beautifully. As the oven warms, it will help bring out the savory aromas that will soon fill your kitchen.
Step 2: Prepare the Sandwich Rolls
Take your hoagie rolls or ciabatta and slice them lengthwise, being careful not to cut all the way through. This creates a lovely pocket for all those scrumptious fillings. Once opened, place them on a baking sheet lined with parchment paper for easy clean-up and to allow the heat to circulate evenly around your Baked Italian Subs.
Step 3: Layer the Meats and Cheese
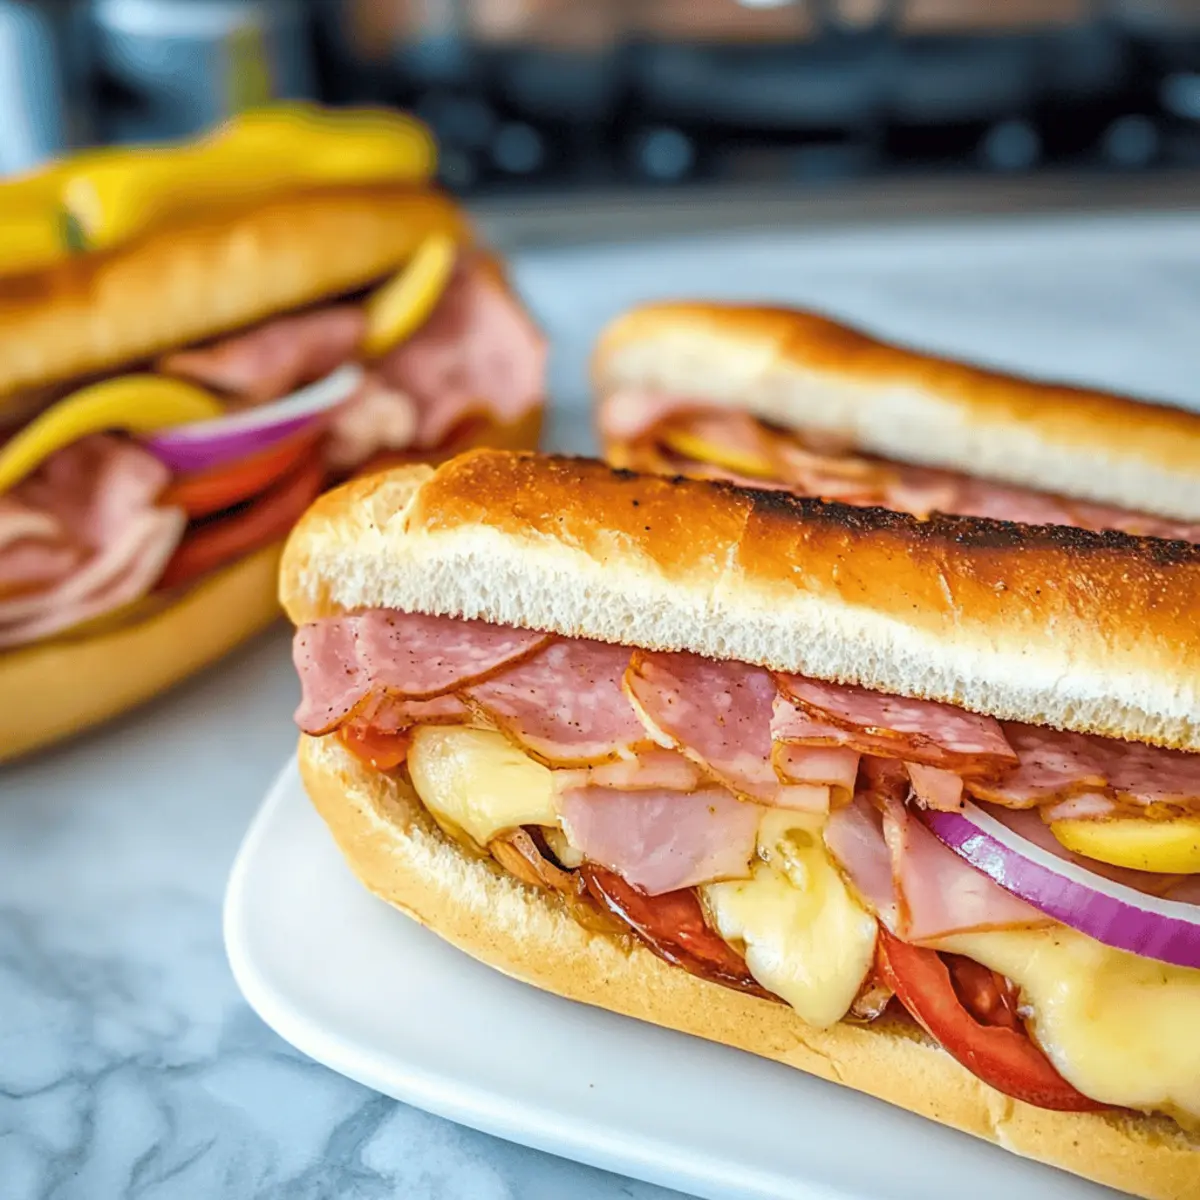
Now it’s time to assemble your masterpiece! Start by layering the salami, mortadella, and sliced ham inside each of the rolls. Follow with a generous portion of sliced provolone cheese, envisioning that gooey goodness waiting to melt perfectly. This combination of meats is what makes your Baked Italian Sub truly irresistible.
Step 4: Add the Extra Zest
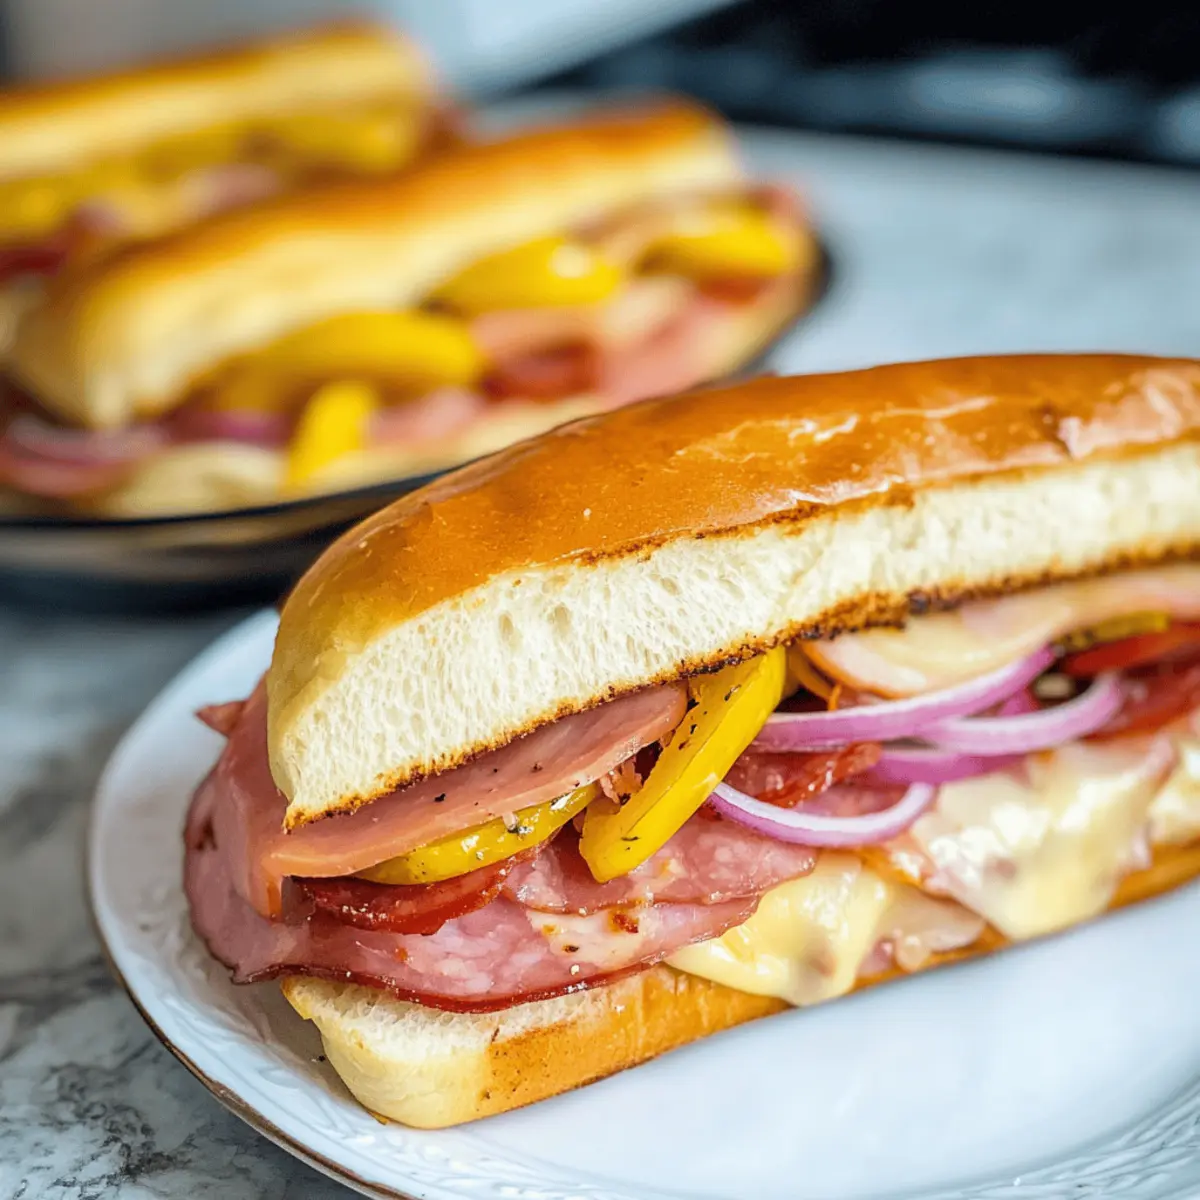
For that delicious crunch and tang, tuck in some banana peppers and red onion slices over the cheese. The banana peppers will add a delightful zing, while the red onion lends a sharp contrast. These extras elevate your subs, showcasing their diverse flavors even further.
Step 5: Arrange in Baking Dish
Carefully place your assembled subs in a baking dish, ensuring they are snug but not squished. This not only helps in creating a cohesive melting experience but also prevents any mess during baking. The dish’s sides will catch any drippings and help hold your scrumptious Baked Italian Subs in place.
Step 6: Drizzle with Dressing
To enhance the flavors even more, drizzle your Italian dressing generously over each sub. This adds moisture and a zesty kick that will penetrate the rolls as they bake. Make sure to coat them evenly, so every bite of your Baked Italian Sub is bursting with flavor.
Step 7: Bake to Perfection
Slide your baking dish into the preheated oven and bake for about 20 minutes. Keep a watchful eye on them; when the cheese is melted, and the rolls are golden-brown with a crispy exterior, it’s time to pull them out. The aroma wafting through your kitchen will be too tempting to resist!
Step 8: Serve Warm and Enjoy
Once out of the oven, let the Baked Italian Subs sit for a moment to cool slightly. Then, slice them into manageable portions if desired, and prepare to serve them warm with a side of marinara sauce for dipping. Their scrumptious layers invite sharing and savoring, making them perfect for any gathering!
Expert Tips for Baked Italian Subs
• Fresh Rolls Only: Use fresh sandwich rolls for the ultimate texture; stale rolls won’t toast properly and may ruin your Baked Italian Sub experience.
• Watch the Bake Time: Keep an eye on the baking; overbaking can dry out the subs. Aim for golden-brown rolls with gooey cheese.
• Toppings Galore: Don’t hesitate to get creative! Add your favorite toppings, such as fresh tomatoes or arugula, after baking for extra flavor and nutrition.
• Even Layering: For balanced flavor in your Baked Italian Subs, layer the meats and cheese evenly. This ensures every bite is deliciously melty and savory.
• Customize the Spice: If you prefer a milder sub, feel free to adjust or omit the banana peppers. Experiment with your favorite ingredients to personalize your subs!
Make Ahead Options
These Baked Italian Subs are perfect for meal prep enthusiasts looking to save time on busy weeknights! You can assemble the subs up to 24 hours in advance by following the first five instructions, then cover them tightly with plastic wrap and refrigerate. This not only allows the flavors to meld together beautifully but also keeps the rolls from becoming soggy. When you’re ready to enjoy, simply drizzle with Italian dressing and bake as instructed for about 20 minutes. With this make-ahead option, you’ll have delicious, gooey subs that taste just as fresh and satisfying as if you made them the same day!
Baked Italian Sub Variations & Substitutions
Feel free to get creative with your Baked Italian Subs to make them uniquely yours and even more delicious!
-
Dairy-Free: Substitute provolone with dairy-free cheese options, allowing everyone to enjoy a cheesy bite without compromise. Your subs will still pack a flavorful punch!
-
Whole Grain: Use whole grain sandwich rolls for a healthier twist, adding fiber and a nutty flavor that enhances your Baked Italian Sub experience.
-
Vegetarian: Go meatless by layering grilled vegetables such as zucchini and bell peppers, paired with a generous helping of mozzarella. These veggies will add vibrant texture and taste to your meal.
-
Spice Level: Add crushed red pepper flakes or a spicy Italian sausage if you love more heat. The extra zing will elevate your buns to a new level of flavor excitement!
-
Tasty Toppings: Consider fresh basil or arugula added post-baking for a burst of color and freshness. These greens will provide a lovely contrast to the rich flavors of the meats and cheese.
-
Chili Flakes: Sprinkle in some chili flakes when layering for an unexpected kick! It’s a fantastic way to surprise friends or family who love a little heat in their meal.
-
Pickle Lovers: Swap banana peppers for dill pickles for a tangy crunch. The sharpness cuts through the richness of the cheese, giving your Italian subs a delightful twist that you won’t want to miss.
-
Classic Italian Style: For an authentic feel, add a layer of pesto sauce on the inside of the rolls before loading them with meats. This small addition will bring a burst of herbaceous goodness to every bite, reminiscent of your favorite Italian deli.
Each variation creates a new experience while you savor that comforting blend of flavors, similar to our fan-favorite Baked Teriyaki Salmon or Baked Ranch Chicken. Dive into the fun of customizing your subs!
How to Store and Freeze Baked Italian Subs
Fridge: Store any leftover Baked Italian Subs in an airtight container for up to 2 days. Ensure they are cooled completely before sealing to maintain texture.
Freezer: For longer storage, wrap each sub tightly in plastic wrap and place them in a freezer-safe bag. They can be frozen for up to 3 months.
Reheating: For best results, reheat in the oven at 350°F (175°C) for 10-15 minutes until warmed through and crispy. Avoid the microwave, as it may make the rolls soggy.
Make-Ahead Tip: Prepare the assembled subs up to the baking step, wrap tightly, and store in the refrigerator for up to 24 hours before baking to enjoy fresh, warm sandwiches later!
What to Serve with Baked Italian Subs?
Elevate your meal with perfect pairings that enhance the flavors of your tempting subs while bringing everyone to the table!
- Marinara Sauce: Serve warm for dipping; its rich, tomato flavor complements the cheesy goodness beautifully.
- Crisp Caesar Salad: The crunchy romaine and tangy dressing provide a refreshing contrast to the warm, savory subs—a perfect balance!
- Garlic Bread: This delightful bread enhances the Italian vibe and offers an extra buttery crunch, enveloping your taste buds with flavor.
- Italian Potato Salad: Creamy and herbaceous, this side brings a cool, creamy texture that complements the warm subs stunningly.
- Roasted Veggies: A medley of seasonal vegetables brings a colorful, healthy touch, adding both flavor and visual appeal to your meal.
- Sparkling Mineral Water: A bubbly drink option cleanses the palate between bites, while its lightness enhances the richness of the subs.
- Tiramisu: End on a sweet note with this classic Italian dessert, combining smooth mascarpone and coffee flavors that lend a perfect finish!
- Antipasto Platter: A colorful assortment of olives, cheeses, and cured meats mirrors the flavors of your subs, offering variety as a starter.
Baked Italian Subs Recipe FAQs
What kind of sandwich rolls should I use for my Baked Italian Subs?
I recommend using hoagie rolls or ciabatta for the best texture and flavor. These types provide a sturdy base and crisp up beautifully in the oven. If you’d like a softer option, feel free to go for traditional sub rolls, but ensure they’re fresh for optimal results.
How should I store leftover Baked Italian Subs?
Store any leftover Baked Italian Subs in an airtight container in the fridge for up to 2 days. Make sure they are completely cooled before sealing, which helps maintain their texture. When you’re ready to enjoy them again, reheat in the oven for the best taste.
Can I freeze Baked Italian Subs?
Absolutely! To freeze them, wrap each sub tightly in plastic wrap and place them in a freezer-safe bag. They can be frozen for up to 3 months. When you’re ready to eat, simply thaw them in the fridge overnight and reheat in the oven at 350°F (175°C) for about 10-15 minutes until warm and crispy.
What do I do if my subs burnt on the edges during baking?
If you find your Baked Italian Subs are browning too much on the edges, it could be due to the temperature being too high or the baking time being too long. Try lowering the oven temperature to 325°F (160°C) and keep an eye on them, checking for doneness around the 15-minute mark.
Are there any dietary considerations when making Baked Italian Subs?
Yes! If you’re concerned about allergies, be mindful of the specific meats and cheeses you choose. For instance, if someone is gluten-sensitive, opt for gluten-free rolls. Additionally, the banana peppers add spice, so if you’re cooking for kids or those who prefer mild flavors, consider omitting them or substituting with something less spicy like diced bell peppers.

Baked Italian Sub: Comfort in Every Savory Layer
Ingredients
Equipment
Method
- Preheat your oven to 350°F (175°C).
- Slice hoagie rolls or ciabatta lengthwise, creating a pocket.
- Layer salami, mortadella, and sliced ham inside each roll, followed by provolone cheese.
- Add banana peppers and red onion slices over the cheese.
- Place the assembled subs in a baking dish.
- Drizzle Italian dressing over each sub.
- Bake in the oven for about 20 minutes until cheese is melted and rolls are golden-brown.
- Let the subs cool slightly, then slice them and serve warm.