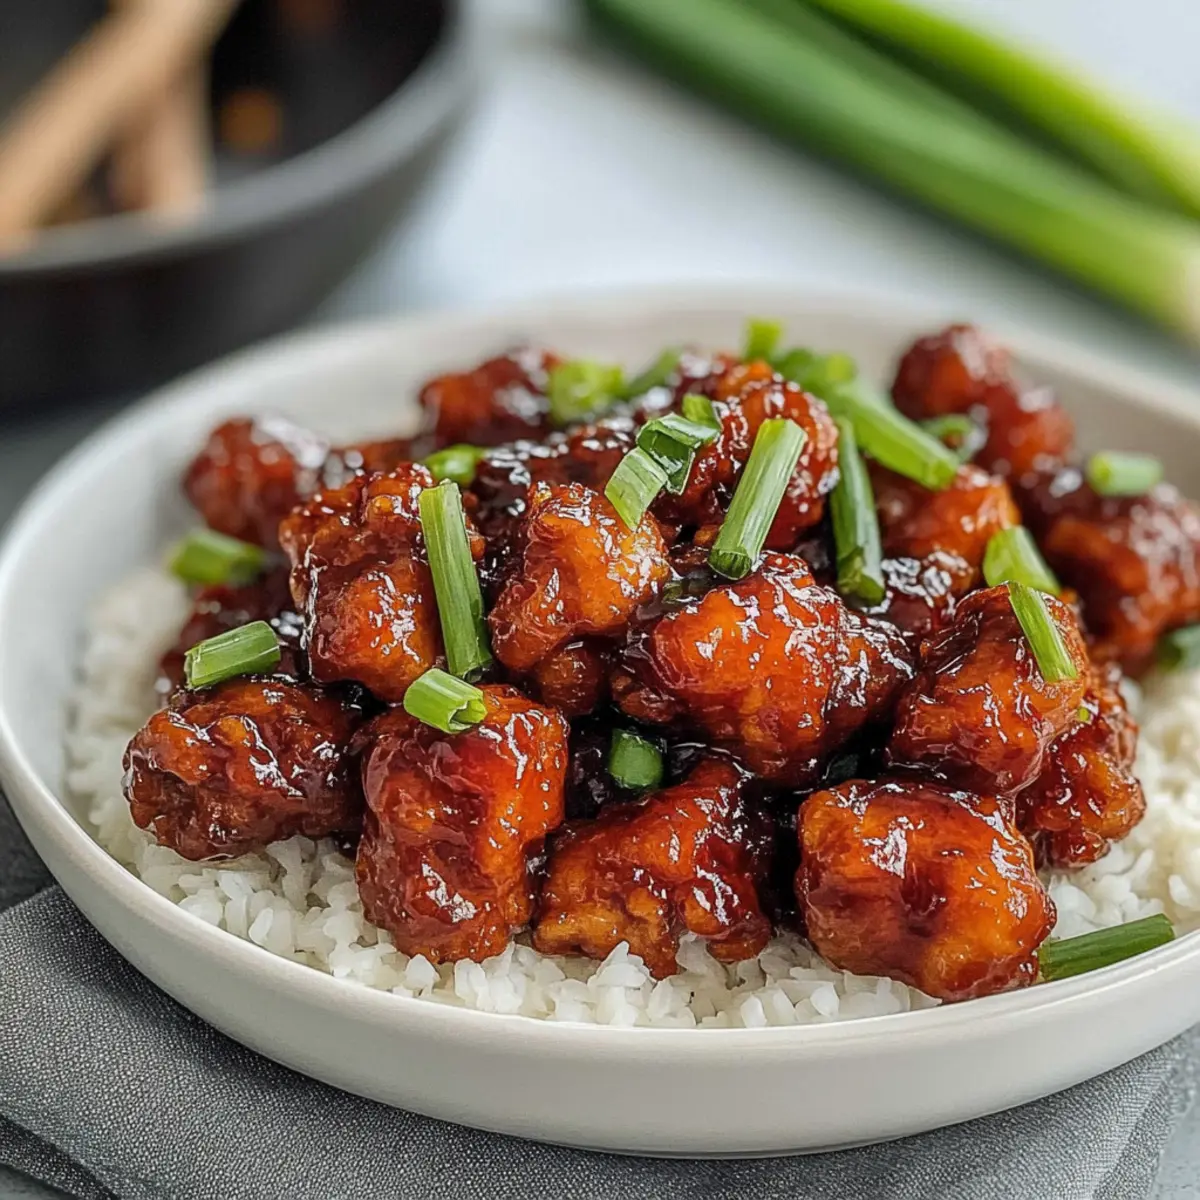
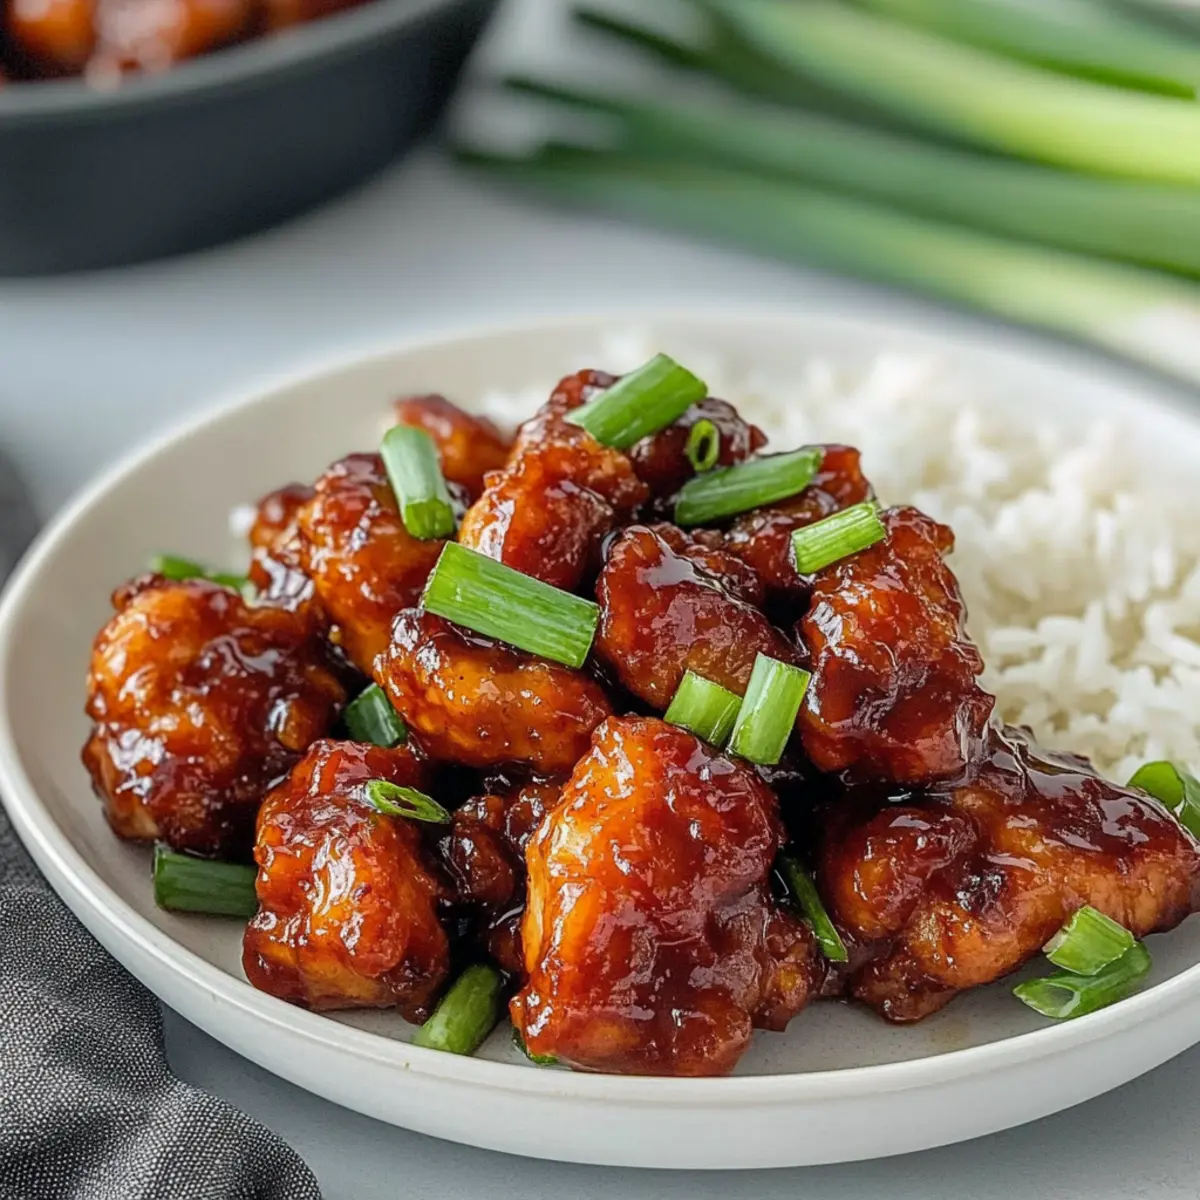
As the sun dips below the horizon, the kitchen fills with a sweet aroma that instantly transports me back to cozy family dinners. This Quick and Easy Honey Butter Chicken is my secret weapon for busy weeknights—only 30 minutes from start to finish! The magical combination of honey and butter creates a luscious glaze that caresses every tender piece of chicken, delivering a delightful mix of sweetness and savory goodness. Not only is this dish a total crowd-pleaser, but it also makes weeknight cooking a breeze, allowing you to trade fast food for something homemade and comforting. Have you ever wished dinner could be both effortless and delicious? Let’s dive into this recipe that satisfies those cravings with style.
Why is Honey Butter Chicken a Must-Try?
Simplicity at Its Best: This recipe is designed for busy weeknights, coming together in just 30 minutes while requiring minimal prep.
Sweet, Savory Bliss: The unique blend of honey and butter creates a mouthwatering glaze that balances sweetness and umami perfectly, making each bite a flavor explosion.
Crowd-Pleasing Delight: It’s not just a meal; it’s a dish that will have everyone asking for seconds—perfect for family dinners or unexpected guests!
Versatile Twist: Feel free to experiment by adding your favorite veggies or swapping chicken breasts for thighs, allowing you to customize the dish to your taste.
Quick Clean-Up: With just one skillet required, you’ll spend less time cleaning up and more time enjoying your delicious creation, while serving it alongside comforting ginger rice or fresh veggies.
Get ready to impress with this Honey Butter Chicken that outshines any fast food meal!
Honey Butter Chicken Ingredients
• Get ready to savor every bite!
For the Chicken
- Chicken Breasts – A lean protein that cooks quickly, making it ideal for busy weeknights.
- All-Purpose Flour – Provides a crispy coating; can be replaced with gluten-free flour if desired.
For the Seasoning
- Garlic Powder – Adds depth; feel free to use fresh garlic for a stronger flavor.
- Cayenne Pepper – A hint of spice; adjust according to your taste or omit for a milder dish.
- Onion Powder – Enhances flavor; substitute with finely chopped fresh onions if preferred.
For Cooking
- Butter – Essential for flavor and frying; use unsalted for control over the dish’s salting.
- Canola Oil – Helps fry the chicken nicely; any light oil can work well here.
For the Glaze
- Honey – The star ingredient that gives the dish its name and delightful sweetness; maple syrup works as a substitute.
- Soy Sauce – Contributes a savory umami flavor; opt for low-sodium versions if watching your sodium intake.
- Apple Cider Vinegar – Balances the dish with acidity; can be swapped with lemon juice for a similar effect.
For Garnish
- Green Onions – Adds a fresh crunch on top; use regular onions if you don’t have green ones available.
Now you have all the Honey Butter Chicken ingredients for a delicious weeknight meal—let’s get cooking!
Step‑by‑Step Instructions for Honey Butter Chicken
Step 1: Prepare the Chicken
In a large bowl, combine all-purpose flour, garlic powder, cayenne pepper, onion powder, salt, and black pepper. Mix well until all spices are evenly distributed. Coat the chicken breasts thoroughly in this flour mixture, ensuring each piece is well-covered for that crispy texture when frying.
Step 2: Sear the Chicken
In a cast iron skillet, heat 2 tablespoons of unsalted butter and 2 tablespoons of canola oil over medium heat. Once the butter has melted and foamed, place the coated chicken breasts in the skillet in a single layer. Cook for about 2-3 minutes on each side, until they are golden brown and cooked through. Remove the chicken and set aside.
Step 3: Make the Glaze
Lower the heat to medium-low and add the remaining 2 tablespoons of butter to the same skillet. Allow it to melt, then stir in honey, soy sauce, apple cider vinegar, and a pinch of salt and pepper. Mix these ingredients continuously for 3-5 minutes, letting the sauce thicken to a caramel-like consistency that will coat the chicken beautifully.
Step 4: Coat the Chicken
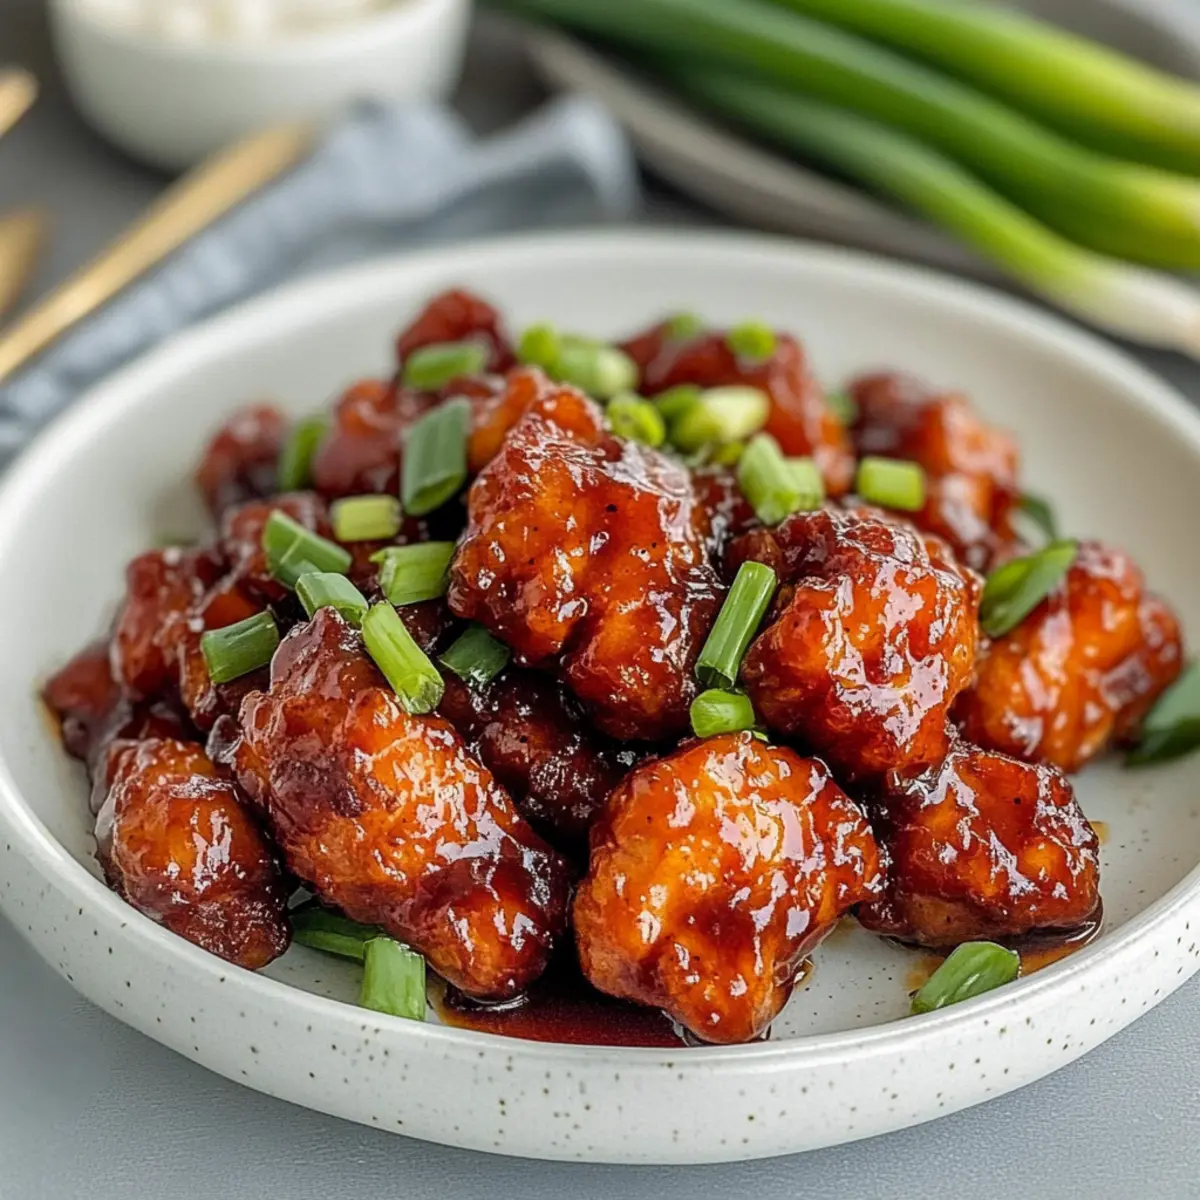
Return the cooked chicken to the skillet, carefully tossing it in the honey glaze until fully coated. Let the chicken simmer in the sauce for another 3-4 minutes. The glaze should cling to the chicken and become sticky and glossy, enhancing the flavor of your Honey Butter Chicken.
Step 5: Let It Rest
Once coated, remove the skillet from the heat and let the Honey Butter Chicken rest for about 5 minutes. This resting period allows the flavors to meld and the glaze to set. It also helps retain the juices in the chicken, ensuring each bite is flavorful and tender.
Step 6: Serve the Dish
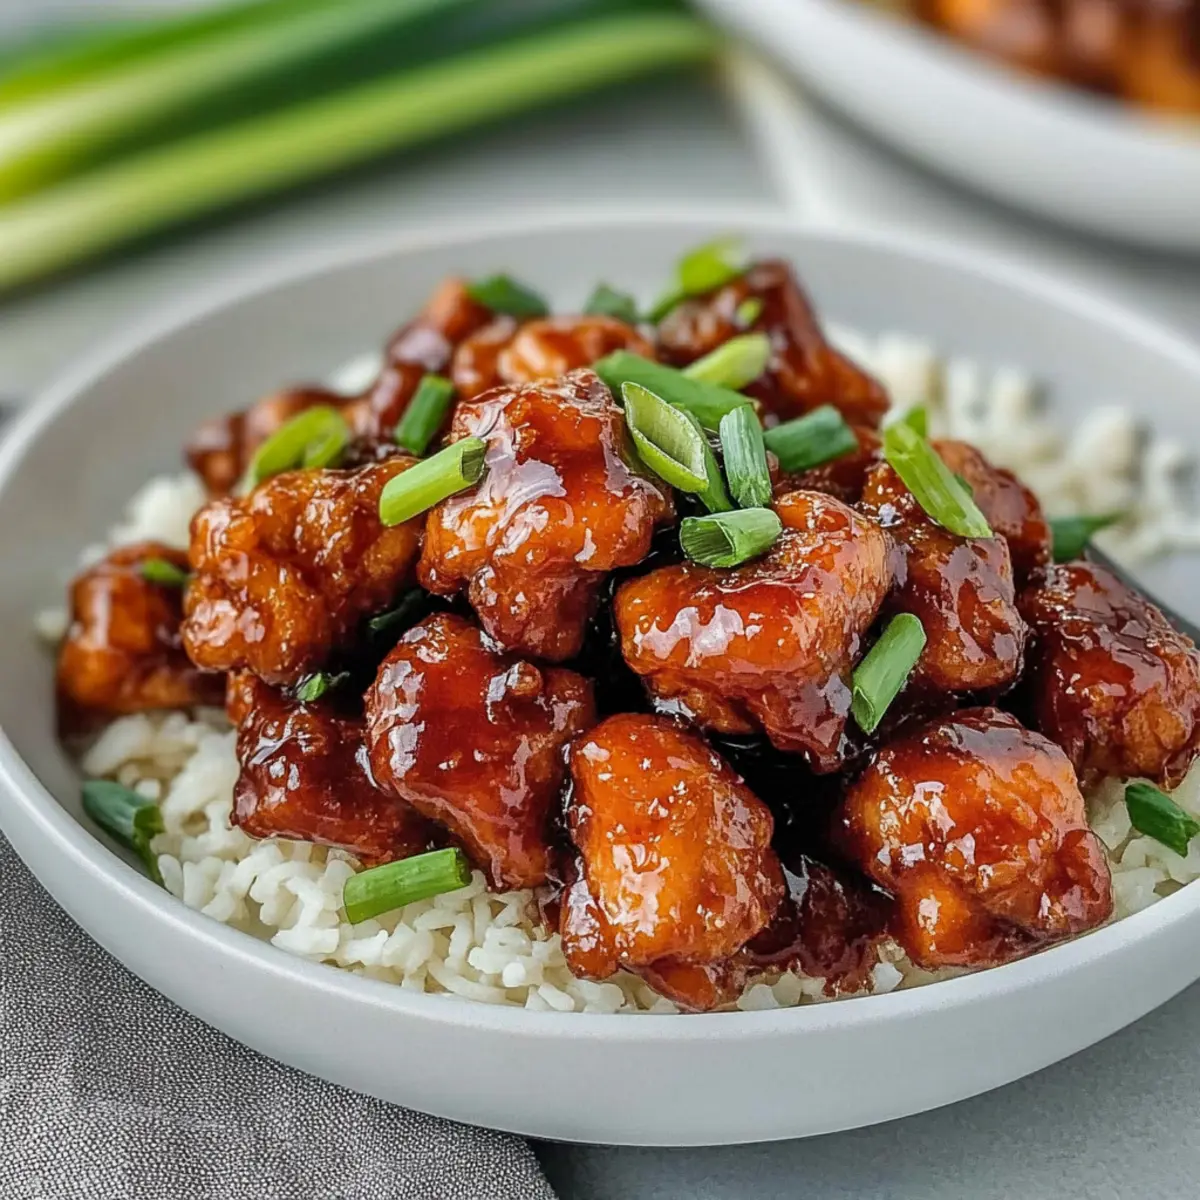
Transfer your Honey Butter Chicken to a serving plate, garnishing it with freshly chopped green onions for a pop of color and flavor. Serve alongside fluffy white rice and sautéed green beans for a complete, hearty meal. Enjoy the delightful balance of sweet and savory in each delicious bite!
What to Serve with Honey Butter Chicken
A delightful weeknight meal like this deserves the perfect accompaniments to create a comforting feast.
-
Fluffy White Rice: The tender grains soak up the delicious honey glaze, providing a neutral base that perfectly complements the dish’s sweetness.
-
Sautéed Green Beans: Crisp-tender green beans add a fresh, vibrant crunch, balancing the richness of the chicken and enhancing your plate’s textures.
-
Garlic Mashed Potatoes: Creamy and buttery, these potatoes offer a comforting, velvety texture that pairs beautifully with the sticky honey glaze, creating a mouthwatering combination.
-
Honey-Glazed Carrots: Sweet, roasted carrots echo the flavors of the chicken, while their caramelized edges bring a lovely depth to your meal.
-
Crispy Brussels Sprouts: Roasted until golden and crispy, these earthy bites add a delightful contrast to the sweetness of the Honey Butter Chicken, creating a balanced dish.
-
Corn on the Cob: Juicy, sweet corn can be a fun finger food side; slather with butter for a deliciously indulgent touch alongside your meal.
-
Iced Lemonade: To wash it all down, a refreshing glass of iced lemonade offers a zesty contrast to the rich flavors of your dinner, cleansing the palate beautifully.
-
Chocolate Chip Cookies: Don’t forget a sweet treat! These classic cookies make for a comforting end to your meal, giving you a satisfied smile with every bite.
Expert Tips for Honey Butter Chicken
-
Even Coating: Make sure to coat the chicken evenly in the flour mixture. This ensures a crispy exterior.
-
Heat Control: Keep the skillet at medium heat. Too high can burn the glaze; low heat helps develop the honey flavor without burning.
-
Rest for Greatness: Always let the chicken rest after coating in the glaze. This step helps the flavors settle, enhancing the overall taste of the Honey Butter Chicken.
-
Avoid Overcrowding: Don’t overcrowd the skillet while searing. This prevents steaming, ensuring your chicken remains crispy and golden brown.
-
Storage Tip: For leftovers, drizzle with a little honey and butter when reheating. This will help keep the chicken moist and flavorful.
Make Ahead Options
These Honey Butter Chicken are perfect for meal prep enthusiasts! You can coat the chicken pieces in the flour and spice mixture up to 24 hours in advance, storing them in an airtight container in the refrigerator to maintain their crispiness. Additionally, the honey glaze can be prepared up to 3 days ahead; simply keep it in a sealed jar in the fridge. When you’re ready to serve, just sear the prepped chicken and complete the recipe as instructed, adding the glaze during cooking. This way, you’ll have a delicious, homemade meal with minimal effort, saving precious time during your busy weeknights!
Honey Butter Chicken Variations
Feel free to get creative with this delightful dish and adapt it to your preferences!
-
Thighs Instead of Breasts: Swap chicken breasts for thighs to bring a juicier and richer flavor to your meal. This change adds a layer of savory goodness that complements the sweet glaze beautifully!
-
Gluten-Free Flour: For a gluten-free option, use a gluten-free all-purpose flour in place of regular flour. This allows everyone to enjoy the crispy texture without compromising on taste.
-
Maple Syrup Touch: Replace honey with maple syrup for a unique twist. This substitution provides a different sweetness profile that pairs wonderfully with the other ingredients.
-
Fresh Garlic Kick: Use fresh minced garlic instead of garlic powder for an aromatic boost. The fresh version offers a more pronounced flavor, enhancing the dish’s savory notes.
-
Vegetable Boost: Toss in colorful veggies, such as bell peppers or snap peas, while cooking. This addition not only increases nutritional value but also makes the dish visually appealing!
-
Heat It Up: Add red pepper flakes or a dash of sriracha for a spicy kick. This variation enhances the flavor profile, giving your Honey Butter Chicken an exciting heat element.
-
Lemon Brightness: Substitute apple cider vinegar with fresh lemon juice to add a citrusy brightness. This addition balances the sweetness and rounds out the flavors wonderfully.
-
Soy Sauce Alternative: For a lower-sodium option, try using coconut aminos in place of soy sauce. This swap provides a slightly sweeter taste while keeping the umami undertones intact.
Each twist allows you to tailor the recipe to your family’s preferences while keeping that familiar sweet and savory charm! For more delicious chicken recipes, check out Garlic Butter Chicken and Cowboy Butter Chicken.
How to Store and Freeze Honey Butter Chicken
Fridge: Store leftover Honey Butter Chicken in an airtight container for up to 3-4 days. Make sure to cool it completely before sealing to maintain freshness.
Freezer: If you want to enjoy this dish later, freeze the Honey Butter Chicken for up to 2-3 months. Wrap it tightly in plastic wrap and then place it in a freezer bag for best results.
Reheating: To reheat, thaw overnight in the refrigerator, then warm gently in a skillet over low heat. Add a drizzle of honey and butter to help revive the sticky glaze and keep it moist.
Keep It Fresh: Avoid reheating multiple times to maintain the quality of your Honey Butter Chicken; it’s best served fresh!
Honey Butter Chicken Recipe FAQs
What type of chicken should I use for Honey Butter Chicken?
Absolutely! For the best results, I recommend using skinless, boneless chicken breasts. They cook quickly and remain tender. If you’re looking for a juicier option, chicken thighs are a great substitution!
How do I know if my chicken is cooked properly?
Very! To ensure your chicken is cooked through, the internal temperature should reach a minimum of 165°F (75°C). You can use a meat thermometer for accuracy, or simply cut into a piece to check that the juices run clear without any pink meat.
How should I store leftovers of Honey Butter Chicken?
You can store leftover Honey Butter Chicken in the fridge in an airtight container for up to 3-4 days. Be sure to let it cool completely before sealing to maintain freshness. When you’re ready to enjoy it, just reheat gently on the stove with a splash of water or chicken broth.
Can I freeze Honey Butter Chicken?
Absolutely! To freeze, wrap the Honey Butter Chicken tightly in plastic wrap, then place it in a freezer bag. It will be best enjoyed within 2-3 months. When you’re ready to eat, thaw it overnight in the refrigerator and reheat on low heat to bring back the glaze’s sticky texture.
What if my honey glaze burns while cooking?
Oh no! If the honey glaze burns, your cooking temperature might be too high. When making the glaze, always start at a low heat to gently thicken it without burning. If you notice it is starting to stick or burn, immediately lower the heat and stir continuously. It’s essential to keep an eye on it—these sweet sauces can change quickly!
Is this dish suitable for people with allergies?
Very! This Honey Butter Chicken recipe can be tweaked to fit various dietary needs. If someone has a soy allergy, you can substitute the soy sauce with coconut aminos for a similar flavor without the allergens. Additionally, for gluten-free options, use gluten-free flour and ensure all other ingredients are compliant. Always check labels for hidden allergens!
Honey Butter Chicken: Quick, Sweet & Savory Weeknight Delight
Ingredients
Equipment
Method
- In a large bowl, combine all-purpose flour, garlic powder, cayenne pepper, onion powder, salt, and black pepper. Mix well until all spices are evenly distributed. Coat the chicken breasts thoroughly in this flour mixture.
- In a cast iron skillet, heat 2 tablespoons of unsalted butter and 2 tablespoons of canola oil over medium heat. Once melted, place the coated chicken breasts in the skillet. Cook for about 2-3 minutes on each side until golden brown.
- Lower the heat to medium-low and add the remaining 2 tablespoons of butter. Stir in honey, soy sauce, apple cider vinegar, and a pinch of salt and pepper. Mix continuously for 3-5 minutes, letting the sauce thicken.
- Return the cooked chicken to the skillet, tossing it in the honey glaze until fully coated. Let it simmer in the sauce for another 3-4 minutes.
- Remove from heat and let the Honey Butter Chicken rest for about 5 minutes to retain juices and allow flavors to meld.
- Transfer to a serving plate and garnish with freshly chopped green onions. Serve alongside rice and vegetables.