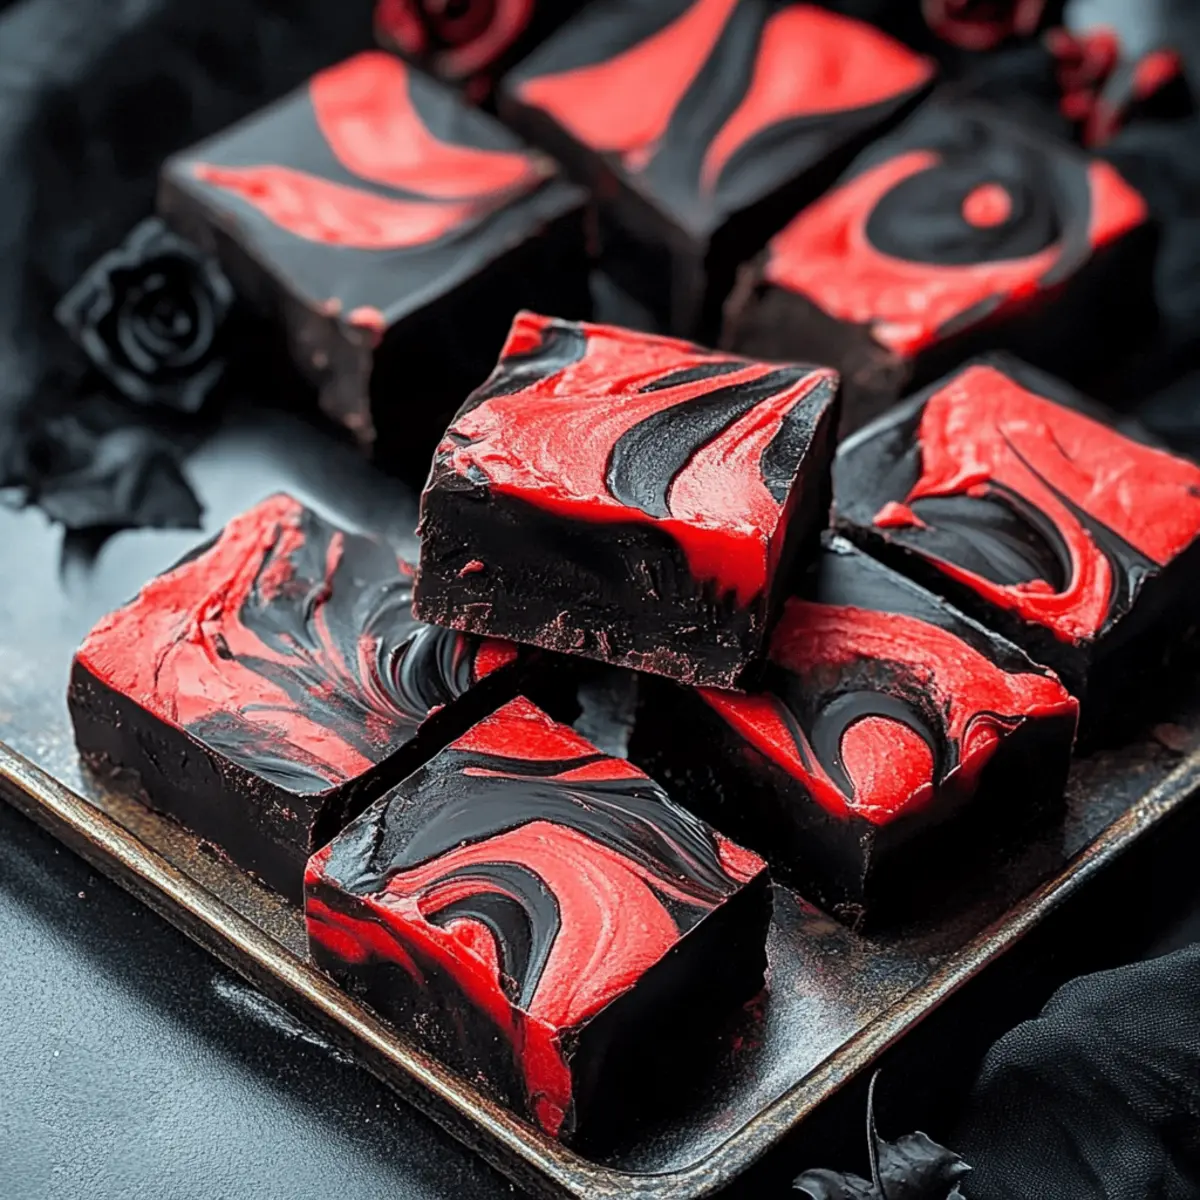
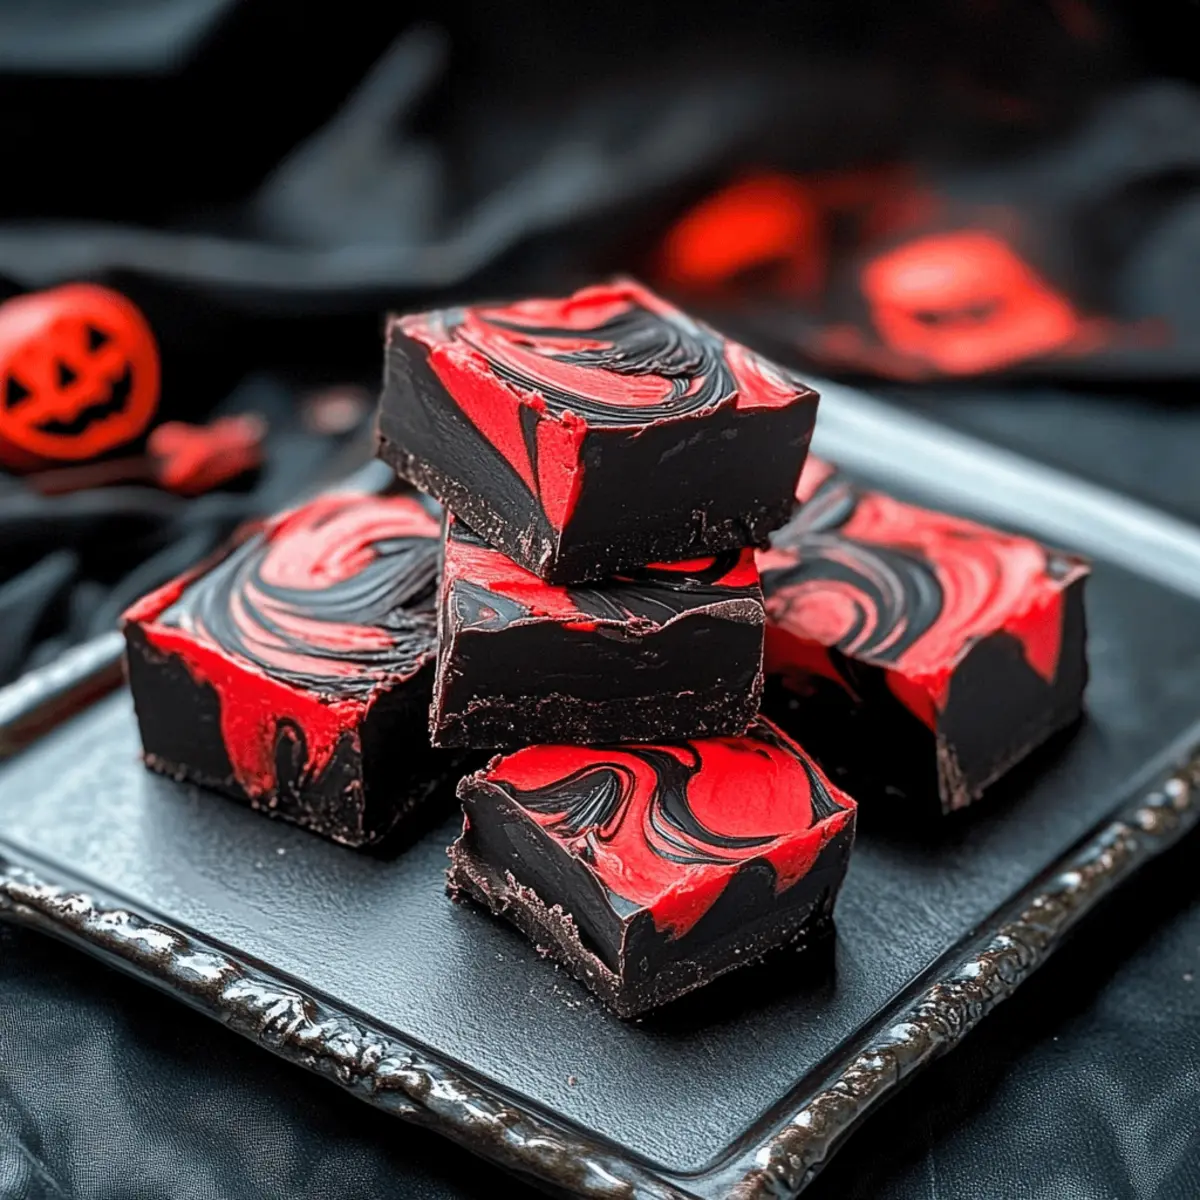
As the leaves fall and the air grows crisp, I find myself drawn to all things spooky and sweet. Halloween brings a unique charm, and what better way to celebrate than with a batch of irresistible Vampire Fudge? This easy-to-make dessert combines luscious swirls of white and dark chocolate, creating a stunning visual delight that’s sure to impress at your next gathering. Not only is this fudge quick to whip up, but it also makes a memorable gift for friends and family. The creamy texture and festive colors will have everyone reaching for seconds! Ready to dive into a treat that perfectly captures the spirit of the season? Let’s unravel the steps to create this spooktacular indulgence together!
Why is Vampire Fudge a must-try?
Irresistible Charm: This Halloween-themed fudge adds a spooky twist to your dessert table, captivating both kids and adults alike.
Quick and Easy: With simple instructions, you can whip up this delectable treat in no time, perfect for last-minute gatherings!
Visual Wow Factor: Its striking colors and swirls create a visual masterpiece that stands out, making it a centerpiece at any party.
Perfect for Gifting: Wrapped up with a spooky tag, this fudge makes for thoughtful gifts for friends, adding a personal touch to your Halloween gestures.
Crowd-Pleasing Flavor: Rich chocolate combined with a creamy texture makes this fudge incredibly tempting, ensuring everyone goes back for seconds!
Vampire Fudge Ingredients
• Get ready to create a chillingly delicious treat!
For the Fudge Base
- White Candy Melts – Provides a smooth, creamy base with a light flavor; Ghirardelli is recommended for better taste.
- Dark Chocolate Candy Melts – Adds richness and depth to the fudge; you can substitute with dark chocolate chips, but it may affect texture.
- Vanilla Frosting – Acts as a binder for the fudge and adds sweetness; any leading brand works, but opt for vanilla for easy dyeing.
For the Coloring
- Black Oil Food Coloring – Used to achieve the dark hue for the chocolate layer; essential for striking visual contrast—avoid water-based food coloring for best results.
- Red Oil Food Coloring – Provides the vibrant red color for the white chocolate layer; also avoid water or gel-based colors to prevent clumping.
Embrace your creativity and let the spooky season inspire you as you gather these simple ingredients to make your own Halloween Vampire Fudge!
Step‑by‑Step Instructions for Vampire Fudge
Step 1: Prepare the Pan
Begin by lining an 8×8 baking dish with parchment paper or foil, allowing excess to hang over the sides for easy removal later. If using foil, spray it lightly with cooking spray to prevent sticking. Set this aside while you prepare the luscious Vampire Fudge mixture.
Step 2: Melt Candy Melts
In two separate microwave-safe bowls, add the white candy melts in one and the dark chocolate candy melts in the other. Microwave each bowl in 30-second intervals, stirring in between, until the melts are completely smooth and glossy, which usually takes about 1-2 minutes. Once melted, let each bowl cool slightly before continuing.
Step 3: Melt Frosting
Next, take a container of vanilla frosting and microwave it for around 45 seconds, or until it is melted and runny. Carefully divide the melted frosting equally between the two bowls of chocolate. Stir each bowl gently to combine until fully incorporated, leading to a smooth and creamy consistency for your Vampire Fudge.
Step 4: Color the Mixtures
Now, it’s time to create the spooky colors! Add several drops of red oil food coloring into the bowl with the white chocolate mixture, stirring until you achieve a vibrant and eye-catching hue. For the dark chocolate mixture, add black oil food coloring, mixing thoroughly until you reach an intense black color that contrasts vividly with the red. Adjust the dye as needed to reach your desired shades.
Step 5: Combine & Swirl
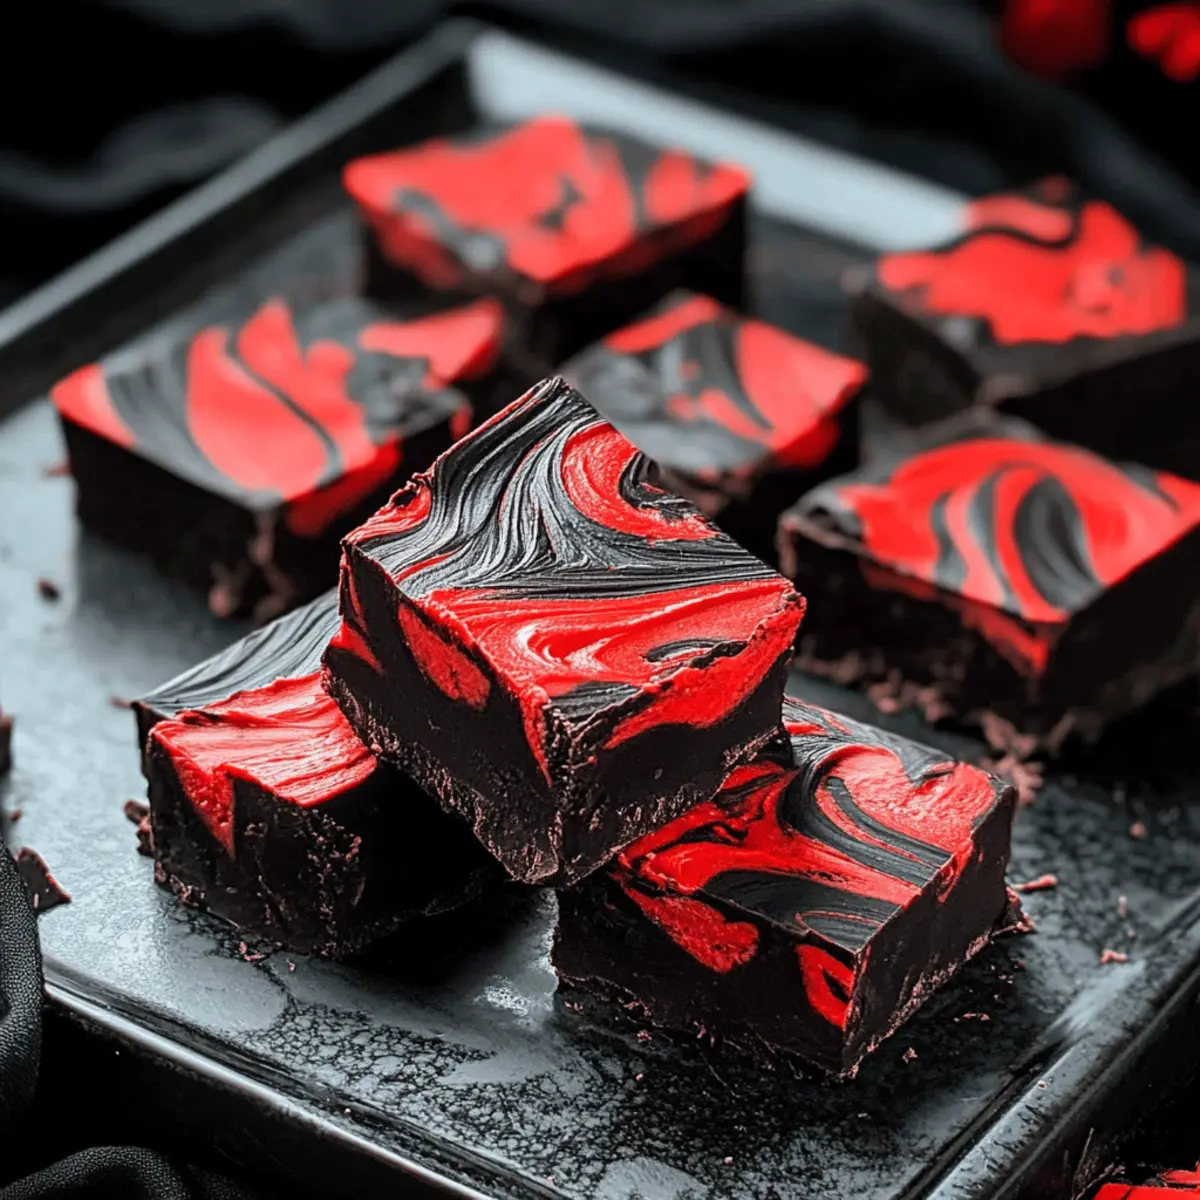
Once you have the beautiful colored mixtures ready, start pouring them alternatively into the prepared baking dish. Create a marbled effect by pouring dollops of each color in layers. After layering, take a toothpick or skewer and gently swirl through the mixture to create a playful design, being careful not to over-mix. Lightly tap the dish on the counter to even out the surface.
Step 6: Chill Until Set
Cover the dish with plastic wrap and place it in the refrigerator to chill for at least 1 hour, or until the Vampire Fudge has set firmly. The chilling step is crucial to ensure your fudge holds its shape and maintains that creamy texture.
Step 7: Cut & Serve
Once your Vampire Fudge is fully chilled and set, remove it from the refrigerator. Carefully lift the fudge out of the dish using the overhanging parchment or foil. Place it on a cutting board and cut into squares, or use fun cookie cutters to create spooky shapes, perfect for your Halloween gatherings!
Make Ahead Options
These Halloween Vampire Fudge treats are perfect for busy home cooks who want to save time during the spooky season! You can prepare the fudge mixture up to 24 hours in advance. Simply follow the initial steps—melt the candy melts and frosting, mix in the food coloring, and layer the combinations in the baking dish. After swirling, cover the dish tightly with plastic wrap and refrigerate. When you’re ready to serve, let the fudge set in the fridge until firm, ideally about an hour before cutting it into squares or fun shapes. This prep-ahead approach ensures your Vampire Fudge will be just as delicious and visually appealing for your Halloween gatherings!
What to Serve with Spooktacular Halloween Vampire Fudge
Prepare for a bewitching feast, pairing delightful treats that enhance the eerie essence of Halloween!
-
Ghostly Marshmallow Pops: These fun and fluffy pops add a playful, spooky element that kids adore while balancing the richness of the fudge.
-
Pumpkin Spice Cupcakes: Their warm, spiced flavor creates a delightful contrast, making each bite a cozy celebration of fall.
-
Creepy Candy Apples: These crunchy, sweet treats offer a perfect textural contrast and a touch of nostalgia, perfect for Halloween festivities.
-
Chilling Hot Chocolate: Rich and creamy with marshmallows on top, this drink brings comfort and warmth, perfectly complementing the fudge’s sweet decadence.
-
Boo-tiful Fruit Platter: Fresh fruits provide a bright, refreshing balance to the fudge, adding a nutritious element to your spooky dessert table.
-
Spiced Cider: A warm, aromatic beverage that captures the essence of the season and pairs wonderfully with the sweet and creamy fudge.
-
Chocolate Dipped Pretzels: The salty crunch of these pretzels offers a delightful contrast to the sweetness of the fudge, making them irresistible!
-
Vampire-Themed Cookies: Decorate sugar cookies with spooky icing designs to add another layer of fun while enhancing your Halloween-themed dessert spread.
Expert Tips for the Best Vampire Fudge
-
Pre-measure Ingredients: Having all your ingredients ready to go will save time and prevent fudge from setting too quickly while you mix.
-
Choose Oil-based Colors: Always use oil-based food coloring for vibrant hues; water-based options can alter the fudge’s texture and consistency.
-
Avoid Overheating: Melt your candy melts in short intervals to prevent scorching. Stir well between intervals for the best results in your Vampire Fudge.
-
Swirl Gently: When creating swirls, don’t over-mix the colors. This keeps the impressive visual effect while ensuring each bite delivers that rich flavor.
-
Store Properly: Keep the fudge in a sealed container at room temperature for 1-2 weeks. For better texture, refrigerate it for up to a month.
How to Store and Freeze Vampire Fudge
Room Temperature: Store the Vampire Fudge in an airtight container at room temperature for up to 1-2 weeks, ensuring it remains fresh and delicious.
Fridge: For firmer fudge, keep your Vampire Fudge in the refrigerator for up to 1 month. Use a sealed container to maintain its creamy texture.
Freezer: If you’d like to extend the life of your fudge, freeze it for up to 2-3 months. Wrap individual pieces in plastic wrap and place them in an airtight freezer bag.
Reheating: When ready to enjoy, simply let the fudge thaw at room temperature for about 30 minutes to bring back its delightful texture.
Vampire Fudge Variations & Substitutions
Feel free to let your creativity flow as you customize this fudge with delightful twists that will surprise your taste buds.
-
Nutty Addition: Stir in chopped nuts like walnuts or pecans before chilling for an added crunch that complements the creamy fudge.
-
Flavor Infusion: Replace vanilla frosting with hazelnut or caramel-flavored frosting to give the fudge an unexpected twist.
-
Reduced Sugar: Use sugar-free candy melts and frosting for a lower-sugar version that still satisfies those sweet cravings.
-
Spicy Kick: Add a pinch of cayenne pepper to the chocolate mixture for a surprising heat that will leave a delightful tingle!
-
Marshmallow Swirl: Incorporate mini marshmallows into the fudge mixture for a chewy texture and sweet burst in every bite.
-
Seasonal Colors: Swap out the red and black for pastel colors for a fun, springtime version, perfect for Easter gatherings!
-
Peanut Butter Twist: Mix in creamy peanut butter into the chocolate layer for a rich, decadent combination that chocolate and nut lovers will adore.
-
Dark Chocolate Delight: Substitute dark chocolate candy melts for a higher-percentage dark chocolate for a richer, more intense chocolate experience that’s divine!
Enhance your Vampire Fudge experience by diving into seasonal flavors like pumpkin spice or peppermint, and for those eager for more ideas, check out my scrumptious Chocolate Fudge Recipe or indulge in an easy classic with this delightful Vanilla Fudge Recipe.
Halloween Vampire Fudge Recipe FAQs
How do I choose ripe ingredients for my Vampire Fudge?
When selecting your candy melts, look for pouches that are free from any damage—make sure they are sealed and have not exceeded their expiry date. For the best flavor, I recommend using Ghirardelli white and dark chocolate melts, as they offer a rich and creamy taste that elevates the fudge. Always ensure that your food coloring is oil-based to achieve the vibrant colors without altering the fudge’s texture.
What is the best way to store leftover Vampire Fudge?
Absolutely! You can store the Vampire Fudge in an airtight container at room temperature for up to 1-2 weeks. This keeps it fresh and delicious. Alternatively, if you prefer a firmer texture, keep it in the fridge, where it will stay good for about up to a month. Just make sure to seal it well to preserve that creamy goodness!
Can I freeze Vampire Fudge for longer storage?
Very! Freezing is a great option if you want to enjoy your fudge at a later date. You can freeze individual pieces wrapped in plastic wrap and then place them in an airtight freezer bag for up to 2-3 months. When you’re ready to indulge again, simply let them thaw at room temperature for about 30 minutes. This will help bring back the delightful texture we all love!
What should I do if my fudge is too soft or not setting properly?
If your fudge is too soft or hasn’t set correctly, it may be due to not allowing it to chill long enough or having too much liquid if you added too much frosting. To remedy this, return the fudge to a bowl and gently reheat it in the microwave until slightly warm. Then, mix in a bit more melted candy melts until you reach a thicker consistency. Pour it back into your baking dish and chill it again for another hour to firm up.
Are there any dietary considerations for making Vampire Fudge?
Most definitely! While Vampire Fudge does offer a delicious treat for a variety of people, be cautious of those with dietary restrictions. It contains ingredients like candy melts and frosting, which may contain gluten or dairy. For a gluten-free option, make sure to use certified gluten-free brands, and you can opt for dairy-free candy melts to cater to lactose intolerance. Always check the labels for allergies to be safe!

Perfectly Creepy Vampire Fudge for a Spooktacular Halloween
Ingredients
Equipment
Method
- Begin by lining an 8x8 baking dish with parchment paper or foil, allowing excess to hang over the sides for easy removal.
- In two separate microwave-safe bowls, add the white candy melts in one and the dark chocolate candy melts in the other. Microwave each bowl in 30-second intervals until smooth.
- Microwave the vanilla frosting for around 45 seconds until melted. Divide the melted frosting equally between the two bowls of chocolate and stir to combine.
- Add red oil food coloring to the white chocolate mixture and black oil food coloring to the dark chocolate mixture, stirring until vibrant colors are achieved.
- Pour the mixtures alternatively into the prepared baking dish. Use a toothpick to gently swirl the colors together.
- Cover the dish with plastic wrap and refrigerate for at least 1 hour, or until set.
- Remove the fudge from the refrigerator, lift it out using the overhanging parchment or foil, and cut into squares.