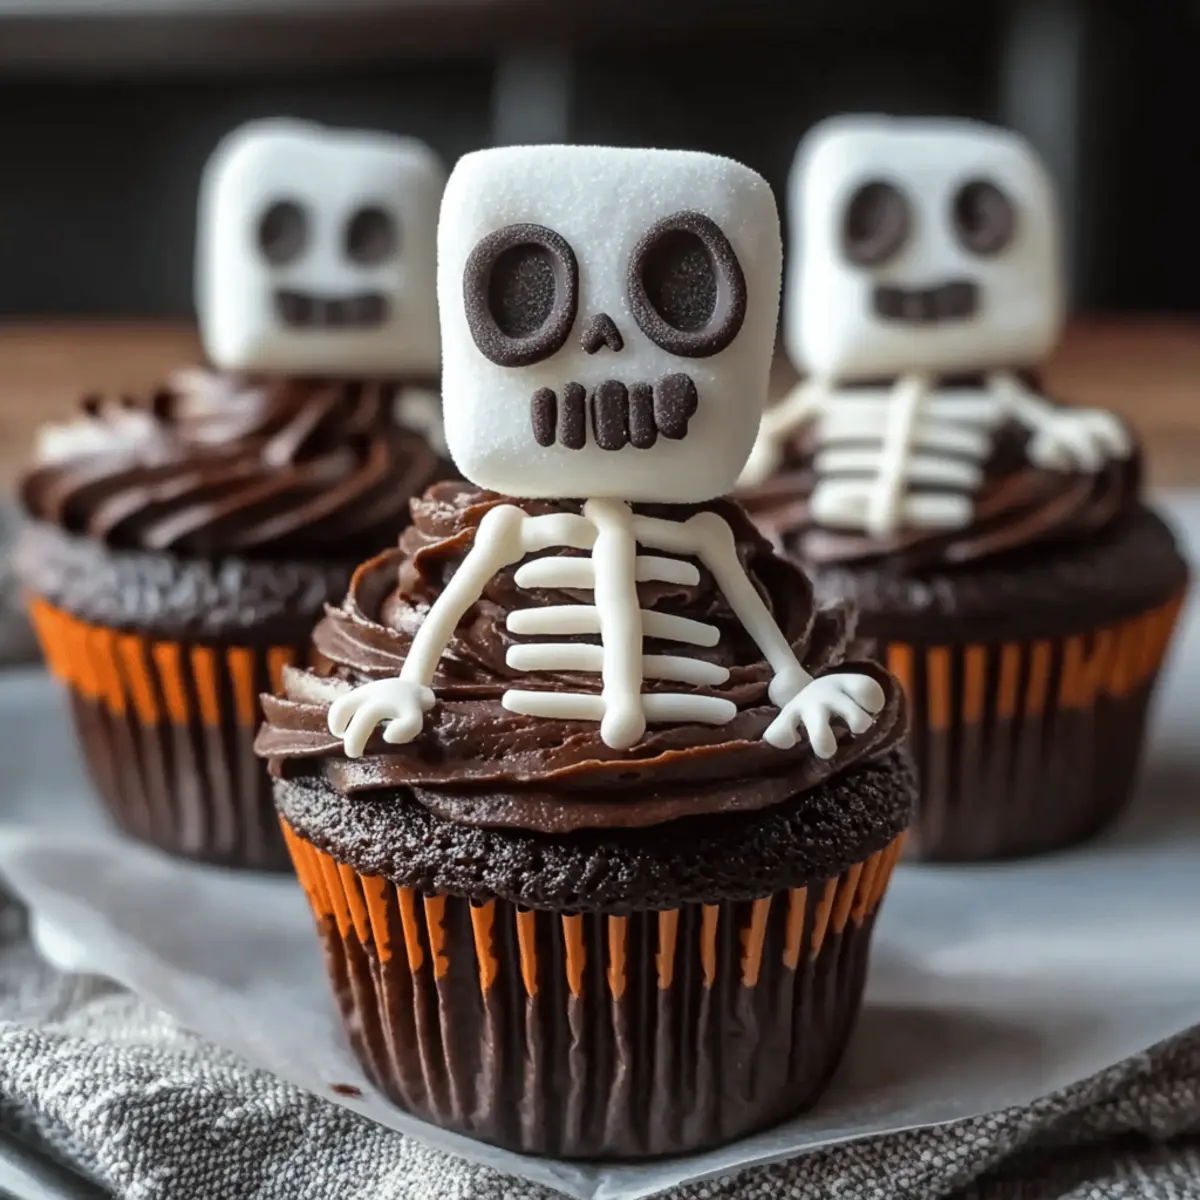
As the sun sets and the moon rises, it’s time to gather the little ghouls and goblins for a delightful baking adventure! These Spooky-Easy Skeleton Cupcakes are just the treat you need to whisk everyone away into the fun spirit of Halloween. Not only are they easy to make, but they also offer a perfect blend of chilling charm and chocolate richness that’s sure to enchant both kids and adults alike. Plus, there’s ample room for creativity, allowing you to personalize each skeleton to reflect your spooky style! Whether you’re hosting a Halloween gathering or simply indulging in a sweet family activity, these cupcakes have you covered. Ready to bring some hauntingly adorable magic to your kitchen? Let’s get started!
Why are Skeleton Cupcakes a must-try?
Halloween Fun: These Skeleton Cupcakes are perfect for your spooky celebrations, providing a creative way to engage kids in the kitchen.
Customizable: With suggestions for gluten-free alternatives and different frosting colors, you can easily personalize them for any Halloween theme.
Quick Assembly: No need for complex layers; these cupcakes come together quickly, making them an ideal treat for last-minute party prep.
Rich Chocolate Flavor: Moist, chocolatey cupcakes married with luscious frosting make every bite a delight, pleasing both kids and adults alike.
Crowd-Pleasing Treat: Their whimsical design and fun presentation will be the talk of your Halloween gatherings, ensuring they’re a hit!
Ready to dive into deliciousness? Don’t forget to check out some creative variations to get the most fun out of your bake!
Skeleton Cupcake Ingredients
For the Cupcakes
• Chocolate Cupcakes – Use your favorite homemade recipe or a store-bought mix for ease.
• Chocolate Frosting – This adds sweetness and moisture; both homemade and store-bought options work perfectly.
For the Skeleton Assembly
• Mini Marshmallows – Four per skeleton serve as the bodies; feel free to substitute with other small candies if needed.
• Large Marshmallows – One per skeleton forms the adorable heads; readily available in most grocery stores.
• Lollipop Sticks or Pretzel Rods – These provide the necessary support for your skeletons; toothpicks work well for mini versions.
For Decoration
• Black Edible Marker or Decorating Gel – Perfect for adding those spooky facial features to the marshmallow heads.
• Crushed Chocolate Cookies – Optional, for a delightful “dirt” topping effect that adds a fun texture.
• Pretzel Sticks or Yogurt-Covered Pretzels – Optional for crafting arms and legs; gluten-free options are available for everyone to enjoy!
Step‑by‑Step Instructions for Skeleton Cupcakes
Step 1: Prepare Cupcakes
Start by baking or purchasing 12 chocolate cupcakes, allowing them to cool completely on a wire rack. If you’re making them from scratch, remember to preheat your oven to 350°F (175°C) and grease your cupcake liners for easy removal. The rich, moist cupcakes provide the perfect base for your delightful Skeleton Cupcakes.
Step 2: Frosting Application
Once the cupcakes have cooled, generously frost each one with chocolate frosting using a spatula or piping bag. Aim for a thick, even layer that creates a smooth surface to support your skeleton décor. The contrasting colors of the dark frosting against the cupcakes will enhance the Halloween charm of your Skeleton Cupcakes.
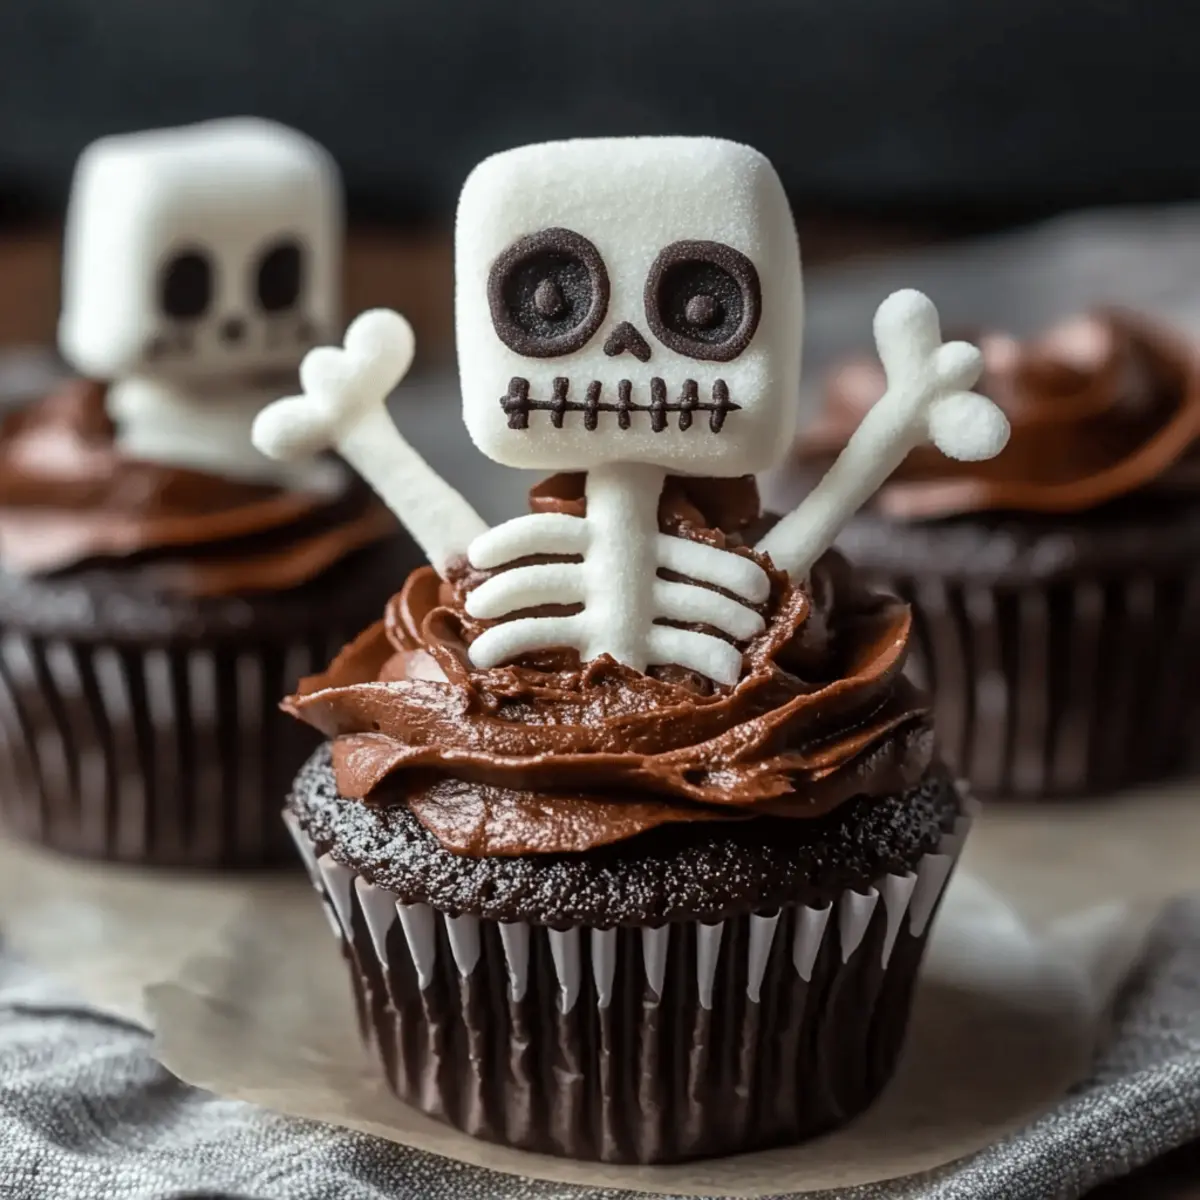
Step 3: Skeleton Assembly
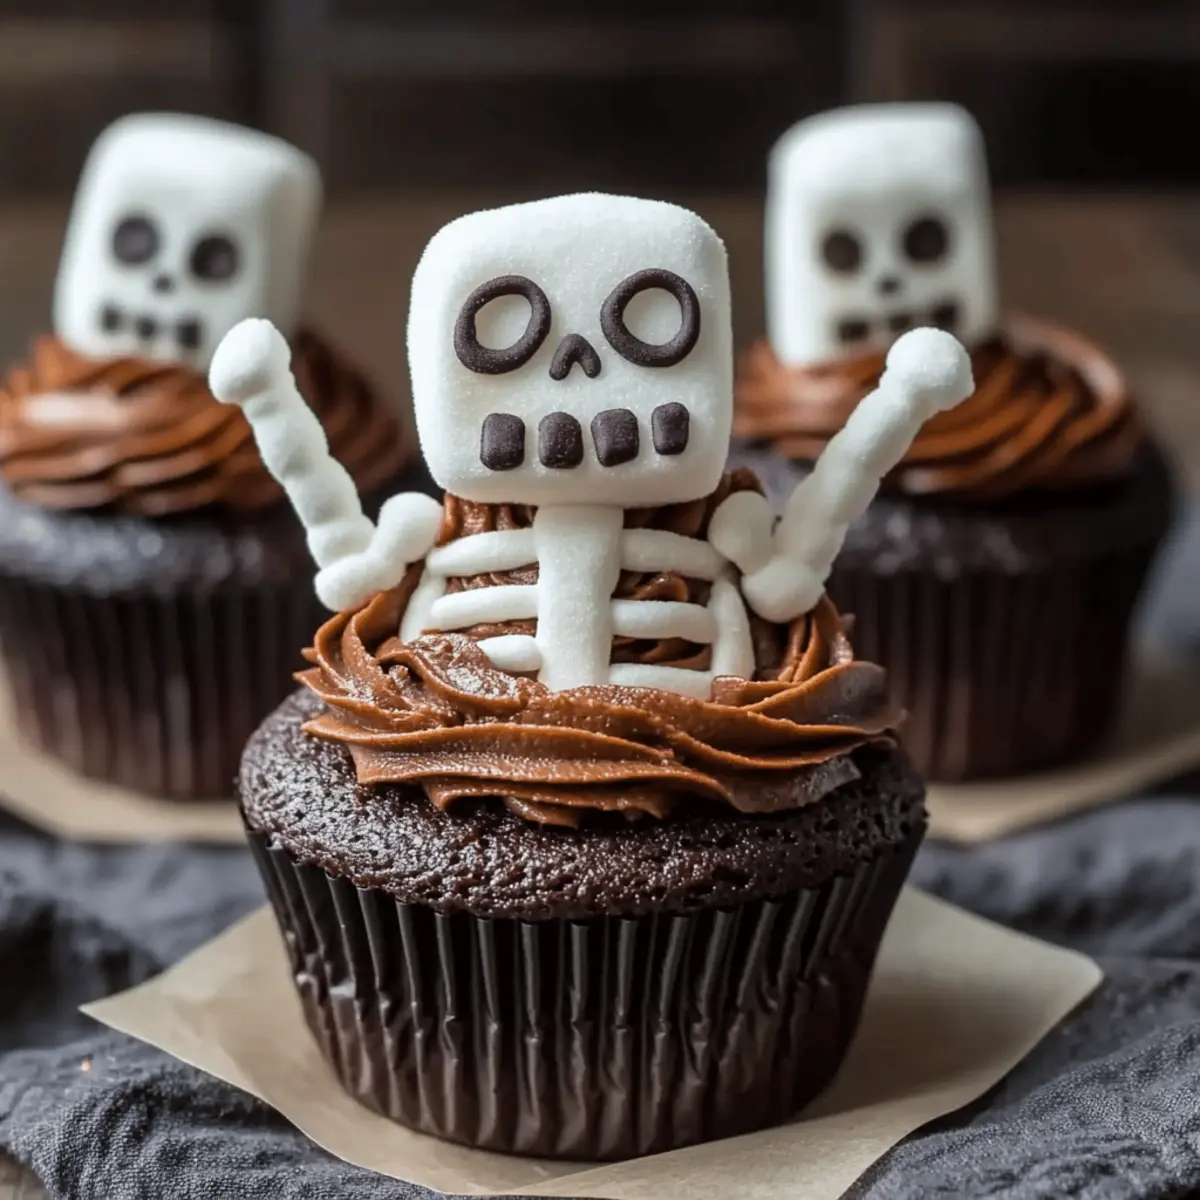
Now comes the fun part—assemble your skeletons! Begin by threading four mini marshmallows onto each lollipop stick or pretzel rod to form the body. Place a large marshmallow on top to represent the cute skull. The varying heights of the marshmallows will give your Skeleton Cupcakes a whimsical appearance, perfect for Halloween.
Step 4: Decorate Faces
Using a black edible marker or decorating gel, draw cheerful or spooky faces on the large marshmallow heads of your skeletons. Let your creativity shine! Each skeleton can have its own unique expression, adding personality to your Skeleton Cupcakes. This is a great step to involve kids for an engaging decorating experience!
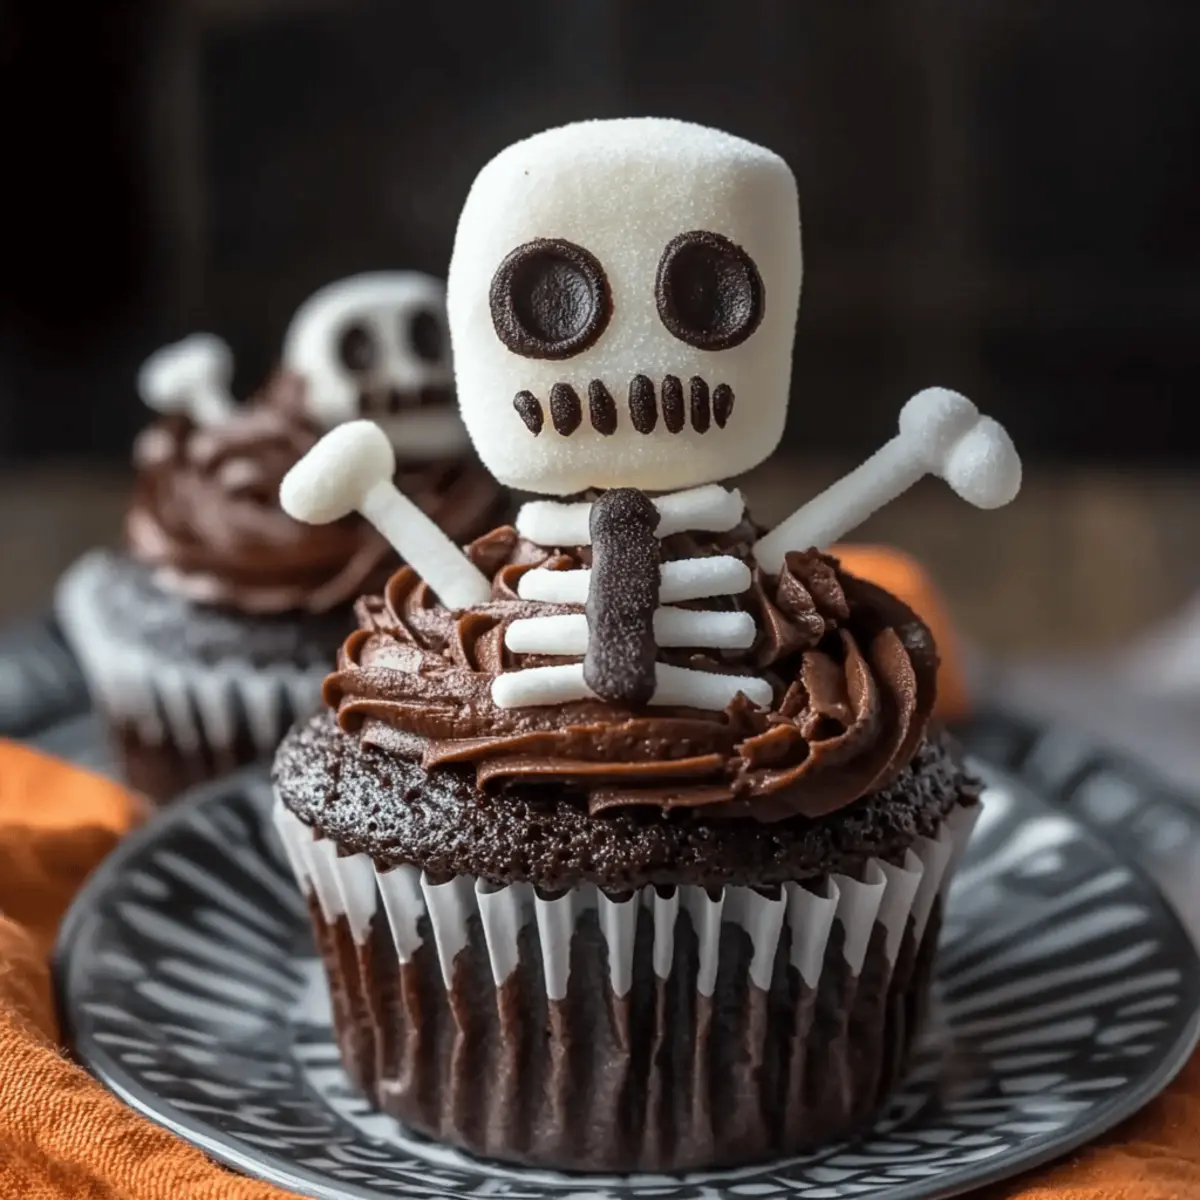
Step 5: Finish Assembly
Carefully insert the assembled skeleton sticks into the center of each frosted cupcake, ensuring they stand upright. For added creativity, you can break pretzel sticks to make arms or sprinkle crushed chocolate cookies on top for a “dirt” effect. This final touch enhances the overall presentation and adds to the Halloween theme.
Step 6: Chill Before Serving
To ensure the skeletons remain stable, chill the assembled Skeleton Cupcakes in the refrigerator for 10-15 minutes before serving. This helps the structure of the skeletons stay intact and allows the frosting to set slightly. Once chilled, they are ready to be enjoyed and will surely be a hit at your Halloween gathering!
Skeleton Cupcakes: Creative Twists Await
Feel free to let your imagination roam as you prepare these delightful treats, enhancing flavors and textures to delight everyone!
-
Gluten-Free: Swap chocolate cupcakes for a gluten-free mix to ensure everyone can enjoy the fun.
-
Colorful Frosting: Use colorful frostings like orange or purple for a vibrant Halloween vibe. Each hue adds charisma to your spooky treats!
-
Candy Eyes: Replace the edible marker with candy eyes for an even more playful look. Watch the kids beam with laughter as they decorate together.
-
Add a Crunch: Mix in crushed nuts or granola into the frosting for an unexpected texture twist. This offers a delightful surprise in every bite!
-
Spicy Touch: Add a sprinkle of cayenne or chili powder to your chocolate cupcakes for a hint of heat. It’ll surely surprise and delight those seeking something bold!
-
Theme Variations: Craft skeletons inspired by favorite monsters or characters. Personalize shapes and colors to match an exciting Halloween tale or movie!
-
Chocolate Drizzle: Top the cupcakes with a rich chocolate drizzle after frosting for an indulgent finish. This added layer of chocolaty goodness is bound to impress your guests.
-
Layered Treats: Create delectable mini trifle versions by layering cupcake crumbs, frosting, and skeleton decorations in clear cups. This transforms your cupcakes into a fun, shareable dessert.
Discover even more creative ideas with your baking by checking out our guide on irresistibly fun Halloween treats! There’s a delightful world of flavors waiting for your imagination!
What to Serve with Skeleton Cupcakes
These charming treats are perfect for adding a delightful touch to your Halloween festivities, creating a full meal that’ll impress family and friends.
-
Spooky Punch: A vibrant orange or purple fruit punch adds a festive flair and keeps everyone refreshed while enjoying the sweet treats.
-
Witch’s Brew Soup: A creamy pumpkin or butternut squash soup will warm hearts and fill bellies, balancing the sweetness of the cupcakes beautifully.
-
Mummy Hot Dogs: These fun, wrapped treats are an easy and playful snack for kids that pairs wonderfully with the spooky theme of the day.
-
Ghostly Fruit Cups: Serve fresh fruit salad garnished with yogurt to create adorable ghostly faces, providing a light, refreshing counterpart to the rich cupcakes.
-
Crispy Bat Wings: Baked chicken wings with a tangy sauce can serve as a savory complement, providing balance to the sugary sweetness of your Skeleton Cupcakes.
-
Cauldron Dip and Chips: A festive seven-layer dip paired with crunchy tortilla chips creates a fun and interactive appetizer that everyone will enjoy alongside dessert.
-
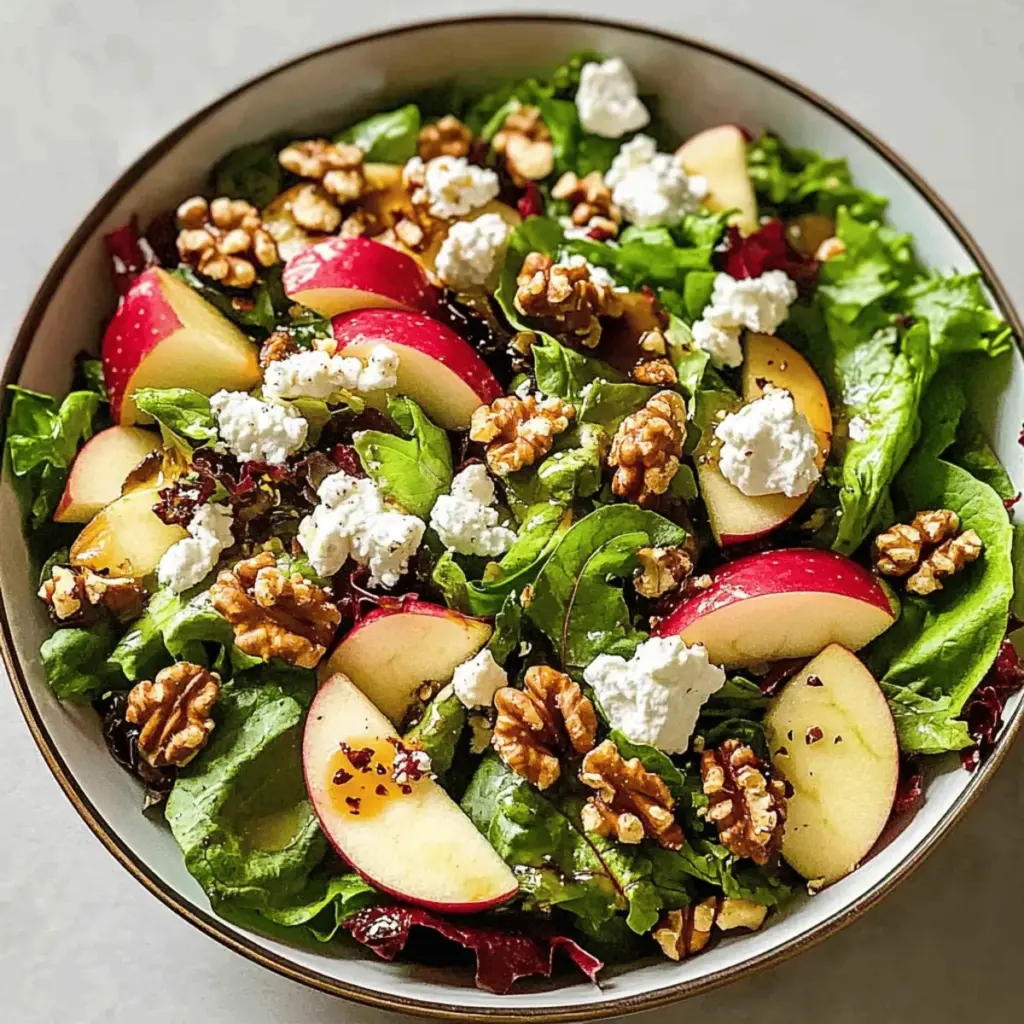
Hearty Salad: A salad with mixed greens, roasted beets, and feta can add some refreshing crunch and earthiness, perfectly contrasting the rich chocolate flavors.
Each option brings unique flavors and textures to the table, ensuring your Halloween gathering is both sweet and savory!
Expert Tips for Skeleton Cupcakes
• Avoid Overmixing: Don’t overmix the cupcake batter; it can lead to dense cupcakes. Stir gently until just combined for the lightest texture.
• Room Temperature Ingredients: Use room temperature eggs and butter in the batter for better incorporation, yielding a richer flavor and moist texture in your Skeleton Cupcakes.
• Monitor Baking Time: Keep a close watch on the baking time and test with a toothpick to prevent overbaking. A few crumbs sticking to the toothpick indicates they’re perfectly done!
• Chill for Stability: After assembly, chill the finished cupcakes for 10-15 minutes. This step is crucial for keeping the skeletons upright and ensuring they hold together when served.
• Customize Faces: Get creative with the facial expressions on your marshmallow skeleton heads! Use different colors of decorating gels to personalize them to your taste, making each skeleton unique.
Make Ahead Options
These delightful Skeleton Cupcakes are perfect for meal prep enthusiasts wanting to save time on busy Halloween-themed days! You can prepare the chocolate cupcakes up to 3 days in advance; simply bake and cool them, then store them in an airtight container at room temperature. For the skeleton assembly, thread the mini marshmallows onto the lollipop sticks or pretzel rods and store them separately so they don’t get stale. Decorate the marshmallow heads with faces using the black edible marker up to 24 hours before serving for best results. When it’s time to wow your guests, frost the cupcakes and assemble everything, then chill them for 10-15 minutes to ensure stability. This strategy ensures you’ll have delicious, eye-catching Skeleton Cupcakes ready to impress, without the last-minute rush!
How to Store and Freeze Skeleton Cupcakes
Room Temperature: Store your Skeleton Cupcakes in an airtight container at room temperature for up to 2 days to maintain their freshness and moisture.
Fridge: If you want to keep them a bit longer, place the cupcakes in the fridge, where they will stay fresh for up to 5 days. Allow them to come to room temperature before serving for the best flavor.
Freezer: For longer storage, wrap each cupcake individually in plastic wrap and then place them in a freezer-safe container. They can be frozen for up to 3 months. Thaw in the fridge overnight before enjoying.
Reheating: If you prefer a warm treat, gently microwave a cupcake for about 10-15 seconds. Just be careful not to melt the frosting!
Skeleton Cupcakes Recipe FAQs
How do I ensure my ingredients are fresh for the Skeleton Cupcakes?
Absolutely! For the best results, look for mini and large marshmallows that are soft and free from any dark spots or hard edges. For cupcakes, choose a mix or recipe with the latest expiration date, ensuring optimal flavor and moisture. If using eggs, make sure they are clean and stored properly; fresh eggs will always yield better results in your baking.
What’s the best way to store Skeleton Cupcakes?
Very important! Store your Skeleton Cupcakes in an airtight container at room temperature for up to 2 days. Ensure they are covered properly to maintain moisture. If you want to keep them fresh longer, you can also refrigerate them for up to 5 days. Just let them come to room temperature before serving to enhance their flavor!
Can I freeze Skeleton Cupcakes, and how should I do it?
Definitely! To freeze your Skeleton Cupcakes, first, unwrap them, then wrap each cupcake individually in plastic wrap. Place them in a freezer-safe container, where they’ll stay fresh for up to 3 months. When you’re ready to enjoy them, simply thaw the cupcakes overnight in the fridge—this keeps them moist and delicious!
What should I do if my cupcakes seem dense or heavy?
No worries, I’ve been there! A dense texture usually means the batter was overmixed, which leads to tough cupcakes. To avoid this, mix gently just until combined. Also, ensure all your ingredients are at room temperature, as this helps create a smoother batter. Lastly, check your baking time closely; even a minute too long can make a difference!
Are there any dietary considerations I should keep in mind?
Absolutely! For those with gluten sensitivities, you can easily swap in gluten-free flour for the chocolate cupcakes to make this recipe friendlier. Additionally, check the marshmallows to ensure they’re gluten-free or free from allergens. Always read labels to accommodate any dietary needs—happy baking for everyone!
Skeleton Cupcakes That Surprise and Delight This Halloween
Ingredients
Equipment
Method
- Start by baking or purchasing 12 chocolate cupcakes, allowing them to cool completely on a wire rack.
- Once the cupcakes have cooled, generously frost each one with chocolate frosting using a spatula or piping bag.
- Assemble skeletons by threading four mini marshmallows onto each lollipop stick or pretzel rod to form the body.
- Place a large marshmallow on top to represent the skull.
- Using a black edible marker or decorating gel, draw faces on the large marshmallow heads.
- Carefully insert the assembled skeleton sticks into the center of each frosted cupcake.
- Chill the assembled Skeleton Cupcakes in the refrigerator for 10-15 minutes before serving.