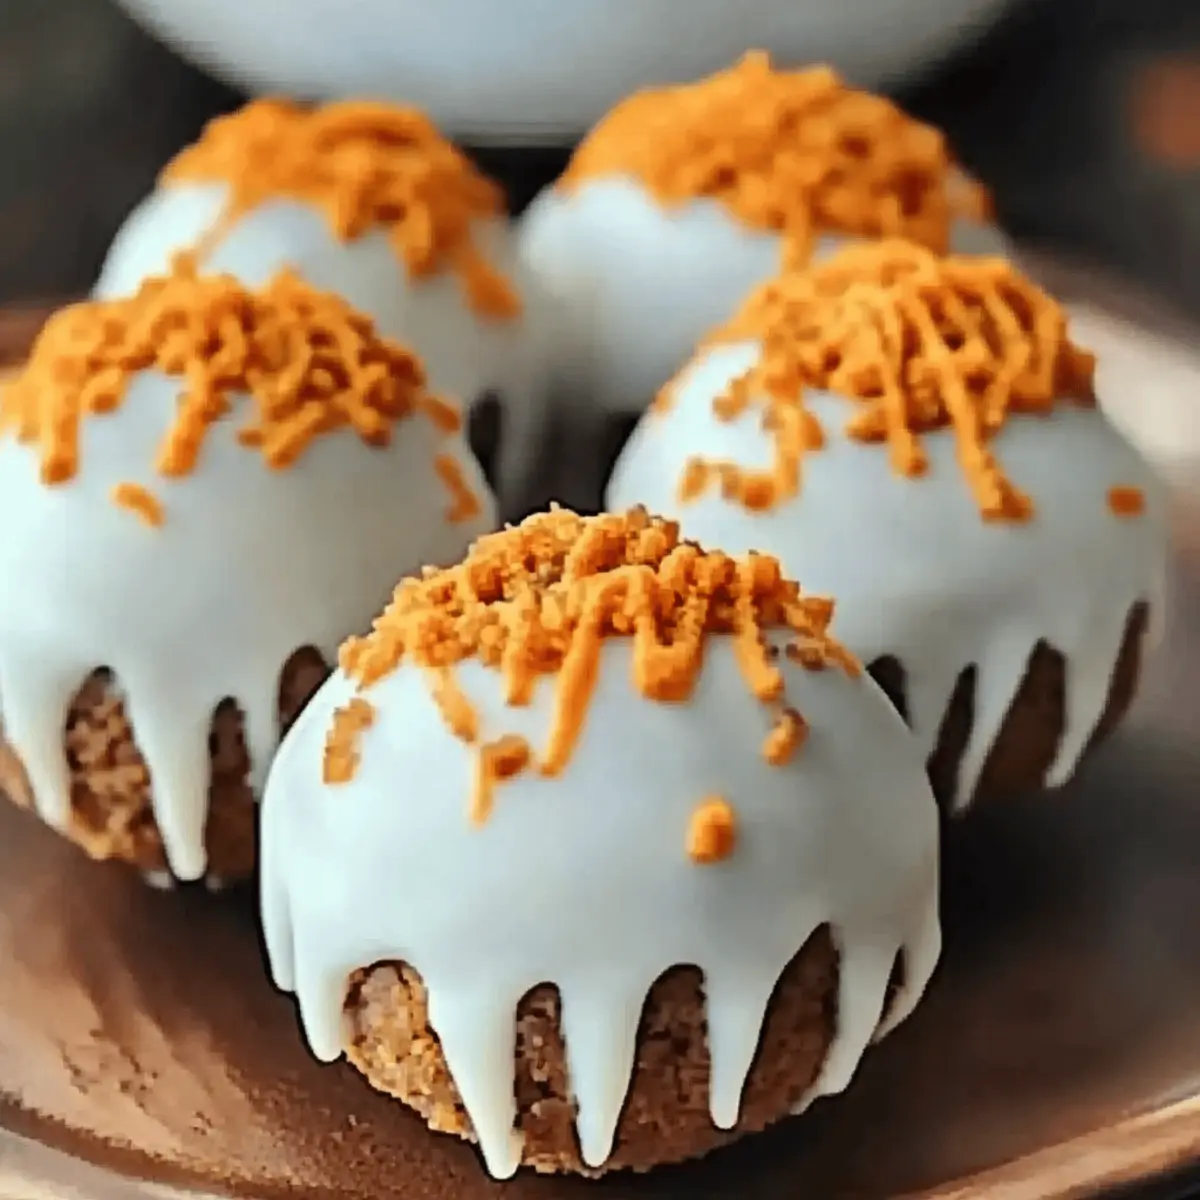
As the leaves begin to rustle and the air turns crisp, I find myself drawn to the kitchen, ready to whip up something sweet and seasonal. These No-Bake Pumpkin Oreo Balls are my go-to treat for fall gatherings and cozy nights in. They combine the classic crunch of Oreos with the delightful creaminess of pumpkin, creating an indulgent bite-sized dessert that’s as easy to make as it is to devour. With their quick prep time and crowd-pleasing allure, these little morsels are perfect for Halloween parties, potlucks, or simply an afternoon snack while you sip on warm cider. Want to know how to make these delightful bites that will have everyone asking for seconds? Let’s dive in!
Why are Pumpkin Oreo Balls so irresistible?
Quick and Easy: These no-bake delights require minimal effort, making them perfect for busy days or last-minute gatherings.
Seasonal Flavors: The combination of Oreos and pumpkin creates a unique taste that captures the essence of fall.
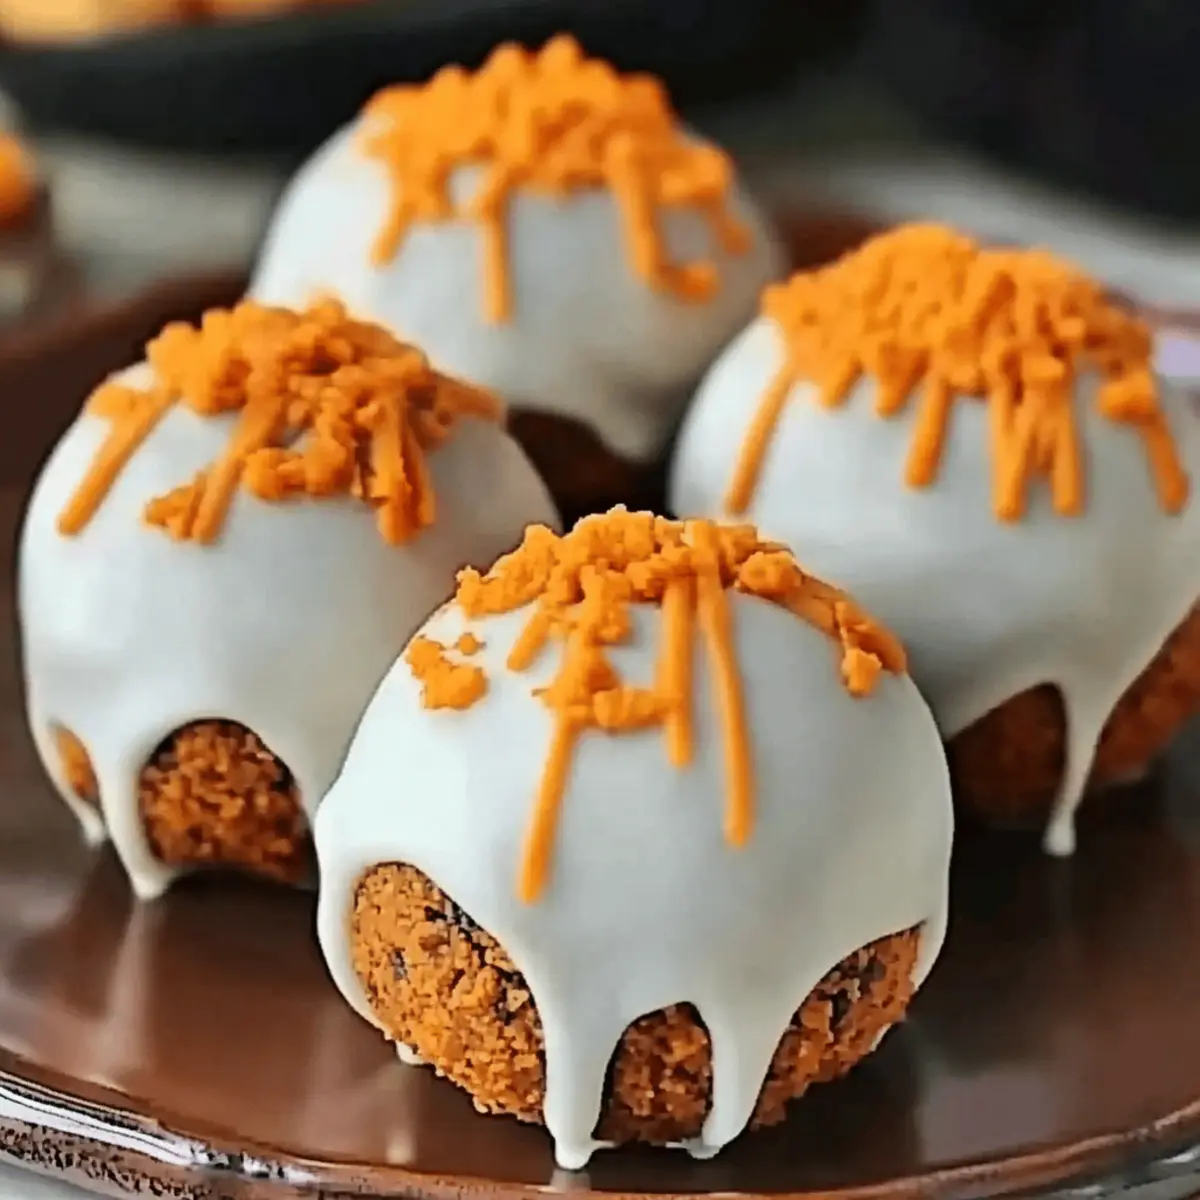
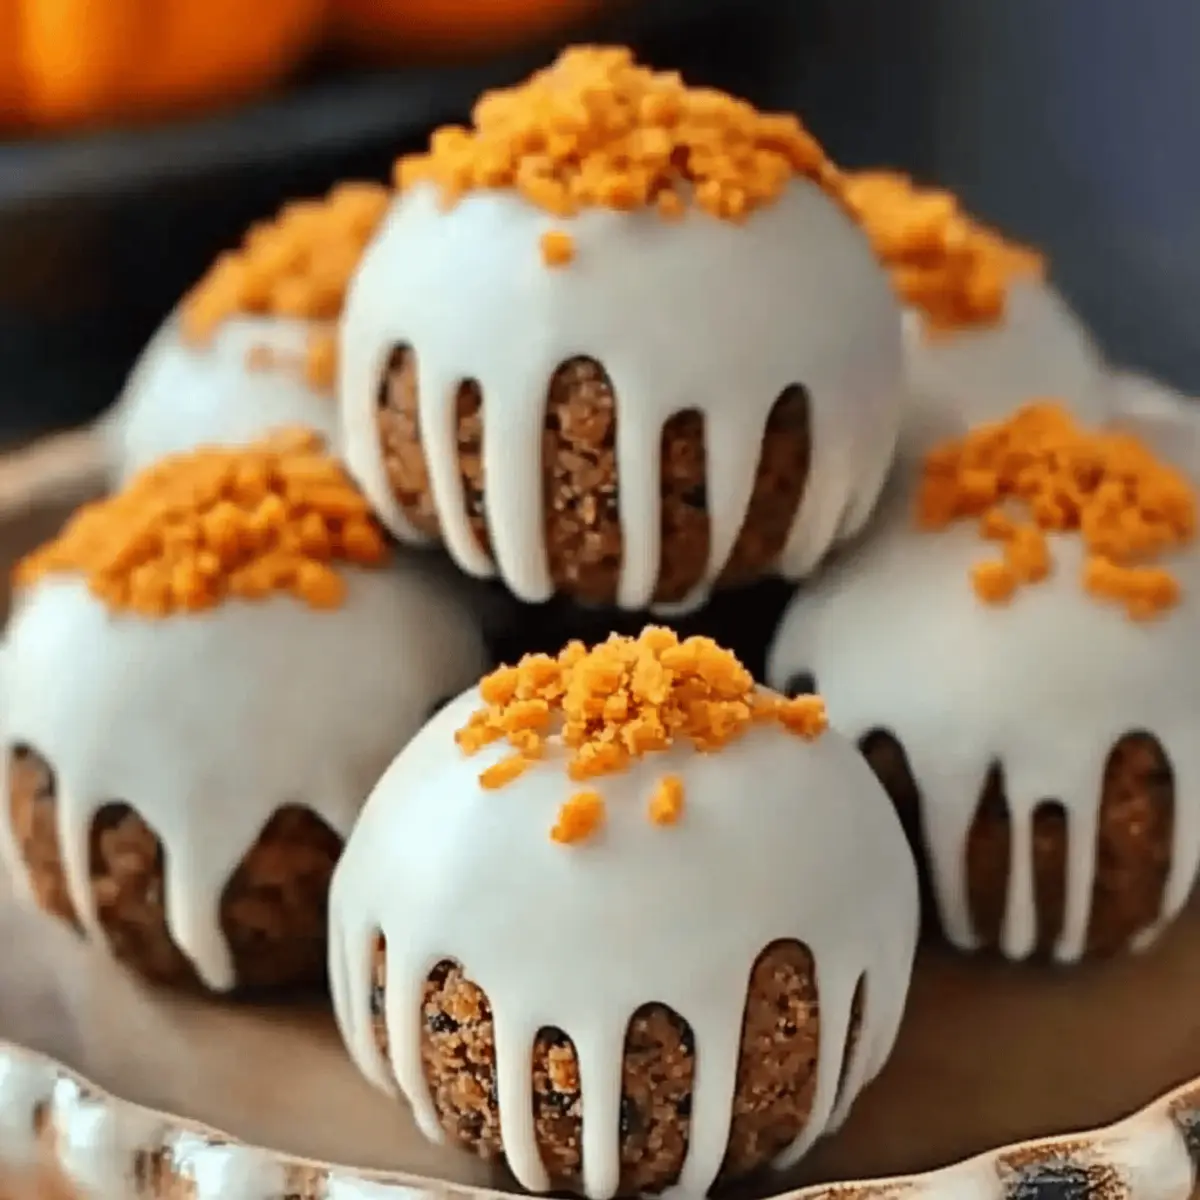
Crowd-Pleaser: With their visually appealing white chocolate coating, these bites are sure to impress at any event.
Customizable: Feel free to experiment with different chocolate coatings or add spices for a personalized twist.
Satisfying Crunch: Each bite offers a delightful contrast of creamy and crunchy textures that you’ll crave again and again.
Pumpkin Oreo Balls Ingredients
• Get ready to create a fall sensation!
For the Base
- Oreos – The star ingredient that provides the essential structure and sweetness.
- Cream Cheese – Ensure it’s softened for easy blending and a rich, creamy consistency.
- Pumpkin Puree – Adds moisture and seasonal flavor; you can substitute with butternut squash puree if you like.
For the Coating
- White Chocolate – Provides a sweet contrast and visual appeal; feel free to swap for dark chocolate for a richer taste.
Each bite of these Pumpkin Oreo Balls brings a taste of fall that’s simply irresistible!
Step‑by‑Step Instructions for Pumpkin Oreo Balls
Step 1: Crush Oreos
Begin by placing your Oreos in a food processor. Pulse the cookies until they form fine crumbs, which should take about 30 seconds. You want a sand-like consistency that binds well with the other ingredients. If you don’t have a food processor, you can also place the Oreos in a sealed plastic bag and crush them with a rolling pin.
Step 2: Mix Ingredients
In a large mixing bowl, combine the crushed Oreos, softened cream cheese, and pumpkin puree. Using a spatula or your hands, mix until everything is thoroughly blended and the mixture is smooth. This should take about 2-3 minutes. The mixture should be sticky enough to hold together when formed into balls, ensuring you get those delicious Pumpkin Oreo Balls just right!
Step 3: Form Balls
Once your mixture is combined, scoop out tablespoon-sized amounts and roll them into balls using your palms. Aim for a uniform size to ensure even coating later. Place the formed balls on a lined baking sheet. You should have around 15-20 balls depending on the size you choose. This step helps shape the decadent treats before they chill.
Step 4: Chill
Refrigerate the formed Pumpkin Oreo Balls for at least 30 minutes. This is crucial as chilling helps them firm up and maintain their shape during the next steps. You’ll know they’re ready when they are slightly firm to the touch but still soft and creamy inside. This chilling time lets all the flavors meld together, making them even more delicious.
Step 5: Coat in Chocolate
While the balls chill, prepare your white chocolate coating. Melt the white chocolate in a microwave-safe bowl in 15-second increments, stirring between each until smooth. Once melted, dip each chilled ball into the white chocolate, ensuring an even coat. Allow any excess chocolate to drip off before placing them back on the lined baking sheet.
Step 6: Set and Serve
After coating all the Pumpkin Oreo Balls, let them sit at room temperature for about 10-15 minutes so the chocolate can harden. Alternatively, you can pop them back in the fridge to speed up the setting process. Once the coating is set, they are ready to be served! Enjoy these delightful bites as a perfect treat for any fall occasion.
Make Ahead Options
These Pumpkin Oreo Balls are a fantastic choice for meal prep, allowing you to enjoy their deliciousness with minimal last-minute effort! You can prepare the mixture of crushed Oreos, cream cheese, and pumpkin puree up to 24 hours in advance; simply keep it covered in the refrigerator. Form the balls and chill them for at least 30 minutes before coating. To maintain their texture and flavor, ensure they are stored in an airtight container after coating in chocolate. When you’re ready to serve, just let them set for an additional 10-15 minutes. This way, you can indulge in hassle-free, homemade delights that are just as fresh and tasty!
What to Serve with Pumpkin Oreo Balls
As autumn sets in and the scent of pumpkin spice fills the air, it’s the perfect time to create a delicious spread that compliments these decadent bites.
-
Creamy Mashed Potatoes: Their rich and buttery texture contrasts beautifully with the sweet flavors of pumpkin, providing a comforting balance to your dessert table.
-
Spiced Apple Cider: This warm, fragrant beverage adds a seasonal touch and enhances the festive spirit, making each bite of Pumpkin Oreo Balls even more special.
-
Warm Cinnamon Rolls: Pair these sweet, gooey treats for a delightful brunch option! The cinnamon adds warmth, perfectly harmonizing with the pumpkin’s sweetness.
-
Maple Pecan Pie: A classic fall dessert that brings a nutty crunch and earthy undertones alongside the rich, creamy texture of your Oreo balls.
-
Roasted Brussels Sprouts: Their crispy exterior and slight bitterness contrast nicely with the sweetness of pumpkin, making for an enticing and colorful plate.
-
Chai Latte: The warm spices in a chai latte perfectly mirror those in the Pumpkin Oreo Balls, creating a harmonious pairing that warms the soul.
Elevate your culinary creations by serving these delightful companions alongside your Pumpkin Oreo Balls for a truly memorable fall feast!
Storage Tips for Pumpkin Oreo Balls
- Room Temperature: These treats can be left out for up to 2 hours before they need refrigeration, making them perfect for serving at room temperature during gatherings.
- Fridge: Store Pumpkin Oreo Balls in an airtight container in the refrigerator for up to one week, retaining their delicious flavor and creamy texture.
- Freezer: For longer storage, freeze the balls in an airtight container for up to 3 months. Thaw them in the fridge overnight before serving for the best taste.
- Reheating: There’s no need to reheat; simply enjoy the Pumpkin Oreo Balls chilled for a refreshing treat or at room temperature for a softer bite.
Expert Tips for Pumpkin Oreo Balls
-
Softened Cream Cheese: Ensure your cream cheese is at room temperature to blend seamlessly, creating a smooth, creamy texture in your Pumpkin Oreo Balls.
-
Even Size Matters: Roll the mixture into uniform balls to guarantee an even coating and a consistent taste experience in each bite.
-
Chill for Success: Don’t skip the chilling step; it helps the balls firm up and hold their shape during coating, preventing any mishaps.
-
Use a Fork: When dipping the balls in melted chocolate, use a fork for a cleaner, neater coating. This helps any excess drip off and prevents clumping.
-
Personalize Your Treats: Feel free to mix in spices or change the chocolate coating to match your flavor preferences for your Pumpkin Oreo Balls.
Pumpkin Oreo Balls Variations & Substitutions
Feel free to get creative with your Pumpkin Oreo Balls! The beauty of this recipe is that you can easily tailor it to suit your taste buds.
- Dairy-Free: Use vegan cream cheese and dairy-free chocolate to make these delicious treats suitable for those avoiding dairy.
- Pumpkin Spice Boost: Add a teaspoon of pumpkin spice to the mixture for an extra layer of fall flavor that will have everyone raving.
- Nutty Crunch: Mix in chopped walnuts or pecans for a delightful crunch that complements the creamy interior beautifully.
- Chocolate Lovers: Swap the white chocolate for dark or semi-sweet chocolate for a richer, more robust flavor that contrasts perfectly with the sweet filling.
- Cocoa Twist: Roll the formed balls in cocoa powder instead of chocolate coating for a less sweet, more chocolate-forward treat.
- Fruit Infusion: Incorporate finely chopped dried cranberries or apples into the mix for a burst of chewy sweetness and fall-inspired flavor.
- Heat It Up: Add a hint of cayenne pepper to the mixture for those who enjoy a sweet and spicy contrast that will tickle the taste buds.
- Make it Mini: Instead of rolling tablespoon-sized balls, create mini bites for a fun, poppable snack that’s perfect for sharing!
These variations will elevate your Pumpkin Oreo Balls to new heights! If you love a touch of creativity in your kitchen, consider pairing them with a delicious hot drink like spiced latte or warm apple cider to make your fall experience even cozier!
Pumpkin Oreo Balls Recipe FAQs
What should I look for when selecting pumpkin puree?
Absolutely! When selecting pumpkin puree, look for a rich, vibrant orange color and a smooth, thick texture. Avoid brands that are overly watery or contain many dark spots, as these can indicate lower quality. If you’re in a pinch, you can also use butternut squash puree as a substitute, as it offers a similar flavor profile.
How should I store Pumpkin Oreo Balls, and how long do they last?
You can keep your Pumpkin Oreo Balls in an airtight container in the refrigerator for up to one week. They’ll maintain their creamy texture and rich flavor throughout this time. For longer storage, you can freeze them in an airtight container for up to 3 months. Just remember to thaw them in the fridge overnight before enjoying!
Can I freeze Pumpkin Oreo Balls? If so, how?
Yes! Freezing these delightful treats is a great way to extend their shelf life. To freeze, first chill the Pumpkin Oreo Balls in the refrigerator for at least 30 minutes to firm them up. Then, lay them out on a baking sheet in a single layer and freeze until solid. After that, transfer them to an airtight container or freezer bag. For the best flavor and texture, consume within 3 months!
What can I do if my mixture is too sticky to roll into balls?
Very! If your mixture feels too sticky, it’s likely that the cream cheese didn’t blend in completely or isn’t soft enough. You can try chilling the mixture for about 15 minutes to make it easier to handle. Additionally, lightly wet your hands while rolling the balls to reduce stickiness. If you’re still having trouble, consider adding a bit more crushed Oreo crumbs until the mixture holds its shape better.
Are Pumpkin Oreo Balls suitable for people with allergies?
Great question! These Pumpkin Oreo Balls contain common allergens, like cream cheese and Oreos, which may include gluten and dairy. If you need to make them allergen-friendly, consider using gluten-free Oreos and a dairy-free cream cheese alternative. Always check specific brands for allergy information to ensure safety for anyone with dietary restrictions!

Pumpkin Oreo Balls: Easy No-Bake Fall Delights to Savor
Ingredients
Equipment
Method
- Crush Oreos in a food processor until fine crumbs.
- Mix crushed Oreos, softened cream cheese, and pumpkin puree in a large bowl until smooth.
- Form tablespoon-sized balls and place on a lined baking sheet.
- Chill in the refrigerator for at least 30 minutes.
- Melt white chocolate and dip each ball to coat.
- Let the coated balls sit at room temperature or refrigerate to set.