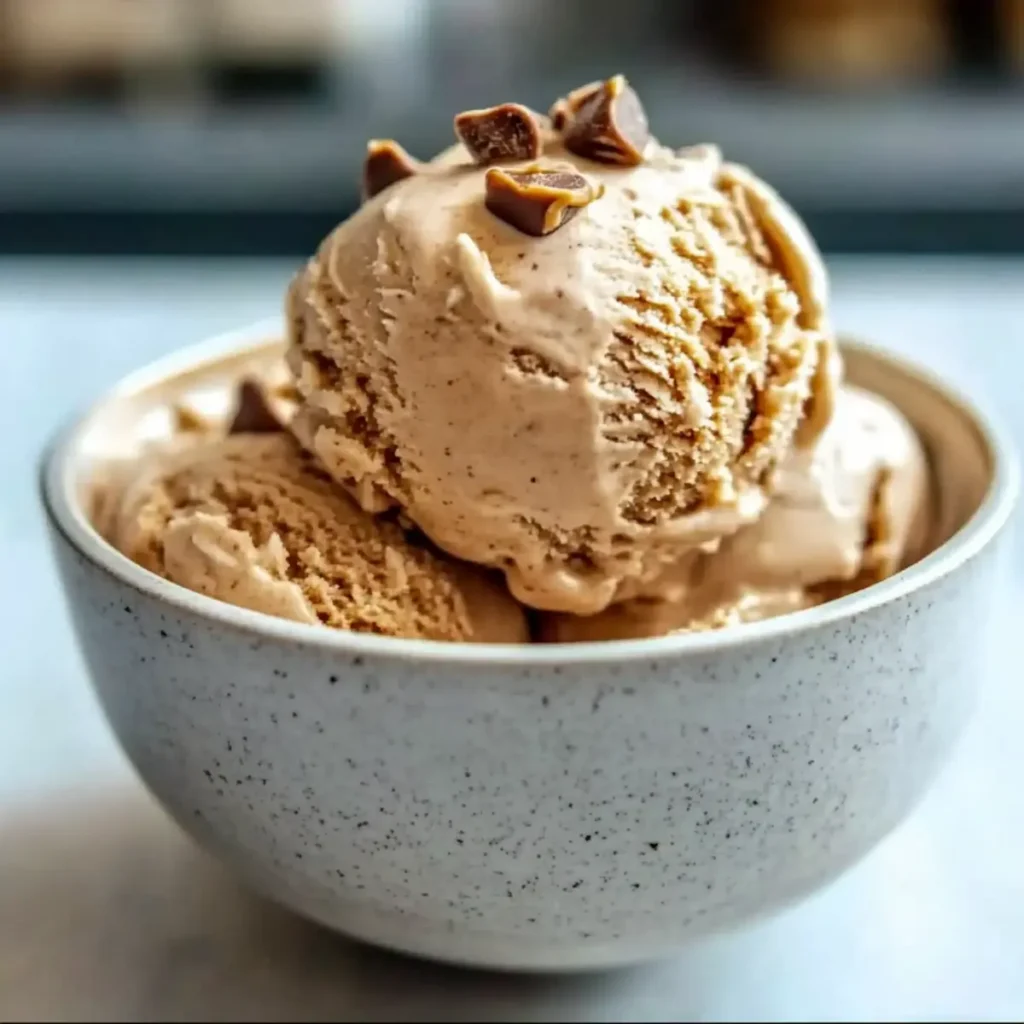
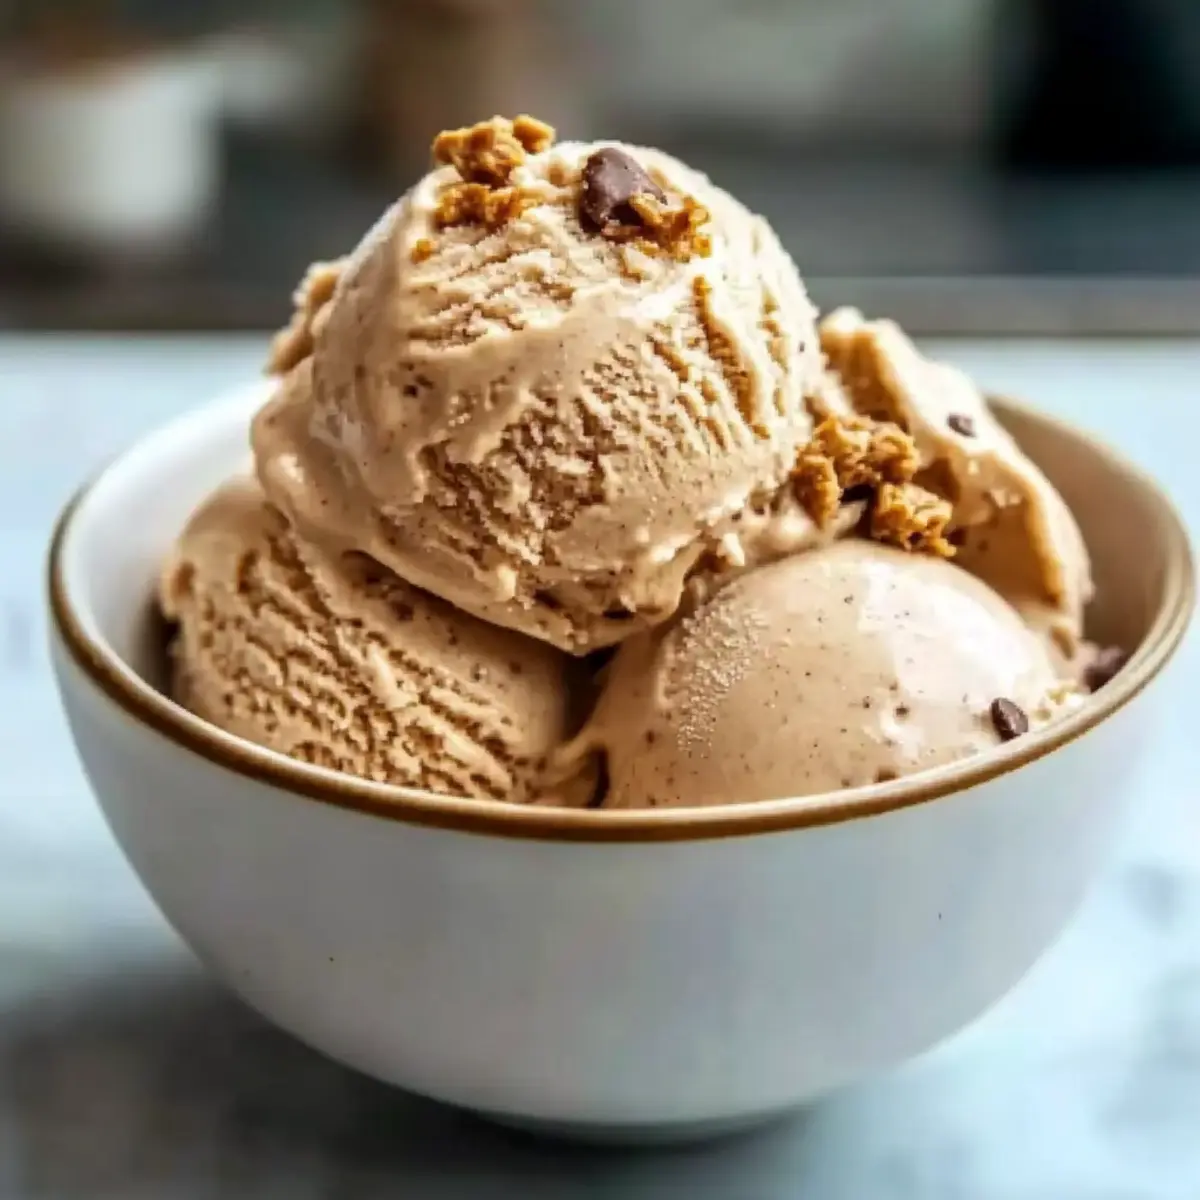
As I stood in my kitchen, the sun pouring through the window, I found myself in a mini crisis—summer was teasing us with its heat, and all I wanted was something cool and satisfying to dig into. That’s when the idea of creating a Peanut Butter Yogurt Ice Cream struck me! This delightful no-churn treat is a game changer, boasting a creamy texture and a rich peanut butter flavor while being healthier and lower in sugar than traditional ice creams. With its protein-packed Greek yogurt base, this indulgence not only satisfies sweet cravings but also serves as a refreshing post-workout treat. Plus, it’s incredibly versatile; you can easily customize it with add-ins or serve it as fun frozen cups! Are you ready to chill out and make your own creamy goodness?
Why Is This Ice Cream Recipe a Must-Try?
Guilt-Free Indulgence: Enjoy the same creamy taste of ice cream without the added calories, thanks to Greek yogurt.
Quick and Easy: No churn means you can whip up this delightful dessert with minimal effort.
Customizable: From chocolate chips to fresh fruits, you can tailor each scoop to suit your taste buds!
Perfect for All Occasions: Whether it’s a sunny day treat or a post-workout snack, this Peanut Butter Yogurt Ice Cream fits every moment.
Health-Conscious Choice: Lower in sugar and high in protein, it’s an ideal option for those looking to indulge smartly.
Fun Serving Ideas: Make frozen cups or yogurt sandwiches for a playful twist that both kids and adults will love!
Peanut Butter Yogurt Ice Cream Ingredients
For the Base
• Greek Yogurt – Provides a creamy foundation packed with protein; use full-fat for extra richness.
• Peanut Butter – Delivers a rich, nutty flavor; opt for natural and creamy varieties for the best texture.
• Sweetener (e.g., honey, maple syrup) – Balances the tartness of the yogurt; adjust to taste for a healthier option.
• Salt – Enhances flavor; just a pinch boosts the peanut butter essence.
Optional Add-Ins
• Chocolate Chips – Add a hint of sweetness and crunch; choose dark chocolate for a healthier sweet treat.
• Chopped Nuts – Bring in texture and extra flavor; walnuts or almonds complement the peanut butter well.
• Fresh Fruit (e.g., berries, bananas) – Layer in for a refreshing twist and added nutrition; perfect for customization!
With these ingredients, you’ll embrace a delightful Peanut Butter Yogurt Ice Cream that’s not only delicious but a healthier choice perfect for those summer moments!
Step‑by‑Step Instructions for Peanut Butter Yogurt Ice Cream
Step 1: Combine the Base
In a medium mixing bowl, add 2 cups of full-fat Greek yogurt and ½ cup of creamy peanut butter. Use a spatula or hand mixer to blend the ingredients together until the mixture is smooth and homogeneous. This should take about 2-3 minutes and should result in a thick and creamy consistency, perfect for your Peanut Butter Yogurt Ice Cream.
Step 2: Sweeten to Taste
Gradually incorporate ¼ cup of your chosen sweetener, such as honey or maple syrup, into the blended yogurt and peanut butter. Add a pinch of salt and mix thoroughly for another 2 minutes. Taste the mixture and adjust the sweetness as desired, ensuring it balances well with the tartness of the yogurt while maintaining that rich peanut butter profile.
Step 3: Eliminate Lumps
Continue to blend the mixture on low speed or stir steadily with a spatula until no lumps remain. This process is crucial as it creates the creamy texture of your Peanut Butter Yogurt Ice Cream. Aim for about 3-5 minutes of blending to ensure a smooth and velvety blend that will freeze beautifully.
Step 4: Freeze the Mixture
Transfer the smooth mixture into an airtight container, spreading it evenly. Seal the container tightly and place it in the freezer for at least 4 hours. For best results, check after 2 hours, and if desired, stir the mixture to break up any ice crystals. This step helps achieve a creamy texture without churn.
Step 5: Soften Before Serving
After the freezing period is complete, remove the container from the freezer and allow it to sit at room temperature for 5-10 minutes. This will soften the Peanut Butter Yogurt Ice Cream slightly, making it easier to scoop. Watch for a texture that is smooth yet firm, ideal for serving.
Step 6: Enjoy Your Creation
Use an ice cream scoop to serve the creamy Peanut Butter Yogurt Ice Cream into bowls or frozen cups. Optionally, top your servings with chocolate chips, chopped nuts, or fresh fruits for an added touch. This delicious, healthier dessert is now ready to be enjoyed—perfect for warm days or post-workout cravings!
Make Ahead Options
These Peanut Butter Yogurt Ice Cream delights are perfect for busy home cooks looking to save time during the week! You can prepare the base mixture of Greek yogurt, peanut butter, and sweetener up to 24 hours in advance; simply mix and store it in an airtight container in the refrigerator. To maintain optimal creaminess, avoid freezing the mixture until you’re ready to enjoy it. When you’re set to serve, freeze the prepared mixture for at least 4 hours, stirring occasionally if desired. This allows for an irresistibly creamy texture, ensuring that your Peanut Butter Yogurt Ice Cream is just as delicious as if made fresh that day!
Peanut Butter Yogurt Ice Cream Variations
Feel free to get creative and make this Peanut Butter Yogurt Ice Cream your own with these delightful variations!
-
Dairy-Free: Substitute Greek yogurt with your favorite dairy-free yogurt for a plant-based twist that still retains creaminess.
-
Nut Variations: Try almond or cashew butter instead of peanut butter for a different nutty flavor; each has its unique taste profile.
-
Sweetener Substitutes: Use a keto-friendly sweetener like erythritol to lower the sugar content without sacrificing sweetness.
-
Flavor Boost: Mix in a splash of vanilla extract to enhance the overall flavor; it pairs excellently with peanut butter.
-
Chocolate Lovers: Fold in dark chocolate chips or cocoa powder for a rich chocolate-peanut butter combination that will tantalize your taste buds.
-
Frozen Cups: Pour the mixture into silicone molds for fun and portable frozen cups—great for kids and adults alike!
-
Layered Parfaits: Create a parfait by layering the ice cream with fresh fruits and granola for added texture and nutrition.
-
Yogurt Sandwiches: Scoop the ice cream between two cookies to create a delicious sandwich treat; a perfect way to enjoy summer warmth!
These variations can turn a simple dessert into an exciting experience. Looking for more delicious ideas? Check out Garlic Butter Chicken or try making some delightful Lemon Butter Pork for a full feast!
Storage Tips for Peanut Butter Yogurt Ice Cream
-
Room Temperature: Allow the Peanut Butter Yogurt Ice Cream to sit out for about 5-10 minutes before serving for easier scooping, especially if frozen for over 24 hours.
-
Fridge: For short-term storage, you can keep any leftovers in the fridge for up to 3 days, but the texture may change, becoming less creamy.
-
Freezer: Store in an airtight container for up to 2 weeks in the freezer to maintain optimal texture and flavor; stir every hour during the first few hours to minimize ice crystals.
-
Reheating: If the ice cream becomes too hard, let it sit at room temperature for a few minutes before scooping to reach that perfect creamy consistency.
Expert Tips for Peanut Butter Yogurt Ice Cream
-
Yogurt Choice: Always go for full-fat Greek yogurt for the richest texture and flavor that enhances your Peanut Butter Yogurt Ice Cream.
-
Taste Test: Adjust sweetener gradually; taste as you go to avoid oversweetening. Remember, the yogurt’s tartness will influence flavor balance.
-
Salt Matters: A pinch of salt is crucial! It elevates the peanut butter flavor beautifully, so don’t skip this step.
-
Stir It Up: If you find the ice cream too hard after freezing, giving it a quick stir every hour while freezing can help maintain that creamy consistency.
-
Avoid Ice Crystals: For a smoother texture, ensure there are no lumps in your mixture before freezing; this helps prevent icy bits in your Peanut Butter Yogurt Ice Cream.
-
Storage Tips: Store the ice cream in an airtight container to prevent it from absorbing odors from the freezer; it will taste best within two weeks.
What to Serve with Peanut Butter Yogurt Ice Cream?
Imagine a delightful summer gathering where everyone digs into glorious creations that complement the rich, creamy bliss of your Peanut Butter Yogurt Ice Cream!
- Fresh Berries: Bursting with sweetness and tartness, fresh berries add a vibrant contrast and lovely color to your dessert bowls.
- Granola Crunch: The delightful crunch of granola pairs beautifully, adding texture and a wholesome feel to each creamy scoop. Consider mixing homemade granola for a personal touch!
- Chocolate Drizzle: A rich chocolate drizzle elevates the dessert, intensifying the flavors while offering a luxurious touch, making it extra indulgent.
- Honeycomb Chunks: Sweet, chewy honeycomb brings a unique sweetness that balances the peanut butter’s richness perfectly in every bite!
- Nutty Cookie Crumbles: Crushed cookies or biscuits used for toppings offer both texture and a delightful flavor hint, especially with chocolate or nut-based cookies.
- Coconut Whipped Cream: Light and airy, this dairy-free alternative provides a creamy and tropical twist, creating an exotic balance against the peanut butter.
- Iced Coffee: A refreshing iced coffee pairs well with this ice cream, providing a caffeinated kick to your dessert, perfect for hot days!
- Coconut Milkshake: Blend coconut milk with ripe bananas for a creamy shake that compliments the ice cream while offering a tropical dance on the palate!
- Tropical Fruit Salad: A mixture of pineapple, mango, and kiwi adds freshness, contrasting the richness of the ice cream while adding a touch of sweetness.
- Chocolate-Covered Pretzels: The salty-sweet combo of pretzels dipped in chocolate creates a fun and crunchy treat that complements the creamy indulgence perfectly!
Peanut Butter Yogurt Ice Cream Recipe FAQs
What type of Greek yogurt should I use for this recipe?
For the best results in your Peanut Butter Yogurt Ice Cream, I recommend using full-fat Greek yogurt. It provides a rich and creamy texture that elevates the overall flavor. If you’re looking for a lighter option, you can also use low-fat Greek yogurt, but the texture may not be as indulgent.
How should I store the Peanut Butter Yogurt Ice Cream?
To maintain its creamy texture, store your Peanut Butter Yogurt Ice Cream in an airtight container in the freezer. It can keep well for up to 2 weeks. If you find it too hard to scoop after freezing, simply let it sit at room temperature for 5-10 minutes before serving.
Can I freeze this ice cream, and for how long?
Absolutely! You can freeze Peanut Butter Yogurt Ice Cream for up to 2 weeks. For the best consistency, stir the mixture every hour while it freezes for the first few hours to break up ice crystals. This will ensure you get that luscious creaminess every time you scoop!
What if my ice cream has ice crystals? How can I avoid this?
If you notice ice crystals forming, this usually happens if the mixture isn’t stirred regularly while freezing. To avoid this, make sure to stir the ice cream every hour for the first few hours. If you end up with a batch that’s icy, you can let it soften at room temperature before re-blending it to regain that silky texture.
Is this ice cream safe for those with nut allergies?
Since this recipe includes peanut butter, it’s not suitable for individuals with nut allergies. However, you can replace peanut butter with sun butter or another seed butter to make a nut-free version. Always check labels to ensure that ingredients are safe for those who will be consuming them.
Can I use substitutes for the sweetener?
Definitely! You can swap honey or maple syrup with a sugar-free alternative if you’re looking to reduce sugar intake. Just ensure that the substitute you choose is measured according to its sweetness level compared to traditional sweeteners, as some are much sweeter than sugar. Enjoy customizing!
Peanut Butter Yogurt Ice Cream: A Guilt-Free Summer Treat
Ingredients
Equipment
Method
- In a medium mixing bowl, add Greek yogurt and peanut butter, and blend until smooth.
- Gradually incorporate sweetener and salt, mixing thoroughly and adjusting sweetness to taste.
- Blend on low speed or stir until no lumps remain to ensure a creamy texture.
- Transfer the mixture into an airtight container, seal tightly, and freeze for at least 4 hours.
- Let the ice cream sit at room temperature for 5-10 minutes before serving.
- Serve into bowls or frozen cups, optionally topping with add-ins.