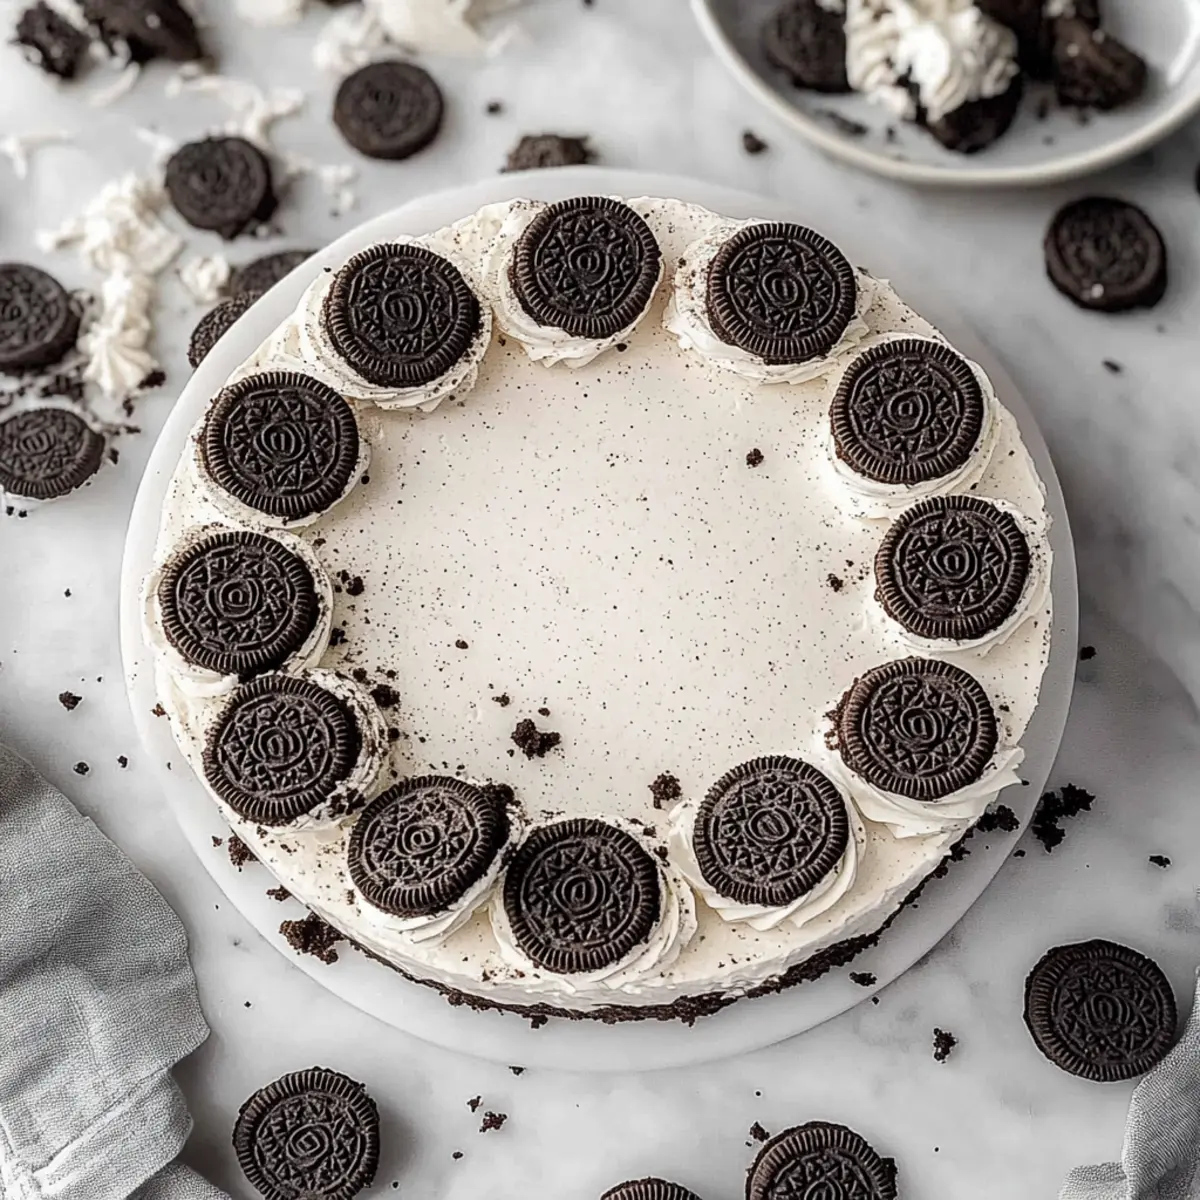
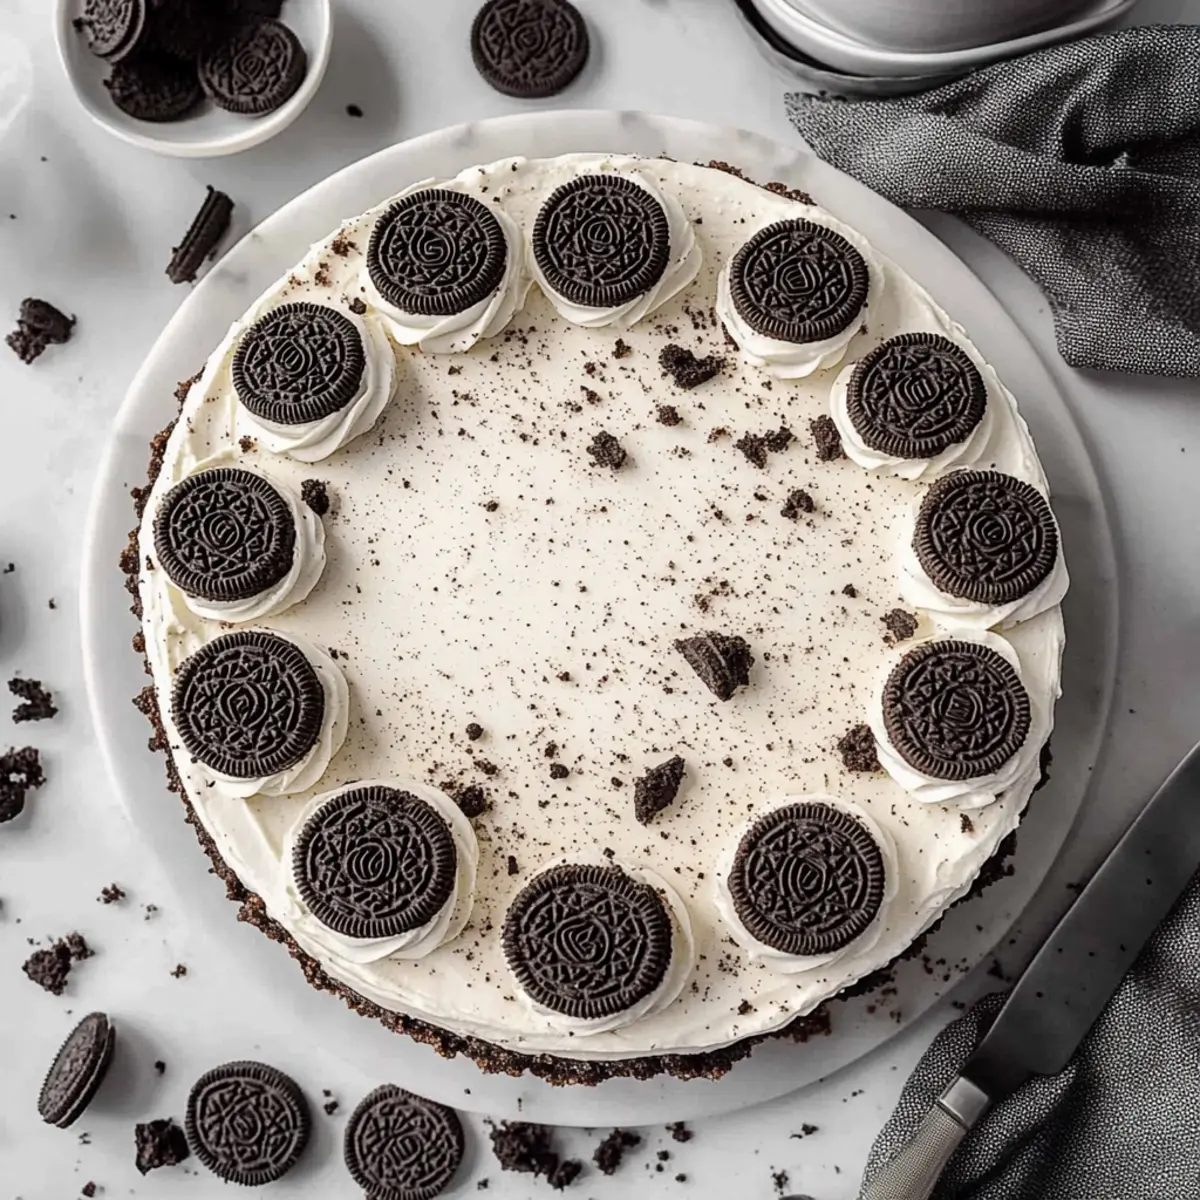
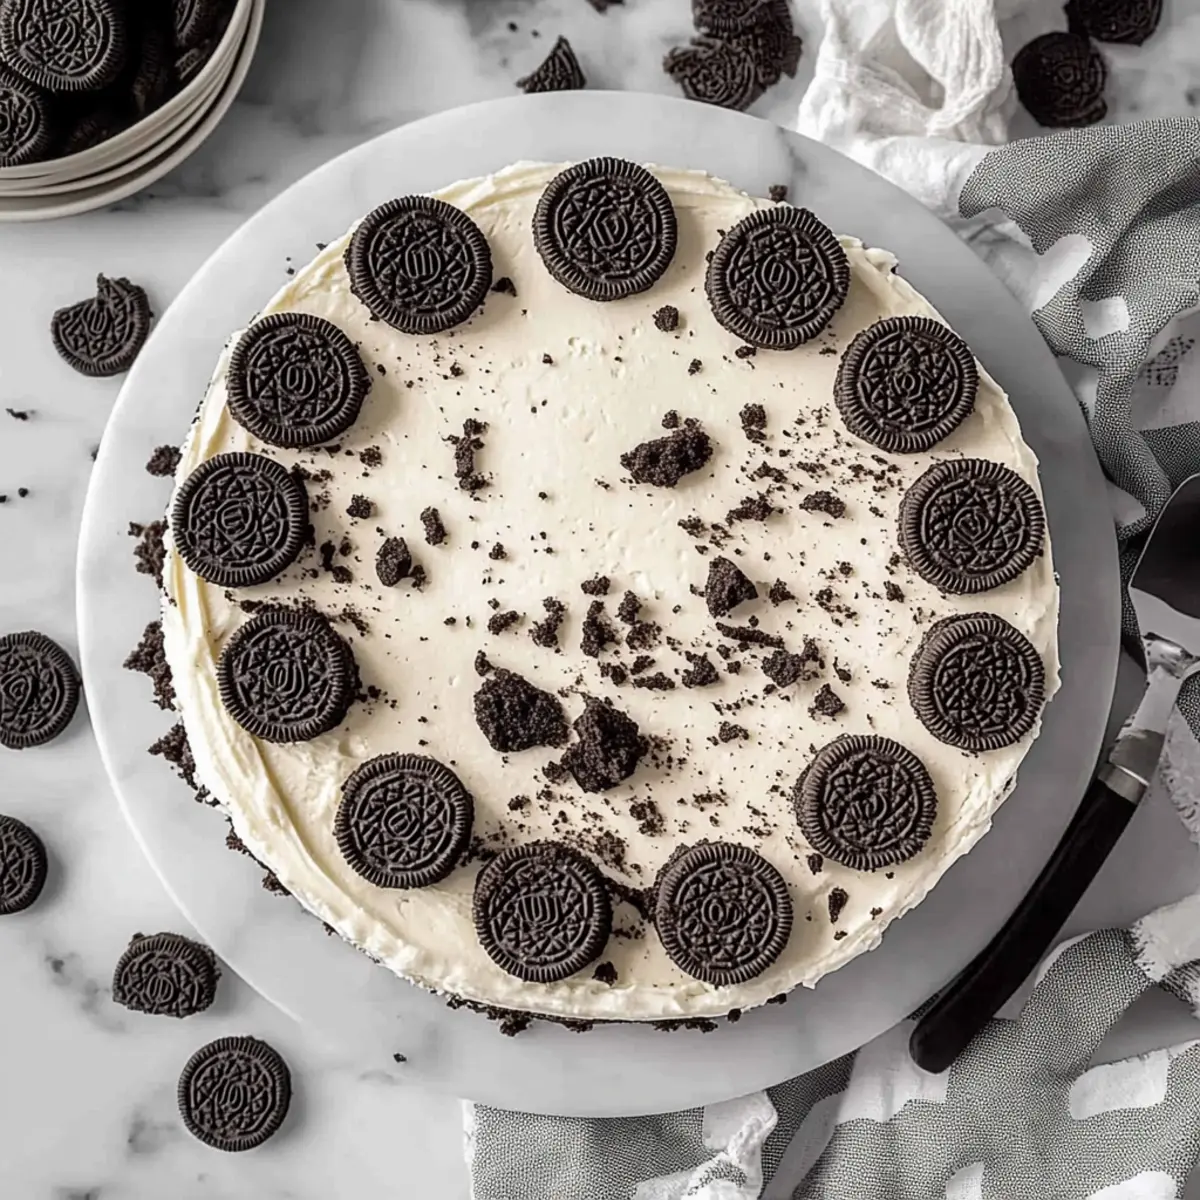
As I stood in my kitchen, I couldn’t help but marvel at how simple ingredients could transform into something so delightful. Enter the No-Bake Oreo Cheesecake, a concoction that captures the essence of indulgence without the hassle of baking. This easy dessert can be whipped up in just 30 minutes, making it perfect for those spontaneous gatherings or when a sweet craving strikes unexpectedly. With its creamy filling, crunchy Oreo crust, and the versatility to mix in your favorite flavors, this cheesecake is an absolute crowd-pleaser. Whether you’re celebrating a birthday or simply treating yourself, make-ahead convenience means you can spend more time enjoying and less time worrying. Ready to elevate your dessert game? Let’s dive into this scrumptious creation!
Why is No-Bake Oreo Cheesecake a Must-Try?
Simplicity makes this dessert a breeze to prepare, needing only 30 minutes of your time. Indulgent flavor shines through with each creamy bite, balanced perfectly by the crunchy Oreo crust. Versatile and fun, you can easily swap in different Oreo flavors or create mini cheesecakes for a delightful twist. Make-ahead convenience means it’s always ready for unexpected guests, while crowd-pleasing qualities ensure every slice will vanish in moments. Treat yourself by exploring more irresistible desserts like Bake Banana Desserts, where easy meets delicious!
No-Bake Oreo Cheesecake Ingredients
• Discover the key components for this luscious delight!
For the Crust
- Oreos – Use standard, Double Stuf, or even gluten-free variations for the crust that gives a rich flavor.
- Unsalted Butter – Melted to bind the crust; no substitutes recommended for the best flavor.
For the Filling
- Brick-style Cream Cheese – Essential for that creamy texture; avoid fat-free versions as they don’t set properly.
- Powdered Sugar – Adds sweetness to your filling; necessary for that perfect balance of flavor.
- Vanilla Extract – A splash enhances the flavor; opt for pure vanilla for the best results.
- Cold Heavy Whipping Cream – Whipped to create a light and airy texture; can substitute with whipped topping, but adjust the sugar.
For the Topping
- Chopped Oreos – Adds delicious texture to the filling and makes it visually appealing; optional, but highly recommended!
Each of these ingredients plays a vital role in crafting the perfect No-Bake Oreo Cheesecake that will leave everyone craving for more!
Step‑by‑Step Instructions for No-Bake Oreo Cheesecake
Step 1: Prepare the Crust
Begin by processing 24 Oreos in a food processor until they become fine crumbs, resembling sand. Next, melt 5 tablespoons of unsalted butter and mix it with the Oreo crumbs until fully combined. Press this mixture firmly into the bottom of a 9-inch springform pan to form a solid crust. Chill the crust in the refrigerator for at least 30 minutes to set.
Step 2: Make the Filling
In your stand mixer, beat 16 ounces of softened brick-style cream cheese on medium speed until it’s velvety smooth, about 2-3 minutes. Gradually add in 1 cup of powdered sugar, followed by 1 teaspoon of vanilla extract, mixing until well incorporated. The filling should be creamy with no lumps, creating a luscious base for your No-Bake Oreo Cheesecake.
Step 3: Whip the Cream
In a separate bowl, add 1 cup of cold heavy whipping cream and whip using an electric mixer until stiff peaks form, which should take around 4-5 minutes on high speed. The whipped cream should be thick enough that it holds its shape, ensuring your cheesecake filling will be light and airy. Set this aside while you combine the other ingredients.
Step 4: Combine the Mixtures
Gently fold the whipped cream into the cream cheese mixture with a rubber spatula, being careful not to deflate the whipped cream. This step is crucial for achieving the desired fluffy texture. If you wish to add extra texture, fold in 6 chopped Oreos at this point. This delicious mixture is the heart of your No-Bake Oreo Cheesecake.
Step 5: Assemble
Carefully pour the cheesecake filling over the chilled crust in the springform pan. Use a spatula to smooth the surface evenly, ensuring it looks inviting and perfect. Once done, cover the cheesecake with plastic wrap and place it in the refrigerator, allowing it to chill and set for a minimum of 4 hours, or preferably overnight for the best results.
Step 6: Serve
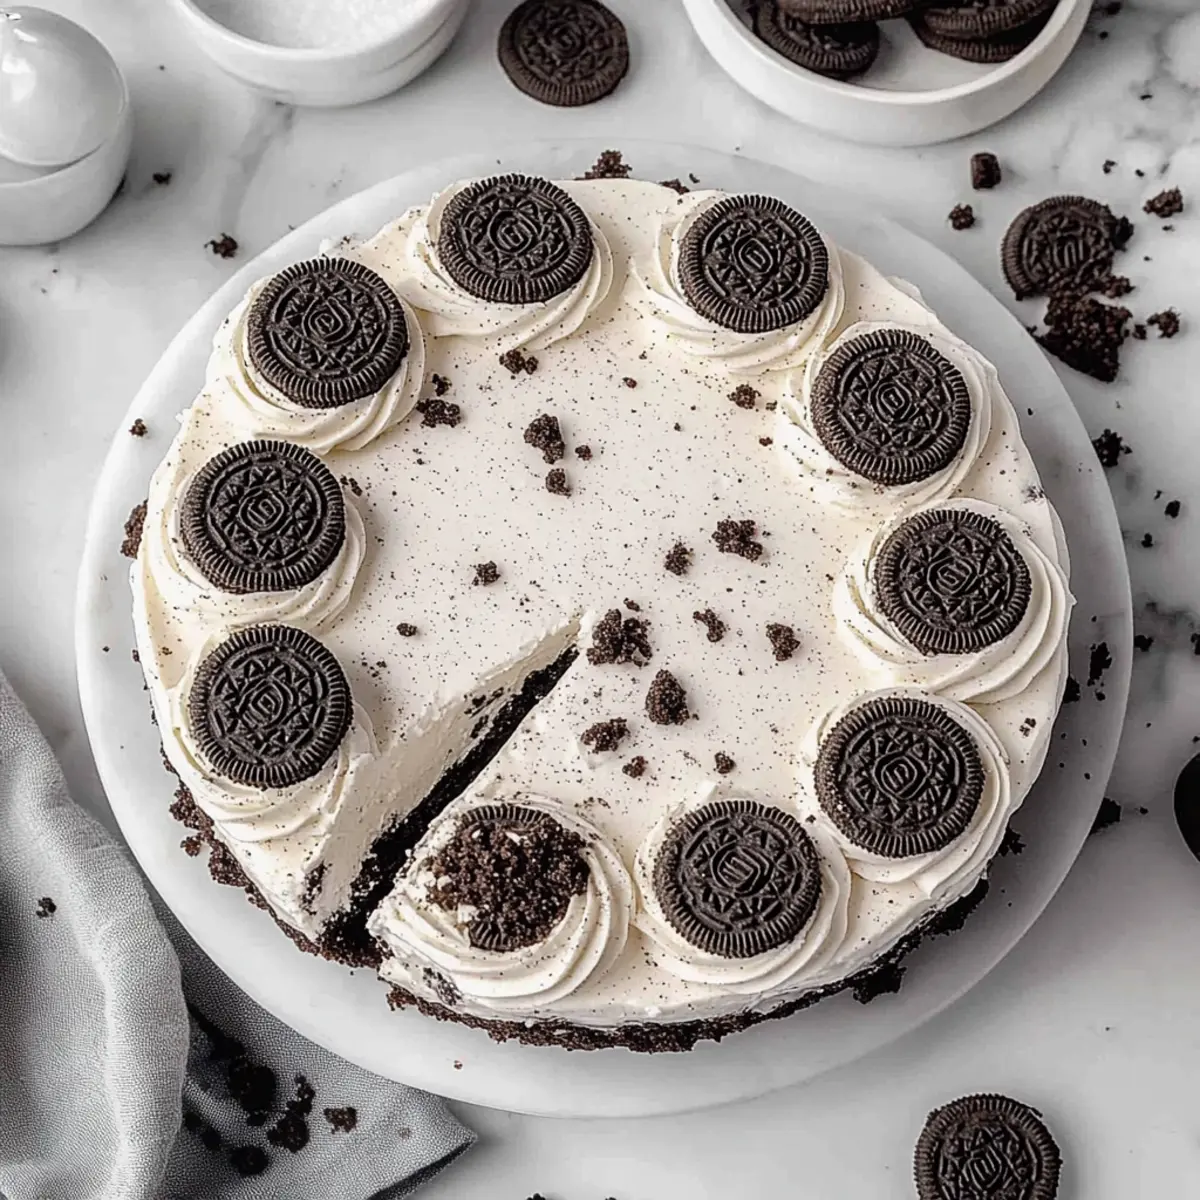
After the chill time, remove the cheesecake from the refrigerator and gently take off the springform pan. Slice your No-Bake Oreo Cheesecake into generous pieces and serve with optional toppings, like whipped cream or mini Oreos for an extra treat. Each slice should boast a creamy filling and a crunchy crust, making it a delightful dessert for any occasion!
Make Ahead Options
These No-Bake Oreo Cheesecake wonders are perfect for meal prep enthusiasts! You can prepare the crust and filling up to 24 hours in advance, allowing the flavors to meld beautifully in the refrigerator. To do this, simply follow the instructions to create the crust and filling, then assemble the cheesecake and cover it tightly to refrigerate. This ensures it stays fresh and just as delicious when it’s time to serve. For the best texture, chill overnight; it enhances the creaminess while maintaining the perfect crunch of the Oreo crust. When ready to indulge, simply garnish with whipped cream and extra chopped Oreos before slicing. Enjoy this time-saving treat that will wow your family and friends!
No-Bake Oreo Cheesecake Variations
Explore delightful twists for your No-Bake Oreo Cheesecake and make it your own with these simple ideas!
-
Different Oreos: Switch up the flavor by using Peanut Butter, Mint, or Birthday Cake Oreos for a fun twist on the classic. Each variation adds a unique taste that keeps the dessert exciting!
-
Dairy-Free: Substitute cream cheese with dairy-free cream cheese and heavy cream with coconut cream for a lighter option. This way, everyone can indulge without compromising on flavor!
-
Mini Cheesecakes: Pour the filling into cupcake liners for individual portions. These bite-sized treats are ideal for parties, allowing your guests to indulge freely!
-
Fruit-Infused: Add fresh raspberries or strawberries to the cream cheese filling for a fruity dimension. The berries not only boost the flavor but also add a visually stunning appeal.
-
Chocolate Drizzle: Finish with a drizzle of chocolate or caramel sauce to create a decadent topping. It adds a rich touch and elevates the presentation!
-
Flavor Oomph: Mix in a tablespoon of instant coffee or espresso powder for a mocha twist. Coffee complements the creamy filling and Oreos beautifully, creating a rich flavor experience.
-
Whipped Topping Swap: Use whipped topping instead of heavy cream for a lighter texture. This not only cuts calories but also speeds up preparation—perfect for last-minute desserts.
-
Layered Delight: Create a layered dessert by alternating the cheesecake filling with crushed Oreos or chocolate pudding in a glass dish. This makes for a stunning display and is sure to impress!
Remember, for even more dessert inspirations, check out other delicious possibilities like Bake Banana Desserts to keep your sweet tooth satisfied!
What to Serve with No-Bake Oreo Cheesecake
Elevate your dessert experience with delightful pairings that enhance the flavors and textures of this creamy treat.
-
Fresh Berries: Juicy strawberries or tart raspberries add a vibrant pop of color and their natural sweetness perfectly balances the rich cheesecake.
-
Whipped Cream: A dollop of freshly whipped cream creates a light, airy texture that enhances the cheesecake’s creaminess while offering an indulgent finish.
-
Chocolate Sauce: Drizzling warm chocolate sauce over your slice adds a decadent touch that deepens the dessert’s flavor profile, making each bite even more satisfying.
-
Mint Leaves: Fresh mint can brighten the richness of the cheesecake, offering a refreshing herbaceous note that contrasts beautifully with the sweet, creamy layers.
-
Coffee: A steaming cup of coffee or espresso complements the dessert’s sweetness, creating a delightful interplay of flavors that coffee lovers will appreciate.
-
Ice Cream: Vanilla or cookies and cream ice cream provides a creamy, cold counterpoint to the cheesecake, making for a delightful dessert duo that guests will adore.
Consider these suggestions to transform your No-Bake Oreo Cheesecake into a memorable dessert experience that leaves everyone asking for seconds!
How to Store and Freeze No-Bake Oreo Cheesecake
Fridge: Store your No-Bake Oreo Cheesecake tightly covered in the refrigerator for up to 4 days. This allows the flavors to meld beautifully while keeping it fresh and irresistible.
Freezer: If you need to store it longer, you can freeze the cheesecake for up to 2 months. Wrap it tightly in plastic wrap and then in aluminum foil to prevent freezer burn.
Thawing: To enjoy your frozen cheesecake, transfer it to the fridge for several hours or overnight to thaw. This ensures it maintains its creamy texture when served.
Reheating: There’s no need to reheat a No-Bake Oreo Cheesecake; simply slice and serve it cold for the best taste and experience!
Expert Tips for No-Bake Oreo Cheesecake
- Room Temperature Cream Cheese: Ensure cream cheese is at room temperature for smooth mixing; cold cream cheese can lead to lumps in your filling.
- Proper Whipping Technique: Whip your heavy cream until stiff peaks form; under-whipped cream could result in a runny filling that won’t set properly.
- Chill Time Matters: Allow your cheesecake to chill for at least 4 hours, but overnight is best for a firmer set and rich flavor development.
- Avoid Cream Cheese Spread: Stick to brick-style cream cheese; spreads lack the structure needed to hold your No-Bake Oreo Cheesecake together effectively.
- Texture Boost: Consider adding chopped Oreos to the filling for added texture—a touch that both visually enhances and elevates the flavor!
- Custom Flavor Ideas: Don’t hesitate to experiment with different Oreo flavors or mix-ins for a unique twist on this classic treat!
No-Bake Oreo Cheesecake Recipe FAQs
What type of Oreos should I use for this recipe?
Absolutely! You can use standard Oreos for a classic flavor, but I encourage you to experiment with different varieties like Double Stuf or even gluten-free Oreos. Each flavor will add a unique twist to your No-Bake Oreo Cheesecake!
How should I store my No-Bake Oreo Cheesecake?
Very good question! Once your cheesecake is fully set, cover it tightly with plastic wrap and keep it in the refrigerator for up to 4 days. This will preserve its richness and ensure it’s ready to serve whenever you’re craving a slice.
Can I freeze No-Bake Oreo Cheesecake, and how?
Yes, you can! To freeze your cheesecake, wrap it tightly in plastic wrap, followed by aluminum foil, to prevent freezer burn. It should maintain its deliciousness for up to 2 months. When you’re ready to enjoy it, simply transfer it to the refrigerator for several hours or overnight to thaw.
What if my cream cheese isn’t mixing smoothly?
No worries! If your cream cheese is cold, it might cause lumps. Make sure to let it sit at room temperature for about 30 minutes before you start mixing. For the smoothest results, beat it for a solid 2-3 minutes with a mixer. This will help achieve that creamy, luscious texture you desire in your No-Bake Oreo Cheesecake!
Are there any dietary considerations I should keep in mind?
Absolutely! If you’re preparing this for someone with allergies, be cautious of the ingredients. Classic Oreos are dairy-free and suitable for vegans, but the cream cheese and whipped cream contain dairy. You can substitute with vegan cream cheese and whipped coconut cream for a dairy-free version without sacrificing flavor!
How long should I chill the cheesecake before serving?
I recommend chilling your cheesecake for at least 4 hours, but overnight is even better! This allows the flavors to meld and results in a creamier texture. It’s truly worth the wait for your best No-Bake Oreo Cheesecake experience.
Irresistible No-Bake Oreo Cheesecake That's a Total Crowd-Pleaser
Ingredients
Equipment
Method
- Process 24 Oreos in a food processor until fine crumbs. Melt 5 tablespoons of unsalted butter and mix with Oreo crumbs. Press into a 9-inch springform pan. Chill for at least 30 minutes.
- In a stand mixer, beat 16 ounces of softened cream cheese on medium speed until smooth. Gradually add 1 cup of powdered sugar and 1 teaspoon of vanilla extract. Mix until creamy with no lumps.
- In a separate bowl, whip 1 cup of heavy cream until stiff peaks form. Gently fold the whipped cream into the cream cheese mixture. Optionally, fold in 6 chopped Oreos.
- Pour the cheesecake filling over the chilled crust. Smooth the surface with a spatula. Cover with plastic wrap and refrigerate for at least 4 hours or overnight.
- Remove from the refrigerator, take off the springform pan, and slice into pieces. Serve chilled.