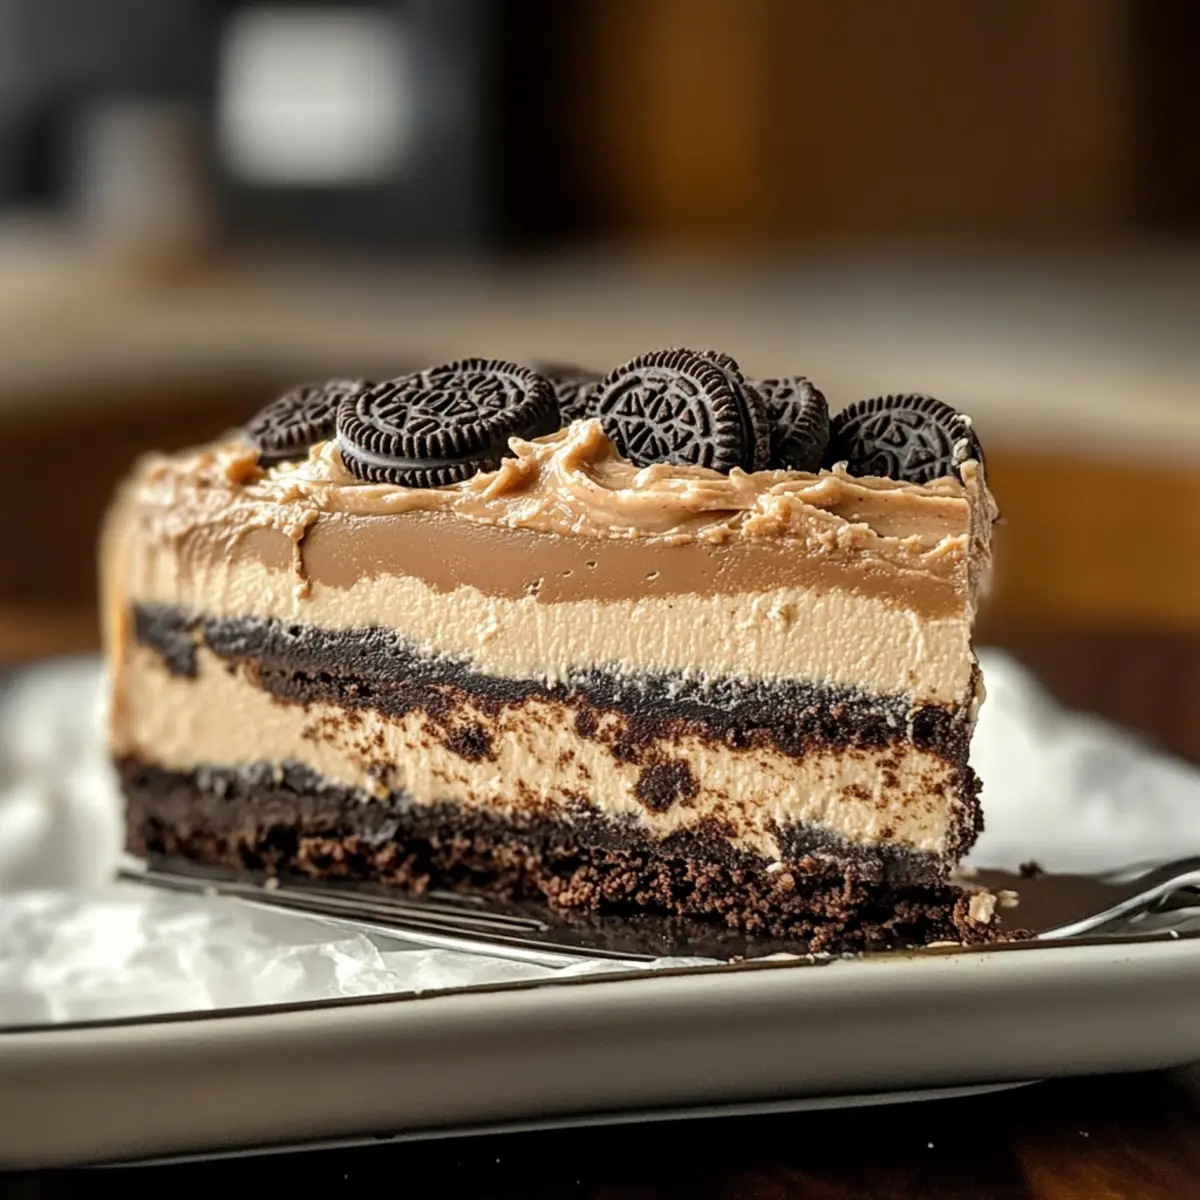
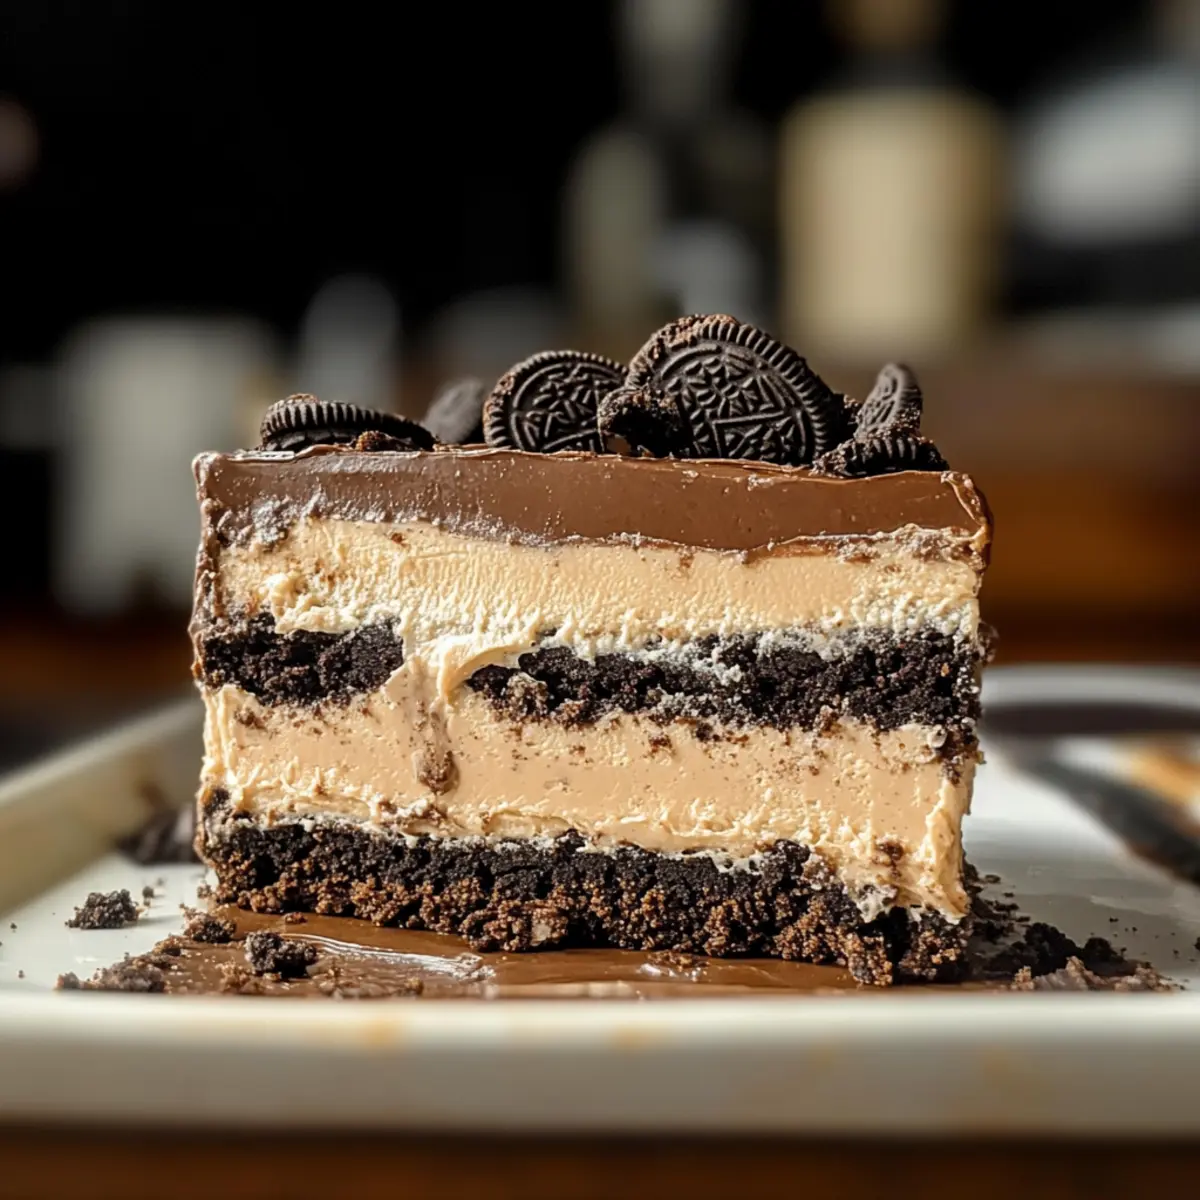
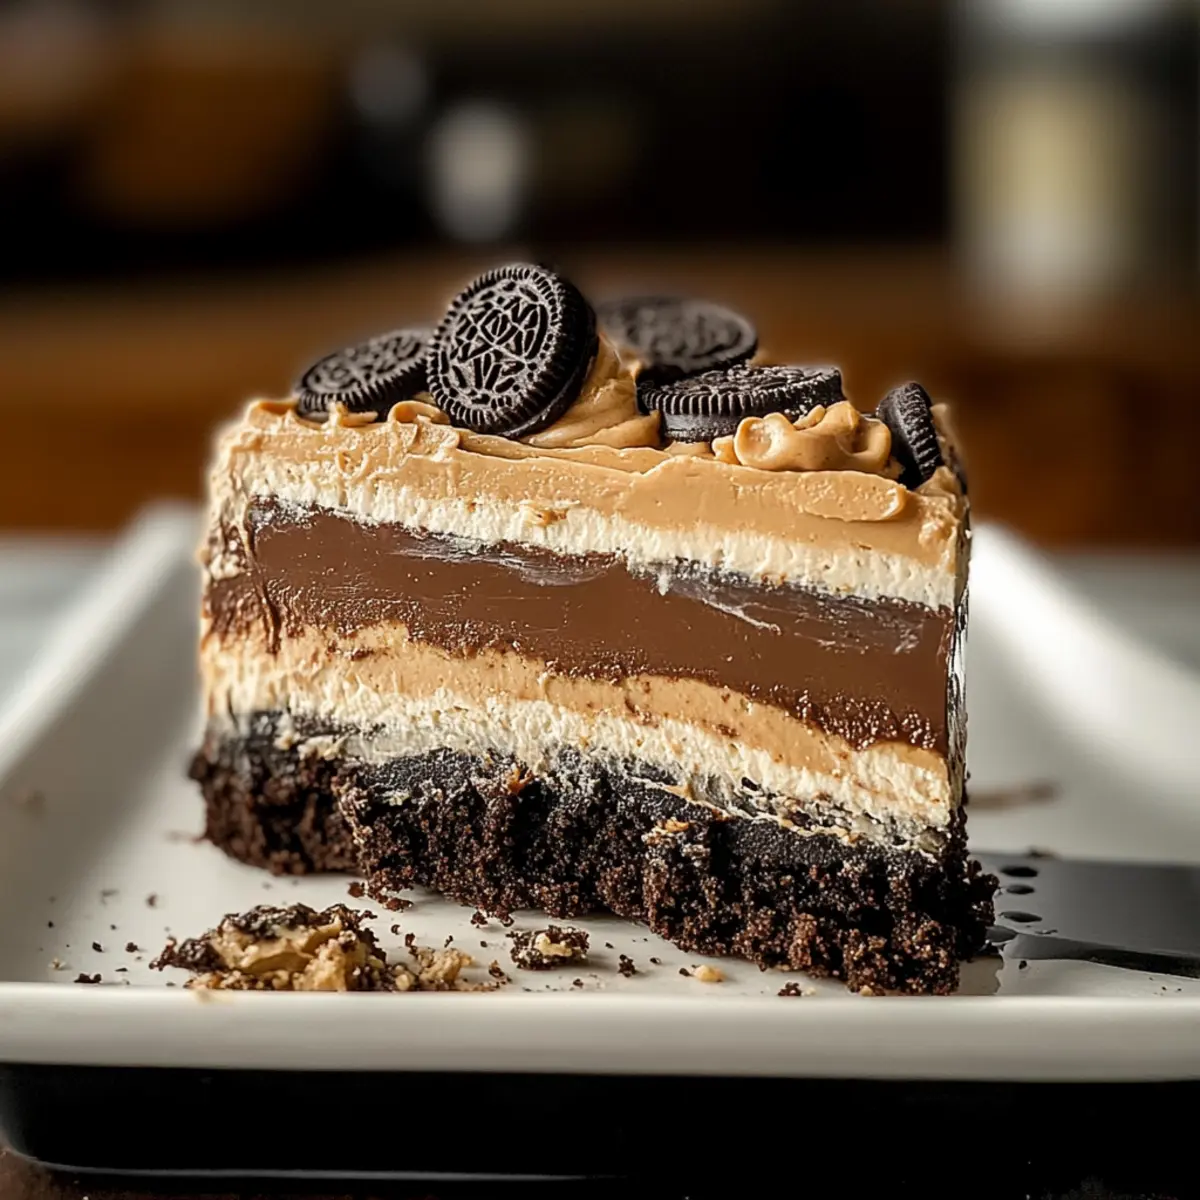
I was rummaging through my pantry, searching for a sweet escape from everyday worries, when I stumbled upon a treasure trove of ingredients just waiting to be transformed. That’s when I decided to whip up a No Bake Chocolate Peanut Butter Oreo Dessert, a velvety indulgence that takes minimal effort yet leaves a lasting impression. This recipe is not only a breeze to prepare, making it perfect for busy days or spontaneous gatherings, but it also satisfies the inner child in all of us with its creamy layers of peanut butter and chocolate goodness. Whether you’re hosting friends or simply craving a guilt-free treat, you’ll love how this dessert combines crunchy Oreos with dreamy whipped layers. Curious to dive into this delicious adventure? Let’s get started!
Why is this dessert a must-try?
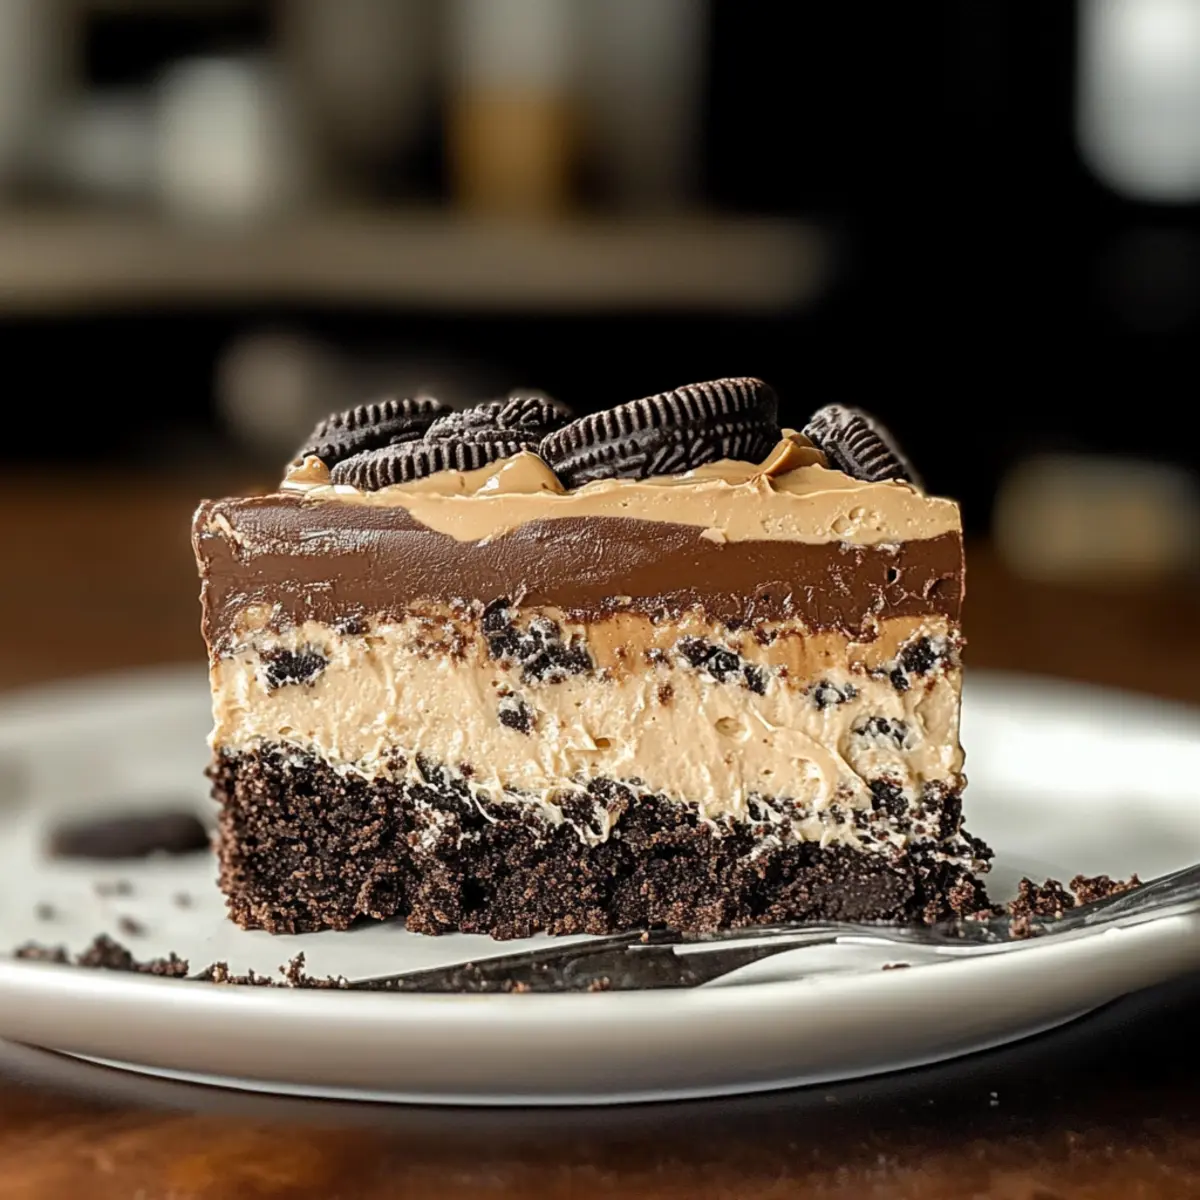
Irresistible Layers: This No Bake Chocolate Peanut Butter Oreo Dessert features a delightful mix of layers that meld together for a symphony of taste.
Quick Prep: With minimal cooking involved, this recipe is perfect for anyone short on time but big on flavor.
Crowd-Pleasing: Friends and family will rave about this treat at your next gathering, making it a guaranteed hit!
Versatility at Its Best: Want to switch things up? Try swapping in almond butter or gluten-free Oreos for a personalized touch!
Charming Presentation: The contrasting layers make for a visually stunning dessert that’s sure to impress without extensive decorating skills.
Sweet Escape: Each bite transports you back to nostalgic childhood treats, giving you a delicious reason to indulge. If you’re also looking for more easy desserts, check out these Soft Chewy Chocolate Chip Cookies as another go-to option!
No Bake Chocolate Peanut Butter Oreo Dessert Ingredients
Dive into the delicious world of this layered delight!
For the Crust
- 14.3 oz package of Oreos – Forms the crust and layers; feel free to use regular Oreos, but chocolate cream Oreos add an extra kick!
For the Peanut Butter Layer
- 16 oz cream cheese – Creates a creamy texture; ensure it’s at room temperature for easy mixing.
- 1 box Instant Vanilla Pudding (3.4 oz) – Helps set this layer; can be swapped with another pudding flavor for variety.
- 1 cup creamy peanut butter – Adds rich flavor; crunchy peanut butter can be used if you want to amp up the texture.
- 3 ½ cups milk – Combines with the pudding and peanut butter; any type of milk will work beautifully here.
For the Chocolate Layer
- 12 oz milk chocolate chips – Brings a luscious chocolate flavor; semi-sweet chocolate chips are a great alternative.
- 1 box Instant Chocolate Pudding (3.4 oz) – Makes up the chocolate layer; consider using other flavored puddings for a twist.
- 1 ½ cups milk – Mixes with the pudding and melted chocolate for a creamy consistency.
For Topping
- 12 oz whipped topping – Lightens up the dessert; you can substitute with homemade whipped cream for a fresher taste.
- Optional chocolate chips – Use for garnish; they add a lovely decorative touch and extra chocolate goodness!
Now that you’ve gathered your ingredients, let’s indulge in the making of this No Bake Chocolate Peanut Butter Oreo Dessert!
Step‑by‑Step Instructions for No Bake Chocolate Peanut Butter Oreo Dessert
Step 1: Crush the Oreos
Begin by placing the entire package of Oreos into a food processor. Pulse them until they turn into fine crumbs, resembling sand. This should take about 30 seconds. Once crushed, set aside the crumbs in a bowl, allowing you to easily access them for layering later.
Step 2: Melt the Chocolate
In a microwave-safe bowl, combine half of the milk chocolate chips with ½ cup of milk. Heat in the microwave for 30 seconds, then stir. Continue heating in 15-second intervals until fully melted and smooth. Let this luscious chocolate mixture cool slightly while you prepare the next layers.
Step 3: Create the Oreo Base
Take a 9×13-inch pan and press one-third of your crushed Oreos firmly into the bottom to create a solid crust. Use the back of a measuring cup for even pressure, ensuring the crumbs stick together. This base should have a solid, firm texture suitable for holding the layers above.
Step 4: Mix the Peanut Butter Layer
In a large mixing bowl, beat 8 ounces of softened cream cheese with an electric mixer until smooth and creamy, about 1-2 minutes. Gradually add in the vanilla pudding mix and 1 cup of peanut butter, mixing until well incorporated. Then, blend in 1¾ cups of milk until everything is smooth and fluffy. Spread this delightful mixture evenly over the Oreo crust.
Step 5: Add More Oreos
Sprinkle another third of your crushed Oreos on top of the peanut butter layer, ensuring an even distribution. Lightly press down on the crumbs to help them adhere to the peanut butter, creating a seamless transition between the layers.
Step 6: Prepare the Chocolate Layer
In a clean bowl, beat the remaining cream cheese until smooth, similar to the peanut butter layer. Then mix in the chocolate pudding, cooled chocolate mixture, and 1½ cups of milk. Blend until fully combined and creamy. This decadent chocolate layer can now be spread evenly on top of the second Oreo layer.
Step 7: Final Layer of Oreos
Add the last third of the crushed Oreos atop the chocolate mixture, spreading it evenly to create a beautiful, textured finish. Gently press them down once more, ensuring everything is neatly layered for structure and presentation.
Step 8: Spread the Whipped Topping
Top the final Oreo layer with the whipped topping, spreading it evenly across the surface using a spatula. This adds lightness to your No Bake Chocolate Peanut Butter Oreo Dessert and creates an inviting look. Use a smooth, even motion for a polished finish.
Step 9: Chill Before Serving
Cover the entire pan with plastic wrap and place it in the refrigerator to chill for at least 4-6 hours. This step is crucial for allowing the layers to set correctly and meld together for a perfect slice. Once chilled, you can garnish with additional chocolate chips if desired before serving.
What to Serve with No Bake Chocolate Peanut Butter Oreo Dessert
Prepare to elevate your dessert experience with options that perfectly complement this creamy and indulgent treat.
-
Fresh Berries: Brighten your plate with strawberries or raspberries; their tartness beautifully cuts through the rich chocolate and peanut butter layers.
-
Coffee or Espresso: A steaming cup of coffee or a bold espresso provides a delightful contrast, enhancing the sweetness while offering a comforting warmth.
-
Vanilla Ice Cream: Serve a scoop of creamy vanilla ice cream alongside for an extra indulgence, creating a melt-in-your-mouth combination that’s irresistibly tempting.
-
Mint Leaves: A sprig of fresh mint not only garnishes your dessert but also adds a refreshing note that balances the richness, inviting each bite to be savored.
-
Chocolate Sauce Drizzle: Drizzle warm chocolate sauce over the top for an added touch of decadence. This transformation makes an already scrumptious dessert even more inviting!
-
Nutty Granola: A sprinkle of crunchy granola or chopped nuts adds texture, giving you that satisfying contrast of creamy and crispy with every delightful bite.
Expert Tips for No Bake Chocolate Peanut Butter Oreo Dessert
-
Perfect Mixing: Ensure all layers are well mixed before spreading. This avoids watery layers and makes for a seamless bite of your No Bake Chocolate Peanut Butter Oreo Dessert.
-
Chill Time: Don’t rush the chilling process! Refrigerate for at least 4 hours or overnight for the best results. Proper chilling sets the layers perfectly.
-
Crust Consistency: For a firmer crust, combine 2 tablespoons of melted butter with your crushed Oreos before pressing them into the pan.
-
Serving Style: Serve chilled and cut into squares for an appealing presentation—pair with a dollop of whipped cream or a sprinkle of chocolate chips for that extra touch!
-
Layer Crafting: Work to layer evenly and press each layer down lightly. This helps maintain distinct layers while serving and boosts the dessert’s overall appeal.
No Bake Chocolate Peanut Butter Oreo Dessert Variations
Feel free to get creative and personalize your dessert with these tempting twists!
-
Almond Butter: Swap creamy peanut butter for almond butter for a nutty flavor variation that adds a unique touch.
Using almond butter provides a delightful shift in taste, reminiscent of childhood favorites yet a bit more refined. -
Gluten-Free Oreos: Use gluten-free Oreos to accommodate dietary restrictions without compromising flavor.
Your guests won’t even notice the difference, making this dessert a hit for everyone! -
Chocolate Pudding Alternatives: Try swapping out the chocolate pudding for a different flavor like white chocolate or caramel.
This simple change can create a whole new dessert experience that surprises and delights. -
Add Fresh Fruit: Layer in fresh fruits like sliced bananas or berries for a refreshing twist and added nutrients.
Fruits not only provide a pop of color but also elevate the flavor profile, making each bite feel lighter and brighter. -
Peanut Butter Swirl: Create a peanut butter swirl on top by mixing some creamy peanut butter with the whipped topping before spreading.
This aesthetic enhancement adds visual appeal and a delicious peanut butter punch in every bite. -
Crunchy Texture: Incorporate crushed nuts or granola between the layers for an appealing crunch and nutty flavor.
This textural variation can transform your dessert into a delightful journey of flavors and sensations. -
Mint Chocolate Layer: Utilize mint chocolate chips instead of regular chocolate chips for a refreshing cool twist.
Mint brings a playful element that perfectly complements the rich, creamy layers.
For more delightful ideas, check out these delicious Garlic Butter Chicken or indulge in these rich Soft Chewy Chocolate Chip Cookies.
How to Store and Freeze No Bake Chocolate Peanut Butter Oreo Dessert
Refrigerator: Keep your dessert covered in the fridge for up to 3 days to maintain its freshness and layers. Use plastic wrap or an airtight container.
Freezer: For longer storage, freeze the dessert (preferably without the whipped topping) for up to 2 months. Wrap it tightly in plastic wrap and aluminum foil before freezing.
Thawing: When ready to enjoy, move the No Bake Chocolate Peanut Butter Oreo Dessert to the fridge to thaw overnight. Add whipped topping just before serving for the best texture.
Reheating Tips: There’s no need to reheat this dessert, as it’s meant to be served chilled. Enjoy the delightful layers straight from the refrigerator!
Make Ahead Options
These No Bake Chocolate Peanut Butter Oreo Desserts are perfect for busy home cooks looking to save time! You can prepare the entire dessert up to 24 hours ahead by layering the components and refrigerating it. Before serving, simply cover and chill in the refrigerator; this allows the flavors to meld beautifully. If you’re making it a bit earlier, keep in mind that these desserts can be stored in the fridge for up to 3 days without sacrificing quality. Just remember to garnish with chocolate chips right before serving for an extra touch. This way, you can enjoy a crowd-pleasing treat with minimal effort when it’s time to indulge!
No Bake Chocolate Peanut Butter Oreo Dessert Recipe FAQs
How do I choose the right Oreos for this dessert?
Absolutely! For this No Bake Chocolate Peanut Butter Oreo Dessert, I recommend using chocolate cream Oreos for an extra kick of flavor that complements the rich layers. However, regular Oreos work just as well if you’re looking for a classic taste. Just make sure there are no broken shards when crushing them into crumbs!
What’s the best way to store this dessert?
Keep your No Bake Chocolate Peanut Butter Oreo Dessert covered in the refrigerator for up to 3 days. This helps preserve its delightful layers and creamy texture. An airtight container or plastic wrap works perfectly to keep it fresh and delicious!
Can I freeze the No Bake Chocolate Peanut Butter Oreo Dessert?
Yes, you can! For longer storage, freeze the dessert (ideally without the whipped topping) for up to 2 months. Be sure to wrap it tightly with plastic wrap followed by aluminum foil to prevent freezer burn. It’s a great way to prepare in advance for gatherings or sweet cravings!
What if I see dark spots on my Cream Cheese?
If you notice dark spots or any discoloration on your cream cheese, it may indicate spoilage. Always check the expiration date and smell before using. For this dessert, fresh cream cheese is essential for achieving that creamy texture without any off flavors!
Is this dessert suitable for those with allergies?
While the No Bake Chocolate Peanut Butter Oreo Dessert contains common allergens like dairy and gluten (from the Oreos), you can make it more inclusive. Swap regular Oreos for gluten-free ones, use plant-based cream cheese, and consider nut-free alternatives for the peanut butter to accommodate various dietary needs. Always check labels to ensure they fit your requirements.
No Bake Chocolate Peanut Butter Oreo Dessert You’ll Crave
Ingredients
Equipment
Method
- Crush the entire package of Oreos in a food processor until they resemble fine crumbs.
- Melt half of the milk chocolate chips with ½ cup of milk in the microwave, stirring until smooth.
- Press one-third of the crushed Oreos firmly into the bottom of a 9x13-inch pan to form a solid crust.
- Beat 8 oz of softened cream cheese until smooth, then add vanilla pudding mix, peanut butter, and 1¾ cups of milk, mixing until smooth.
- Sprinkle another third of the crushed Oreos on top of the peanut butter layer.
- Beat remaining cream cheese until smooth, then mix in chocolate pudding, cooled chocolate mixture, and 1½ cups of milk.
- Add the last third of the crushed Oreos atop the chocolate mixture.
- Spread the whipped topping evenly over the final Oreo layer.
- Cover with plastic wrap and chill in the refrigerator for at least 4-6 hours before serving.