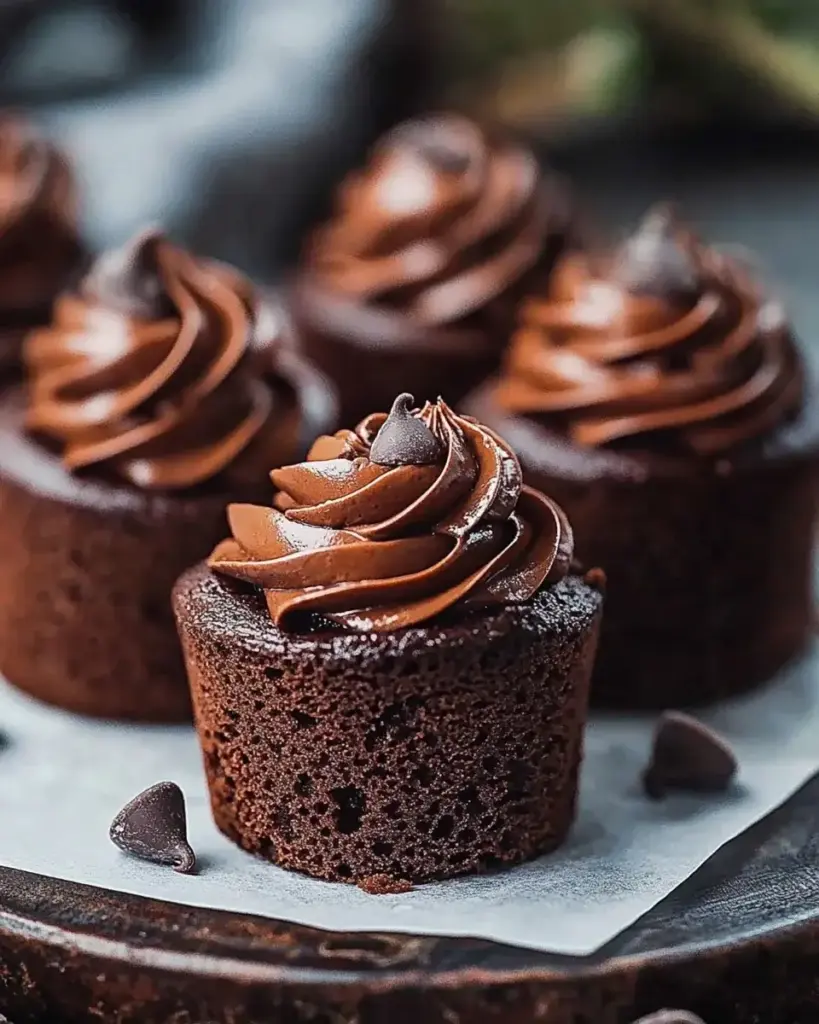
Introduction to Mini Chocolate Cakes
There’s something magical about the aroma of chocolate wafting through the kitchen. It takes me back to my childhood, where every birthday meant a chocolate cake that was the centerpiece of joy. Now, as a passionate home cook, I’ve discovered the joy of making mini chocolate cakes. These delightful treats are not just easy to whip up; they’re perfect for any occasion. Whether you need a quick solution for a busy day or a sweet surprise to impress your loved ones, these mini chocolate cakes are sure to bring smiles all around.
Why You’ll Love This Mini Chocolate Cakes
These mini chocolate cakes are a game-changer for any dessert lover. They’re incredibly easy to make, taking just 35 minutes from start to finish. The rich, chocolatey flavor is a crowd-pleaser, satisfying even the pickiest eaters. Plus, their bite-sized nature means you can indulge without the guilt. Perfect for parties, family gatherings, or a cozy night in, these cakes are sure to become a staple in your baking repertoire.
Ingredients for Mini Chocolate Cakes
Gathering the right ingredients is the first step to creating these delightful mini chocolate cakes. Here’s what you’ll need:
- All-purpose flour: The backbone of any cake, it provides structure and stability.
- Granulated sugar: This sweetener not only adds sweetness but also helps with moisture.
- Unsweetened cocoa powder: The star of the show, giving these cakes their rich chocolate flavor.
- Baking powder: A leavening agent that helps the cakes rise and become fluffy.
- Baking soda: Works in tandem with baking powder for that perfect lift.
- Salt: Enhances the flavors and balances the sweetness.
- Whole milk: Adds moisture and richness to the batter.
- Vegetable oil: Keeps the cakes tender and moist; you can substitute with melted butter for a richer taste.
- Large egg: Binds the ingredients together and adds structure.
- Vanilla extract: A splash of this adds depth and warmth to the flavor profile.
- Boiling water: This might seem unusual, but it helps to bloom the cocoa powder, intensifying the chocolate flavor.
For those looking to elevate their mini chocolate cakes, consider adding chocolate chips for an extra burst of chocolatey goodness. You can find the exact measurements for these ingredients at the bottom of the article, ready for printing!
How to Make Mini Chocolate Cakes
Now that you have your ingredients ready, let’s dive into the fun part: making these mini chocolate cakes! Follow these simple steps, and you’ll have a batch of deliciousness in no time.
Step 1: Preheat the Oven
Start by preheating your oven to 350°F (175°C). This step is crucial because it ensures even baking. While the oven warms up, prepare your muffin tin by lining it with paper liners or giving it a light grease. This will help your mini cakes pop out easily once they’re baked.
Step 2: Mix Dry Ingredients
In a large mixing bowl, combine the all-purpose flour, granulated sugar, unsweetened cocoa powder, baking powder, baking soda, and salt. Whisk them together until they’re well blended. This step is vital because it ensures that the leavening agents are evenly distributed, which helps your cakes rise beautifully.
Step 3: Add Wet Ingredients
Next, add the whole milk, vegetable oil, large egg, and vanilla extract to the dry mixture. Mix gently until just combined. Be careful not to over-mix; a few lumps are perfectly fine. Over-mixing can lead to dense cakes, and we want them light and fluffy!
Step 4: Incorporate Boiling Water
Now comes the secret weapon: boiling water. Carefully stir it into the batter. This step might seem odd, but it helps bloom the cocoa powder, enhancing the chocolate flavor and creating a moist texture. Your batter will be thin, but that’s exactly what you want!
Step 5: Fill the Muffin Tin
Pour the batter into the prepared muffin tin, filling each cup about two-thirds full. This allows room for the cakes to rise without overflowing. A handy tip is to use a measuring cup or a ladle for a mess-free pour!
Step 6: Bake the Cakes
Place the muffin tin in the preheated oven and bake for 18-20 minutes. To check for doneness, insert a toothpick into the center of a cake. If it comes out clean or with a few moist crumbs, they’re ready. If it’s still wet, give them a couple more minutes.
Step 7: Cool the Cakes
Once baked, allow the mini cakes to cool in the pan for about 5 minutes. This helps them set and makes them easier to remove. After that, transfer them to a wire rack to cool completely. Cooling is essential for achieving the right texture, so don’t rush this step!
Tips for Success
- Measure your ingredients accurately for the best results.
- Use room temperature ingredients for a smoother batter.
- Don’t skip the boiling water; it’s key for moist cakes.
- Check your oven temperature with an oven thermometer for accuracy.
- Let the cakes cool completely before frosting or serving.
Equipment Needed
- Muffin tin: Essential for baking mini cakes; a silicone mold works as a great alternative.
- Mixing bowls: Use a large bowl for dry ingredients and a medium one for wet; any size will do.
- Whisk: Perfect for blending ingredients; a fork can work in a pinch.
- Measuring cups and spoons: Accurate measurements are key; a kitchen scale is a handy alternative.
- Cooling rack: Helps cakes cool evenly; a plate can substitute if needed.
Variations
- Gluten-Free: Substitute all-purpose flour with a gluten-free blend for a delicious gluten-free option.
- Vegan: Replace the egg with a flaxseed egg (1 tablespoon ground flaxseed mixed with 2.5 tablespoons water) and use almond milk instead of whole milk.
- Mint Chocolate: Add a few drops of peppermint extract to the batter for a refreshing twist.
- Nutty Delight: Fold in chopped walnuts or pecans for added texture and flavor.
- Spicy Chocolate: Mix in a pinch of cayenne pepper or cinnamon for a warm, spicy kick.
Serving Suggestions
- Pair mini chocolate cakes with a scoop of vanilla ice cream for a delightful contrast.
- Serve with fresh berries for a pop of color and a hint of tartness.
- Drizzle with chocolate sauce or caramel for an indulgent touch.
- Garnish with whipped cream and a sprig of mint for an elegant presentation.
- Enjoy with a cup of coffee or a glass of milk to enhance the chocolate experience.
FAQs about Mini Chocolate Cakes
Can I make mini chocolate cakes ahead of time?
Absolutely! You can bake these mini chocolate cakes a day in advance. Just store them in an airtight container at room temperature. When you’re ready to serve, you can frost or dust them with powdered sugar for a fresh look.
What can I use instead of cocoa powder?
If you find yourself out of cocoa powder, you can substitute it with carob powder. Keep in mind that carob has a different flavor profile, so the taste will vary slightly. You can also use a mix of melted dark chocolate for a richer flavor.
How do I store leftover mini chocolate cakes?
To keep your mini chocolate cakes fresh, store them in an airtight container. They can last for up to three days at room temperature or up to a week in the fridge. Just remember to let them come to room temperature before serving!
Can I freeze mini chocolate cakes?
Yes, you can freeze these delightful treats! Wrap each mini cake tightly in plastic wrap and place them in a freezer-safe bag. They can be frozen for up to three months. Thaw them in the fridge overnight before enjoying.
What toppings work best with mini chocolate cakes?
There are endless possibilities! Whipped cream, chocolate ganache, or a simple dusting of powdered sugar are all fantastic options. You can also get creative with fresh fruit, nuts, or even a drizzle of caramel sauce for an extra touch of indulgence.
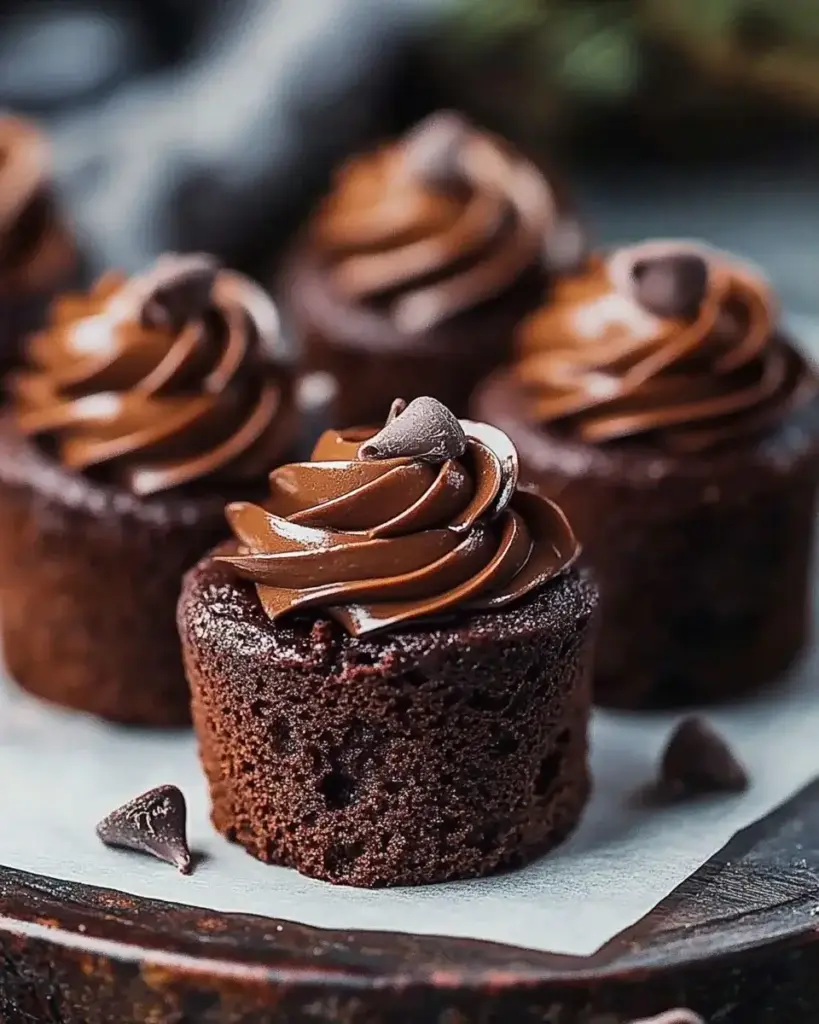
Final Thoughts
Creating mini chocolate cakes is more than just baking; it’s about crafting moments of joy. Each bite is a reminder of the simple pleasures in life, whether shared with family or enjoyed solo after a long day. The ease of this recipe means you can whip up a batch anytime, making it a go-to for celebrations or just because. The rich chocolate flavor and delightful texture will leave everyone craving more. So, roll up your sleeves, embrace the process, and let these mini chocolate cakes bring a little sweetness to your day!
Mini Chocolate Cakes: Discover the Perfect Recipe!
Ingredients
Method
- Preheat your oven to 350°F (175°C) and line a muffin tin with paper liners or grease it lightly.
- In a large mixing bowl, combine the flour, sugar, cocoa powder, baking powder, baking soda, and salt. Whisk until well combined.
- Add the milk, vegetable oil, egg, and vanilla extract to the dry ingredients. Mix until just combined.
- Carefully stir in the boiling water until the batter is smooth. The batter will be thin.
- Pour the batter into the prepared muffin tin, filling each cup about two-thirds full.
- Bake for 18-20 minutes or until a toothpick inserted into the center comes out clean.
- Allow the mini cakes to cool in the pan for 5 minutes before transferring them to a wire rack to cool completely.
Nutrition
Notes
- For a richer flavor, add 1/2 cup of chocolate chips to the batter before baking.
- Top the cooled mini cakes with whipped cream or a dusting of powdered sugar for an elegant finish.