Introduction to Creamy Condensed Milk Cheesecake
There’s something magical about dessert that brings people together. The first time I tasted a creamy condensed milk cheesecake, I was hooked. It was at a family gathering, where laughter filled the air and the sweet aroma of baked goods wafted through the kitchen. This cheesecake is not just a treat; it’s a quick solution for a busy day or a delightful way to impress your loved ones. With its rich, velvety texture and a hint of sweetness, this recipe is perfect for any occasion. Let’s dive into the world of creamy indulgence!
Why You’ll Love This Creamy Condensed Milk Cheesecake
This creamy condensed milk cheesecake is a game-changer for dessert lovers. It’s incredibly easy to whip up, making it perfect for those busy weeknights or last-minute gatherings. The taste? Oh, it’s a heavenly blend of sweetness and creaminess that melts in your mouth. Plus, it’s versatile enough to dress up with toppings or enjoy plain. Trust me, once you try it, you’ll be coming back for seconds!
Ingredients for Creamy Condensed Milk Cheesecake
Gathering the right ingredients is the first step to creating your creamy condensed milk cheesecake masterpiece. Here’s what you’ll need:
- Graham cracker crumbs: These form the base of your cheesecake crust, providing a sweet and crunchy texture.
- Unsalted butter: Melted butter binds the crumbs together, ensuring a firm crust that holds its shape.
- Cream cheese: The star of the show! Softened cream cheese gives the cheesecake its rich and creamy texture.
- Sweetened condensed milk: This ingredient adds sweetness and creaminess, making the cheesecake incredibly indulgent.
- Granulated sugar: A touch of sugar enhances the sweetness, balancing the flavors perfectly.
- Eggs: They provide structure and help the cheesecake set, giving it that perfect sliceable consistency.
- Vanilla extract: A splash of vanilla adds depth and warmth to the flavor profile.
- Lemon juice: This brightens the cheesecake, cutting through the richness and adding a refreshing zing.
For those looking to get creative, consider these optional ingredients:
- Cocoa powder: For a chocolate twist, mix in some cocoa powder with the cream cheese.
- Fresh berries or fruit compote: Top your cheesecake with these for a burst of flavor and color.
Exact measurements for each ingredient can be found at the bottom of the article, ready for printing. Happy baking!
How to Make Creamy Condensed Milk Cheesecake
Creating a creamy condensed milk cheesecake is a delightful journey. Follow these simple steps, and you’ll be rewarded with a dessert that’s sure to impress. Let’s get started!
Step 1: Preheat the Oven
First things first, preheat your oven to 325°F. Preheating is crucial because it ensures even baking. A hot oven helps the cheesecake rise properly and sets the texture just right.
Step 2: Prepare the Crust
In a medium bowl, combine your graham cracker crumbs with the melted butter. Mix until it resembles wet sand. This mixture is the foundation of your cheesecake. Press it firmly into the bottom of a 9-inch springform pan. A well-pressed crust will hold together beautifully once baked.
Step 3: Bake the Crust
Pop the crust into the oven and bake for about 10 minutes. This step gives the crust a nice golden color and a bit of crunch. Once done, remove it from the oven and let it cool completely. Cooling is essential before adding the filling.
Step 4: Mix the Cream Cheese Filling
In a large mixing bowl, beat the softened cream cheese with an electric mixer until it’s smooth and creamy. Gradually add the sweetened condensed milk and granulated sugar, mixing until well combined. Then, add the eggs one at a time, ensuring each is fully incorporated before adding the next. Finally, stir in the vanilla extract and lemon juice for that extra zing.
Step 5: Pour and Bake
Now, pour the luscious cream cheese mixture over your cooled crust. Spread it evenly for a beautiful finish. Bake the cheesecake for 50-60 minutes. The center should be set but still slightly jiggly. This is the perfect texture for a creamy cheesecake.
Step 6: Cool the Cheesecake
Once baked, turn off the oven and crack the door open. Let the cheesecake cool in the oven for about an hour. This gentle cooling process helps prevent cracks from forming on the surface. Trust me, it’s worth the wait!
Step 7: Refrigerate
After cooling, transfer the cheesecake to the refrigerator. Chill it for at least 4 hours, or overnight if you can wait. Chilling is key to achieving that perfect creamy texture. The flavors meld beautifully, making each bite a delight.
Tips for Success
- Use room temperature cream cheese for a smoother filling.
- Don’t skip the cooling step in the oven; it helps prevent cracks.
- For a firmer cheesecake, chill it overnight.
- Experiment with toppings like chocolate ganache or caramel sauce for added flavor.
- Always run a knife around the edge before removing the springform pan to avoid sticking.
Equipment Needed
- 9-inch springform pan: Essential for easy removal; a regular pie dish works too.
- Electric mixer: For smooth mixing; a whisk can work in a pinch, but it’ll take longer.
- Mixing bowls: Use medium and large sizes for convenience.
- Measuring cups and spoons: Accurate measurements are key for success.
Variations
- Chocolate Cheesecake: Add ½ cup of cocoa powder to the cream cheese mixture for a rich chocolate flavor.
- Fruit-Infused: Mix in pureed fruits like strawberries or mangoes into the filling for a fruity twist.
- Nutty Delight: Fold in crushed nuts like pecans or walnuts for added texture and flavor.
- Gluten-Free Option: Substitute graham cracker crumbs with gluten-free cookies or almond flour for a gluten-free crust.
- Vegan Version: Use vegan cream cheese and a plant-based sweetened condensed milk alternative for a dairy-free treat.
Serving Suggestions
- Pair your cheesecake with a dollop of whipped cream for extra creaminess.
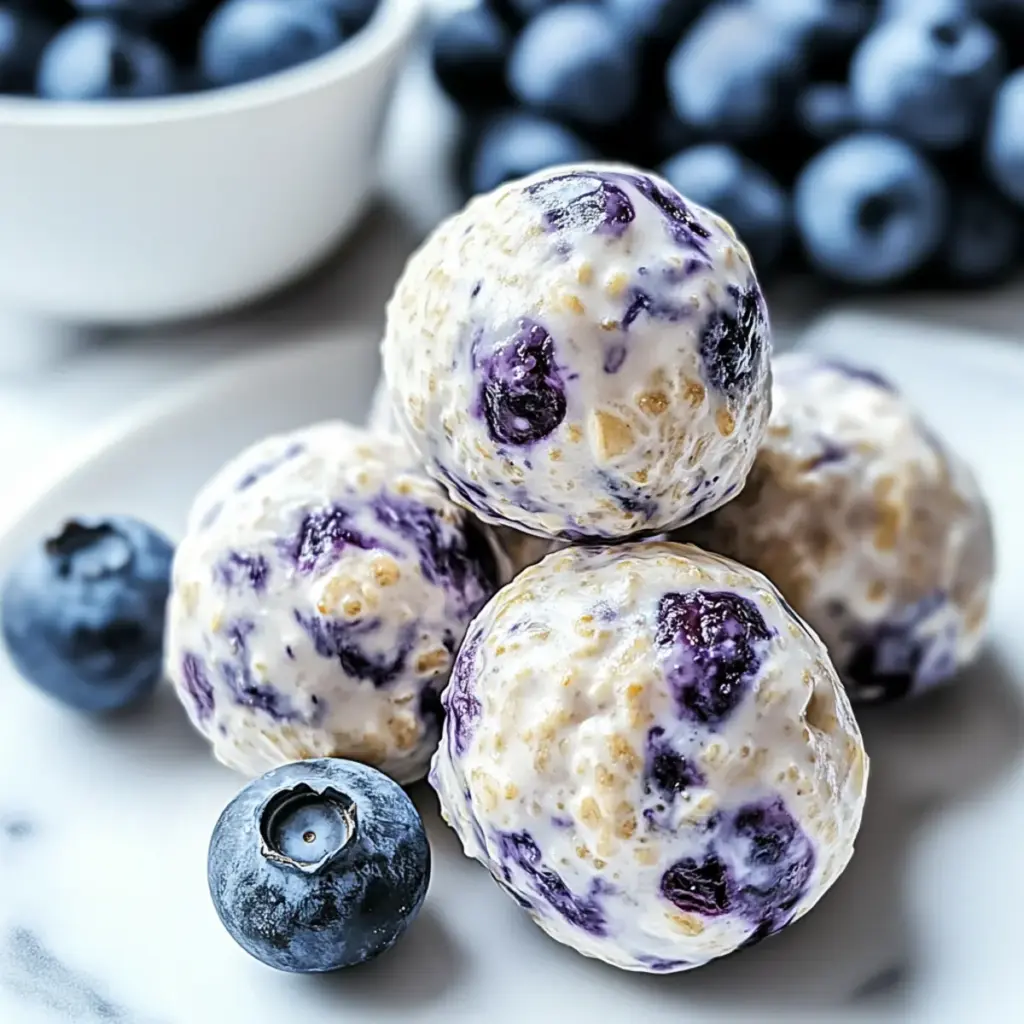
- Fresh berries like strawberries or blueberries add a pop of color and flavor.
- Serve with a drizzle of chocolate or caramel sauce for a decadent touch.
- A cup of coffee or tea complements the sweetness beautifully.
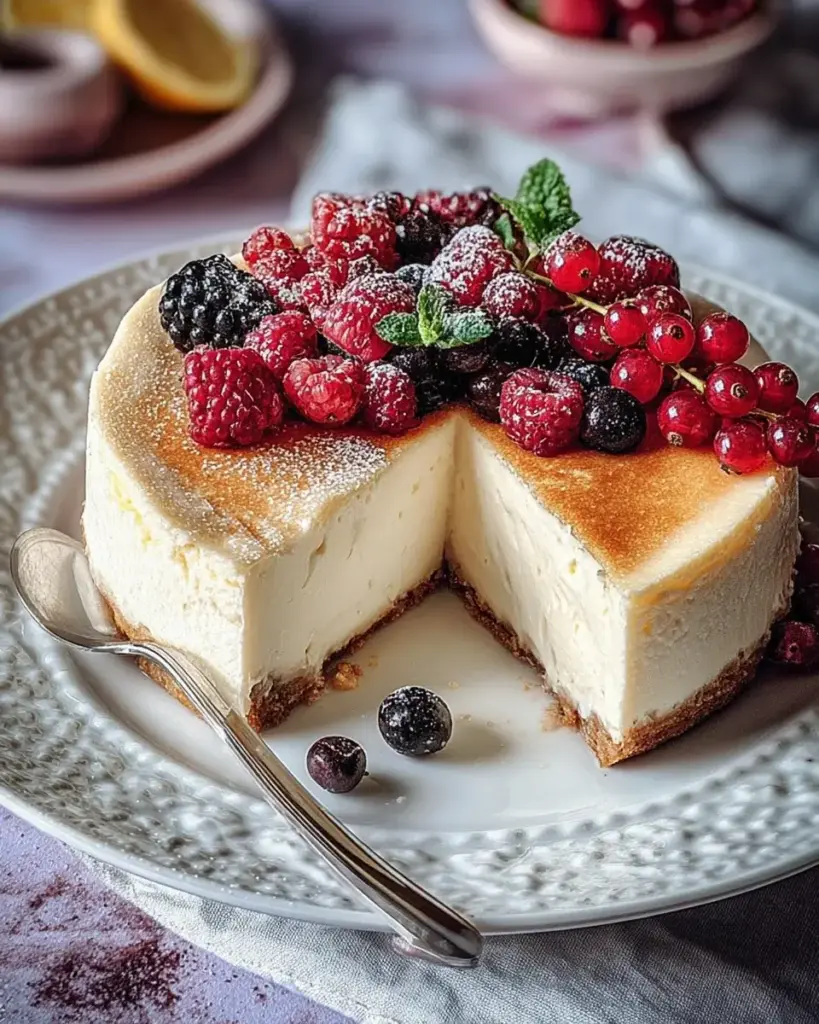
- For a stunning presentation, garnish with mint leaves or edible flowers.
FAQs about Creamy Condensed Milk Cheesecake
As you embark on your creamy condensed milk cheesecake journey, you might have a few questions. Here are some common queries that can help you along the way:
Can I use low-fat cream cheese?
Absolutely! Low-fat cream cheese can be used, but it may slightly alter the texture. The cheesecake might not be as rich, but it will still be delicious.
How do I know when the cheesecake is done baking?
The cheesecake is done when the edges are set, and the center is still slightly jiggly. It will firm up as it cools, so don’t worry if it looks a bit soft!
Can I freeze the cheesecake?
Yes, you can freeze it! Just make sure to wrap it tightly in plastic wrap and then in aluminum foil. Thaw it in the fridge before serving for the best texture.
What can I use instead of sweetened condensed milk?
If you’re looking for alternatives, you can make your own by simmering milk and sugar until thickened. Alternatively, try using coconut cream for a dairy-free option.
How long will the cheesecake last in the fridge?
Your creamy condensed milk cheesecake will stay fresh for about 5-7 days in the fridge. Just make sure to cover it well to keep it from drying out!
Final Thoughts
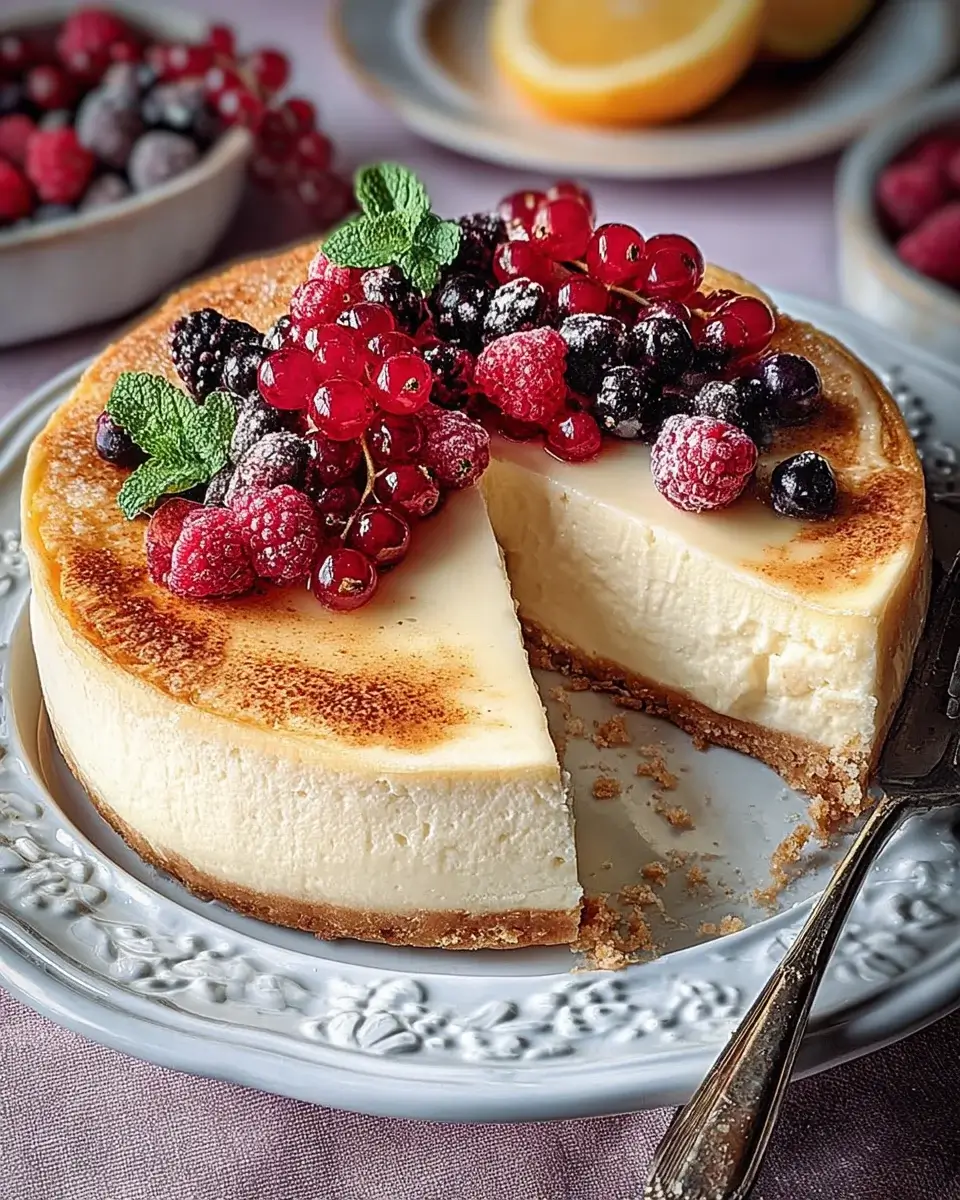
Creating a creamy condensed milk cheesecake is more than just baking; it’s about crafting memories. Each slice tells a story, whether it’s a family gathering or a quiet evening at home. The joy of sharing this dessert with loved ones is unmatched. The rich, velvety texture and sweet flavor make every bite a celebration. Plus, the ease of preparation means you can whip it up anytime the craving strikes. So, roll up your sleeves, gather your ingredients, and let this cheesecake bring a little sweetness into your life. Trust me, you won’t regret it!
Creamy Condensed Milk Cheesecake: Delight in Every Bite!
Ingredients
Method
- Preheat your oven to 325°F.
- In a medium bowl, combine the graham cracker crumbs and melted butter until the mixture resembles wet sand.
- Press this mixture firmly into the bottom of a 9-inch springform pan to form the crust.
- Bake for 10 minutes, then remove from the oven and let cool.
- In a large mixing bowl, beat the softened cream cheese with an electric mixer until smooth and creamy.
- Gradually add the sweetened condensed milk and granulated sugar, mixing until well combined.
- Add the eggs one at a time, mixing well after each addition.
- Stir in the vanilla extract and lemon juice until fully incorporated.
- Pour the cream cheese mixture over the cooled crust in the springform pan.
- Bake for 50-60 minutes, or until the center is set but still slightly jiggly.
- Turn off the oven and crack the oven door, allowing the cheesecake to cool in the oven for 1 hour to prevent cracking.
- After cooling, refrigerate the cheesecake for at least 4 hours, or overnight for best results.
- Before serving, run a knife around the edge of the pan to loosen the cheesecake, then remove the sides of the springform pan.
Nutrition
Notes
- For a chocolate twist, add ½ cup of cocoa powder to the cream cheese mixture.
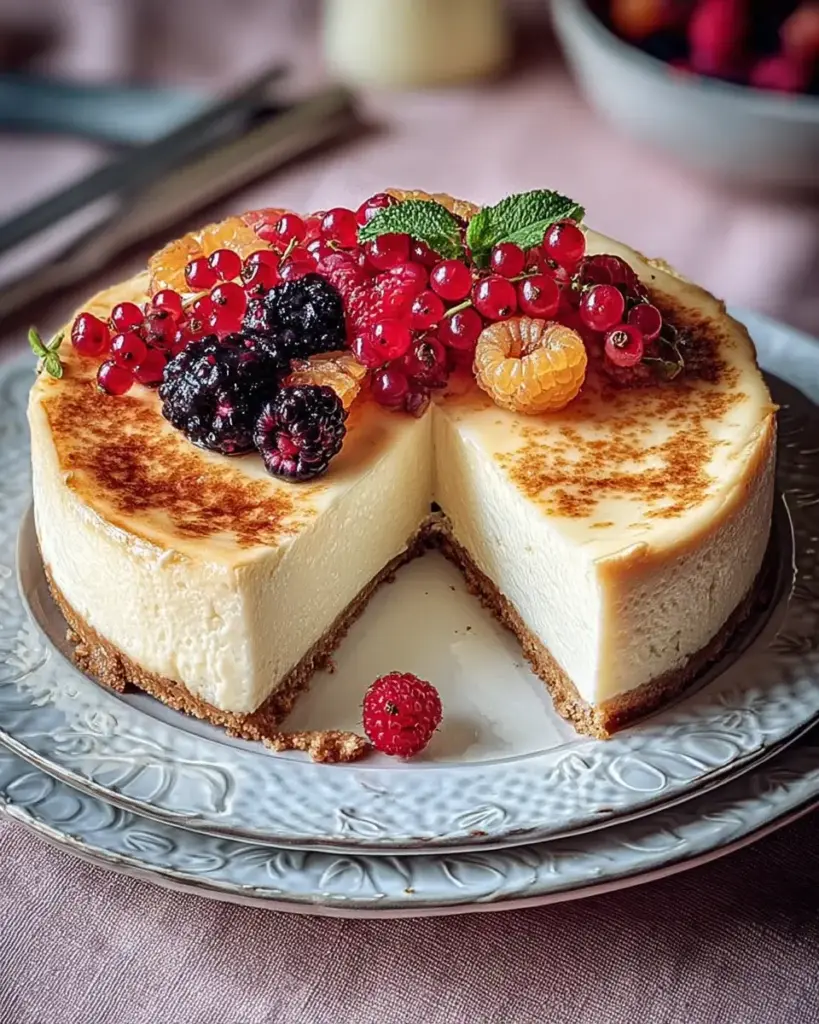
- For a fruit topping, consider adding fresh berries or a fruit compote on top of the cheesecake before serving.