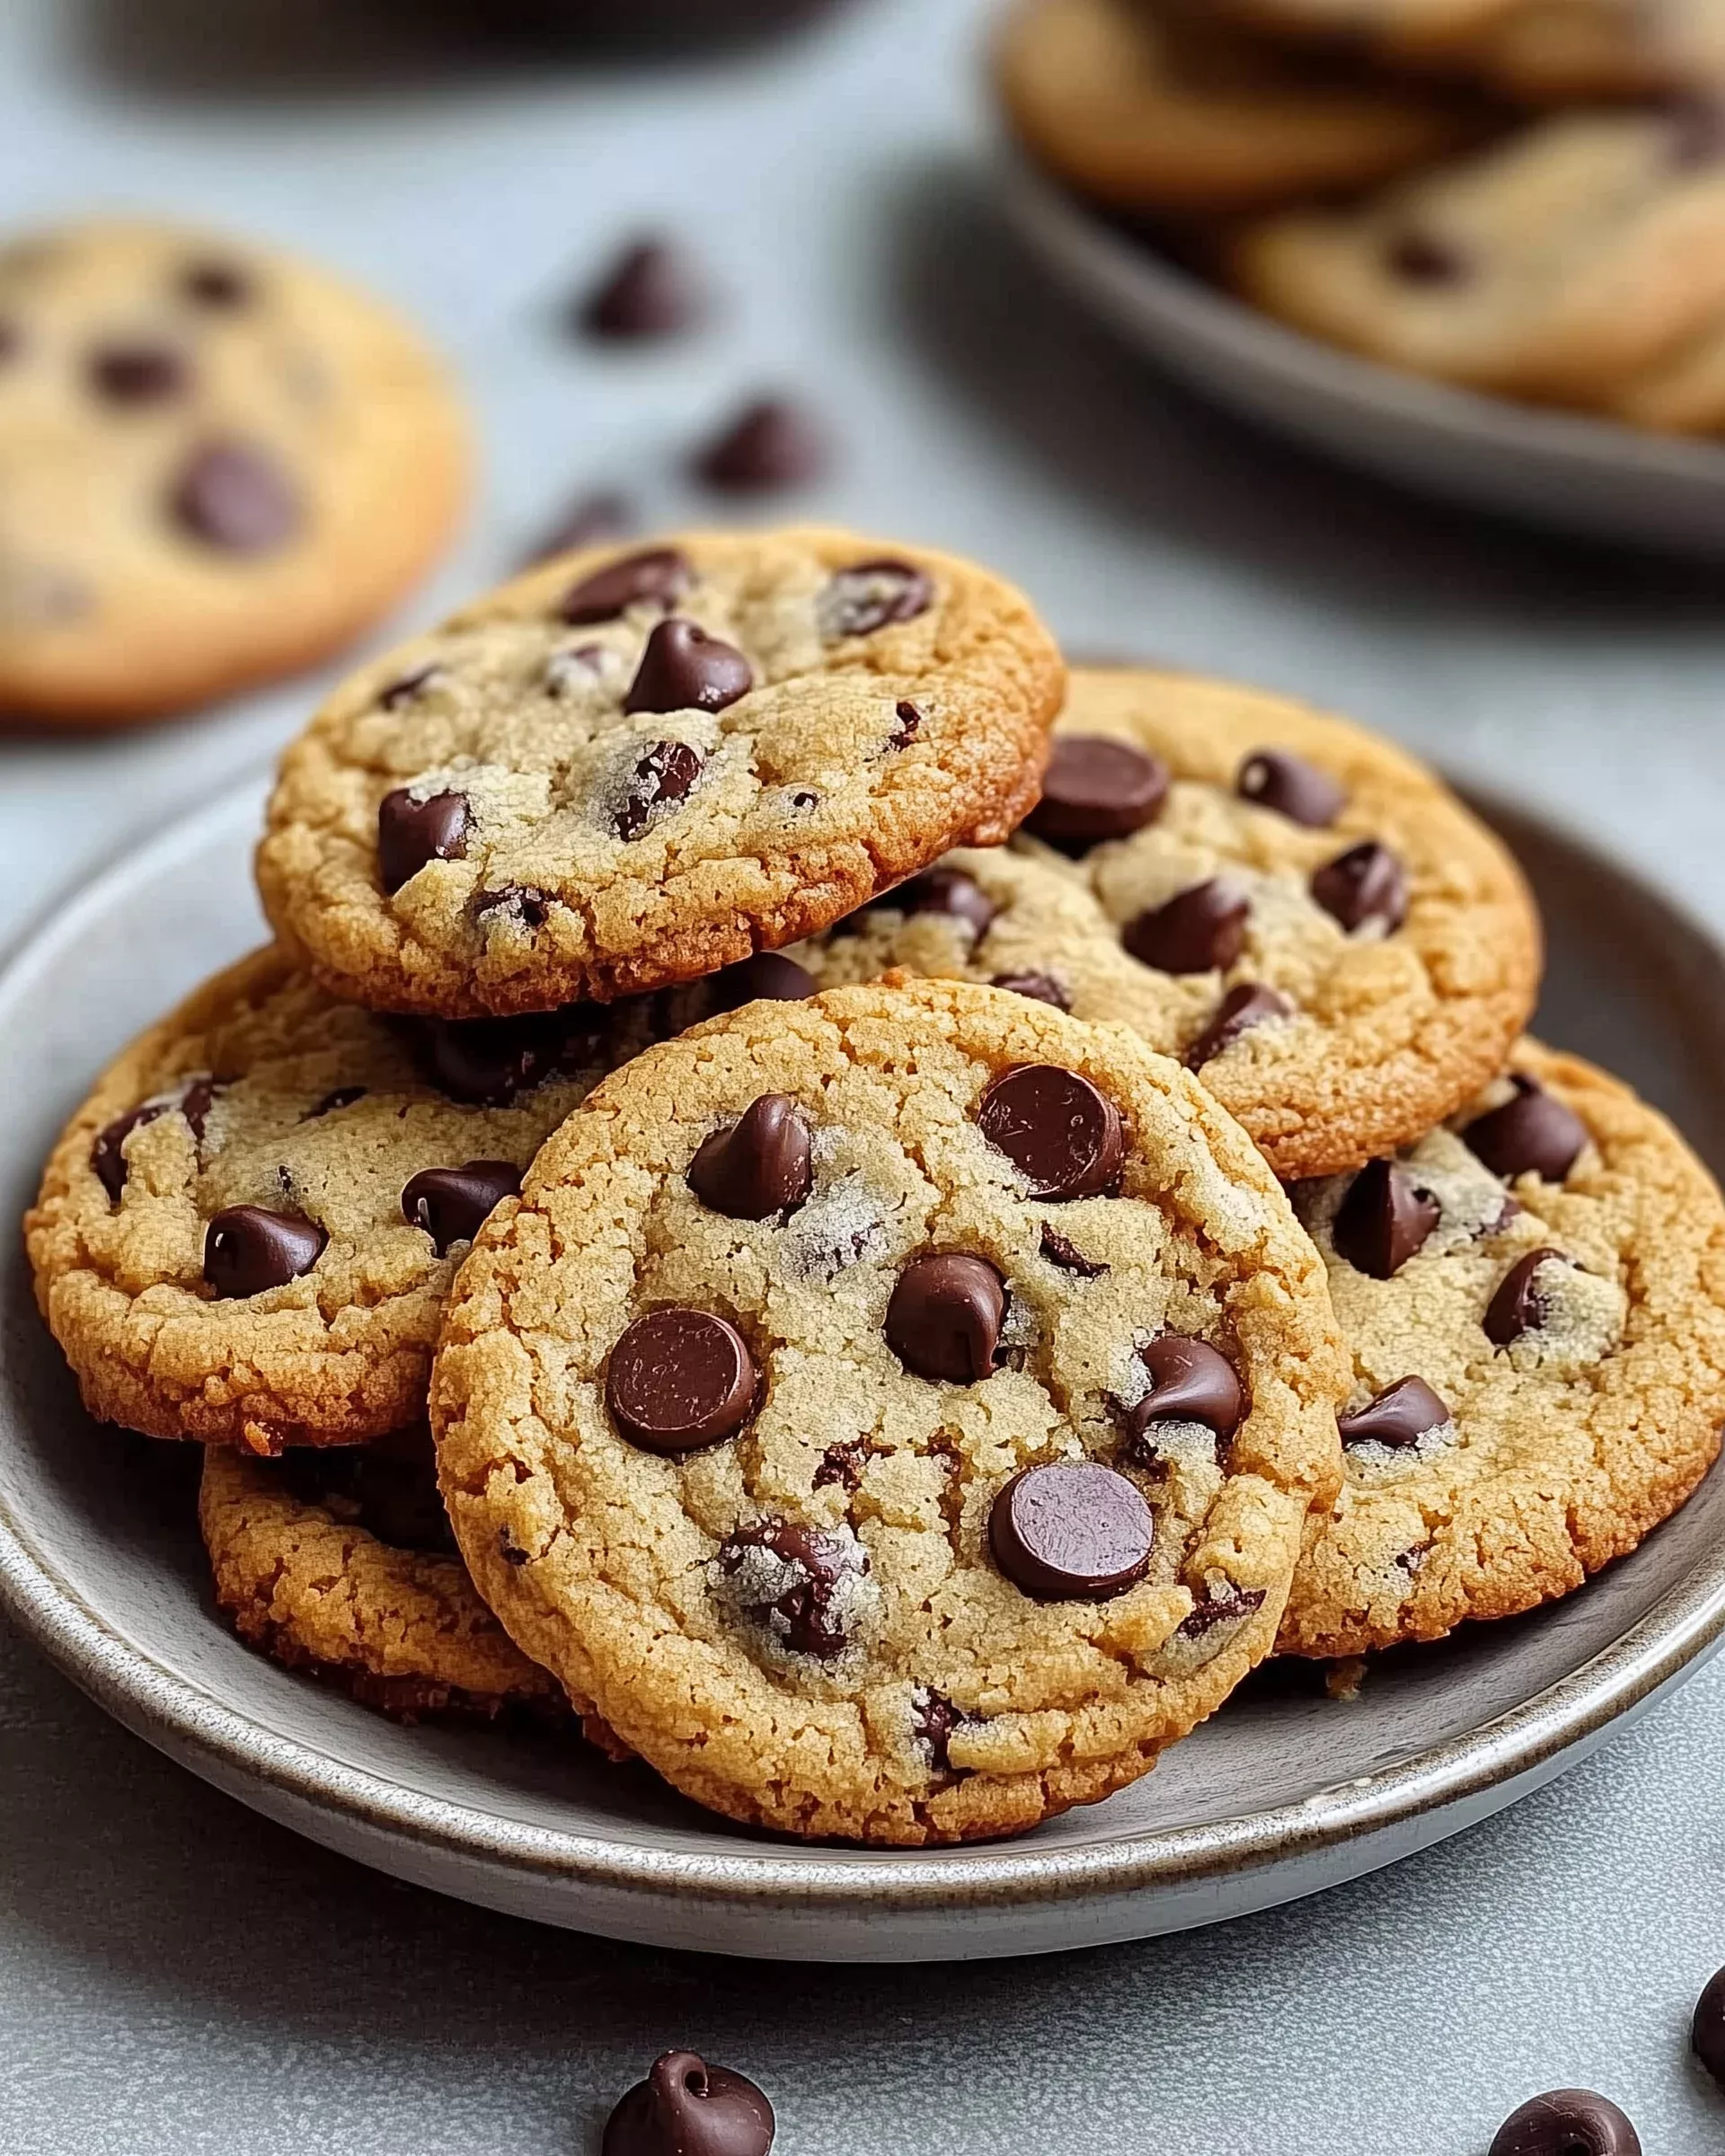
Introduction to Classic Chocolate Chip Cookies
There’s something magical about the aroma of freshly baked cookies wafting through the house. Classic Chocolate Chip Cookies have a way of bringing back those cherished childhood memories, don’t they? Whether it’s a quick solution for a busy day or a sweet treat to impress your loved ones, this recipe is a go-to for any occasion. The combination of rich chocolate and a soft, chewy texture makes these cookies irresistible. Trust me, once you take that first bite, you’ll be transported back to simpler times, where joy was just a cookie away.
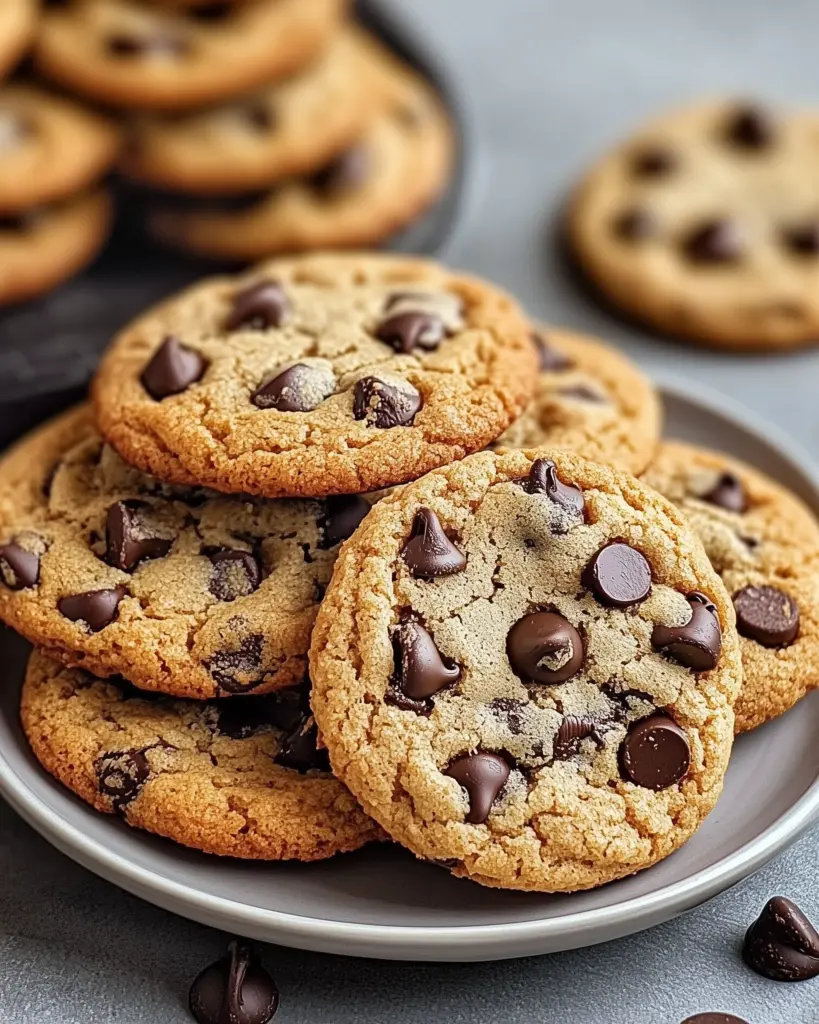
Why You’ll Love This Classic Chocolate Chip Cookies
These Classic Chocolate Chip Cookies are not just a treat; they’re a celebration of simplicity and flavor. They come together in a flash, making them perfect for those last-minute cravings or unexpected guests. The taste? Pure bliss! Each bite offers a delightful balance of sweetness and richness. Plus, they’re versatile enough to please everyone, from kids to adults. You’ll find yourself baking these again and again, and for good reason!
Ingredients for Classic Chocolate Chip Cookies
Gathering the right ingredients is the first step to cookie perfection. Here’s what you’ll need for these Classic Chocolate Chip Cookies:
- All-purpose flour: This is the backbone of your cookies, providing structure and chewiness.
- Baking soda: A leavening agent that helps your cookies rise and become fluffy.
- Salt: Just a pinch enhances the sweetness and balances flavors.
- Unsalted butter: Softened butter creates a creamy texture and rich flavor. Always use unsalted for better control over saltiness.
- Granulated sugar: This adds sweetness and helps achieve that lovely golden color.
- Brown sugar: Packed with moisture, it gives your cookies a chewy texture and a hint of caramel flavor.
- Vanilla extract: A splash of this magical ingredient elevates the overall taste, making it more aromatic.
- Large eggs: They bind everything together and add moisture, resulting in a tender cookie.
- Semi-sweet chocolate chips: The star of the show! They melt beautifully and provide that classic chocolatey goodness.
- Chopped nuts (optional): Walnuts or pecans can add a delightful crunch and depth of flavor, but feel free to skip them if you prefer a nut-free cookie.
For exact measurements, check the bottom of the article where you can find everything listed for easy printing. Happy baking!
How to Make Classic Chocolate Chip Cookies
Step 1: Preheat and Prepare
Start by preheating your oven to 375°F (190°C). This step is crucial for achieving that perfect cookie texture. While the oven warms up, line a baking sheet with parchment paper. This not only prevents sticking but also makes cleanup a breeze. Trust me, your future self will thank you for this little effort. Once everything is set, you’re ready to dive into the mixing!
Step 2: Mix Dry Ingredients
In a small bowl, whisk together the all-purpose flour, baking soda, and salt. This combination creates a balanced base for your cookies. The baking soda will help them rise, while the salt enhances the sweetness. Make sure there are no lumps in the flour; a smooth mixture is key. Set this bowl aside for now, as we’ll be bringing it into the mix shortly!
Step 3: Cream Butter and Sugars
In a large mixing bowl, beat the softened unsalted butter, granulated sugar, and brown sugar together until creamy. This step is where the magic begins! The goal is to achieve a light and fluffy texture, which will make your cookies tender. Don’t rush it; take your time to blend them well. The aroma of butter and sugar will already have you dreaming of those warm cookies!
Step 4: Add Eggs and Vanilla
Next, add the large eggs one at a time, mixing well after each addition. This ensures they’re fully incorporated into the batter. Then, pour in the vanilla extract. This ingredient is like a secret weapon, adding depth and warmth to your cookies. Mix until everything is combined, and you’ll notice the batter becoming even creamier and more inviting.
Step 5: Combine Mixtures
Now it’s time to gradually add the dry ingredients to the wet mixture. Stir gently until just combined; overmixing can lead to tough cookies. You want a smooth dough that holds together nicely. If you see a few flour streaks, that’s okay! It’s better to under-mix than over-mix at this stage. Your dough is almost ready for the star ingredient!
Step 6: Fold in Chocolate Chips
Gently fold in the semi-sweet chocolate chips and any optional nuts you’ve chosen. This is where the fun happens! The chocolate chips should be evenly distributed throughout the dough. Each bite will be a delightful surprise of melted chocolate. If you’re feeling adventurous, try mixing in different types of chocolate chips for a unique twist!
Step 7: Shape and Bake
Using a tablespoon, drop rounded portions of dough onto the prepared baking sheet, spacing them about 2 inches apart. This allows room for spreading as they bake. Pop the tray into the oven and bake for 9 to 11 minutes, or until the edges are golden brown. The center may look slightly underbaked, but don’t worry; they’ll firm up as they cool. Enjoy the heavenly aroma filling your kitchen!
Tips for Success
- Chill the dough for at least 30 minutes for chewier cookies.
- Use a cookie scoop for uniform sizes and even baking.
- Don’t skip the parchment paper; it prevents sticking and promotes even browning.
- Experiment with different chocolate types for varied flavors.
- Store cookies in an airtight container to maintain freshness.
Equipment Needed
- Baking sheet: A standard cookie sheet works well, but a rimmed baking pan can catch any drips.
- Parchment paper: If you don’t have this, greasing the baking sheet is a good alternative.
- Mixing bowls: Use any size, but a large bowl is ideal for mixing.
- Whisk: A fork can work in a pinch for mixing dry ingredients.
- Cookie scoop: If you don’t have one, a tablespoon will do just fine!
Variations
- Dark Chocolate Delight: Swap semi-sweet chocolate chips for dark chocolate chips for a richer flavor.
- Nutty Twist: Add chopped walnuts or pecans for a crunchy texture and nutty flavor.
- Oatmeal Chocolate Chip: Mix in 1 cup of rolled oats for a heartier cookie that adds fiber.
- Peanut Butter Swirl: Incorporate 1/2 cup of creamy peanut butter into the dough for a delicious twist.
- Gluten-Free Option: Substitute all-purpose flour with a gluten-free flour blend for a gluten-free treat.
- Vegan Version: Use coconut oil instead of butter and flax eggs as a substitute for regular eggs.
Serving Suggestions
- Pair your cookies with a tall glass of cold milk for the classic experience.
- Serve warm cookies with a scoop of vanilla ice cream for an indulgent dessert.
- Present cookies on a rustic wooden platter for a charming touch.
- For a festive twist, sprinkle sea salt on top before baking.
FAQs about Classic Chocolate Chip Cookies
As I’ve baked these Classic Chocolate Chip Cookies countless times, I’ve gathered a few common questions that pop up. Let’s dive into some of the most frequently asked questions to help you on your cookie-baking journey!
Can I use different types of chocolate chips?
Absolutely! Feel free to experiment with dark chocolate, white chocolate, or even butterscotch chips. Each type brings its own unique flavor to the cookies, making them even more delightful.
How do I store my cookies to keep them fresh?
To maintain their freshness, store your cookies in an airtight container at room temperature. If you want to keep them longer, you can freeze them for up to three months. Just make sure to separate layers with parchment paper!
Why are my cookies flat?
Flat cookies can be a result of too much butter or not enough flour. Make sure to measure your ingredients accurately. Also, chilling the dough for at least 30 minutes can help prevent spreading.
Can I make the dough ahead of time?
Yes! You can prepare the dough in advance and refrigerate it for up to 72 hours. Just remember to let it sit at room temperature for a few minutes before baking to make scooping easier.
What can I do if my cookies are too hard?
If your cookies turn out too hard, it might be due to overbaking. Keep an eye on them in the oven, and remember that they will continue to firm up as they cool. For a softer cookie, try reducing the baking time slightly.
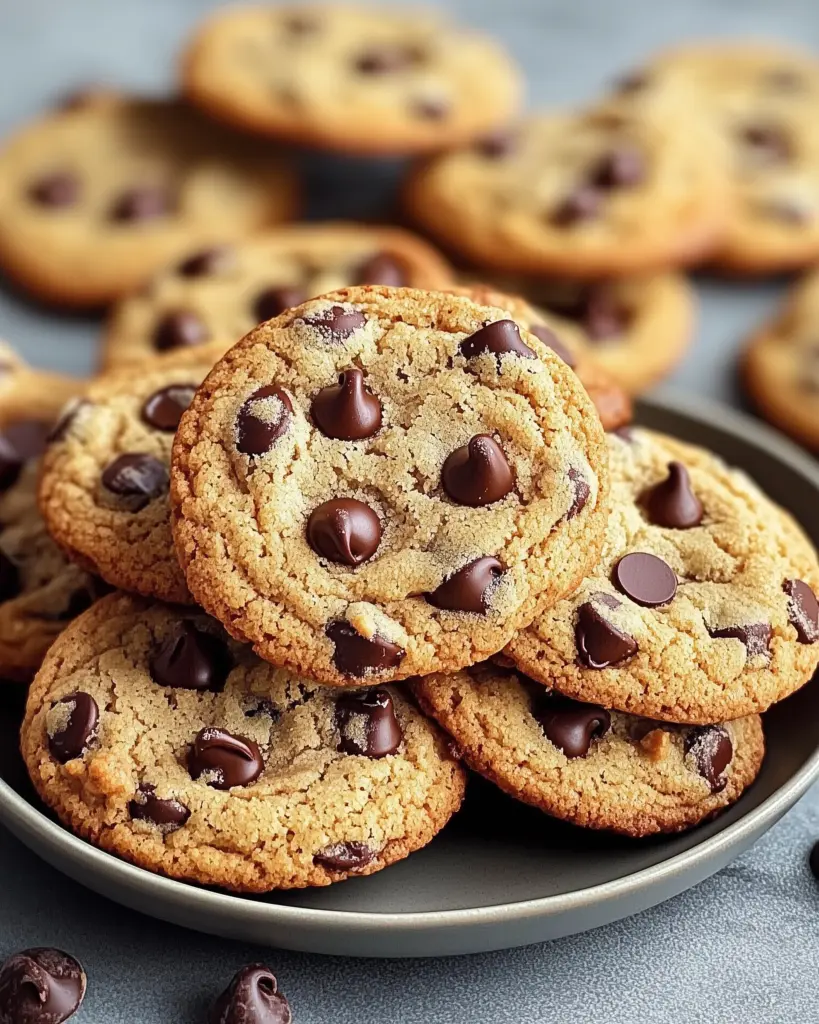
Final Thoughts
Baking Classic Chocolate Chip Cookies is more than just a recipe; it’s an experience filled with warmth and nostalgia. Each batch brings a sense of accomplishment and joy, whether you’re sharing them with family or indulging solo. The delightful aroma that fills your kitchen is a reminder of simpler times, where happiness was just a cookie away. So, roll up your sleeves, embrace the mess, and let the magic unfold. With every bite, you’ll savor not just the chocolatey goodness, but also the memories created along the way. Happy baking, my friends!
Classic Chocolate Chip Cookies: Bake Perfect Joy Today!
Ingredients
Method
- Preheat your oven to 375°F (190°C). Line a baking sheet with parchment paper.
- In a small bowl, whisk together the flour, baking soda, and salt. Set aside.
- In a large mixing bowl, beat the softened butter, granulated sugar, brown sugar, and vanilla extract together until creamy.
- Add the eggs one at a time, mixing well after each addition.
- Gradually add the flour mixture to the butter mixture, stirring until just combined.
- Fold in the chocolate chips and nuts (if using).
- Drop rounded tablespoons of dough onto the prepared baking sheet, spacing them about 2 inches apart.
- Bake for 9 to 11 minutes or until the edges are golden brown.
- Remove from the oven and let the cookies cool on the baking sheet for 5 minutes before transferring them to a wire rack to cool completely.
Nutrition
Notes
- For chewier cookies, refrigerate the dough for at least 30 minutes before baking.
- Experiment with different types of chocolate chips, such as dark chocolate or white chocolate, for a unique twist.