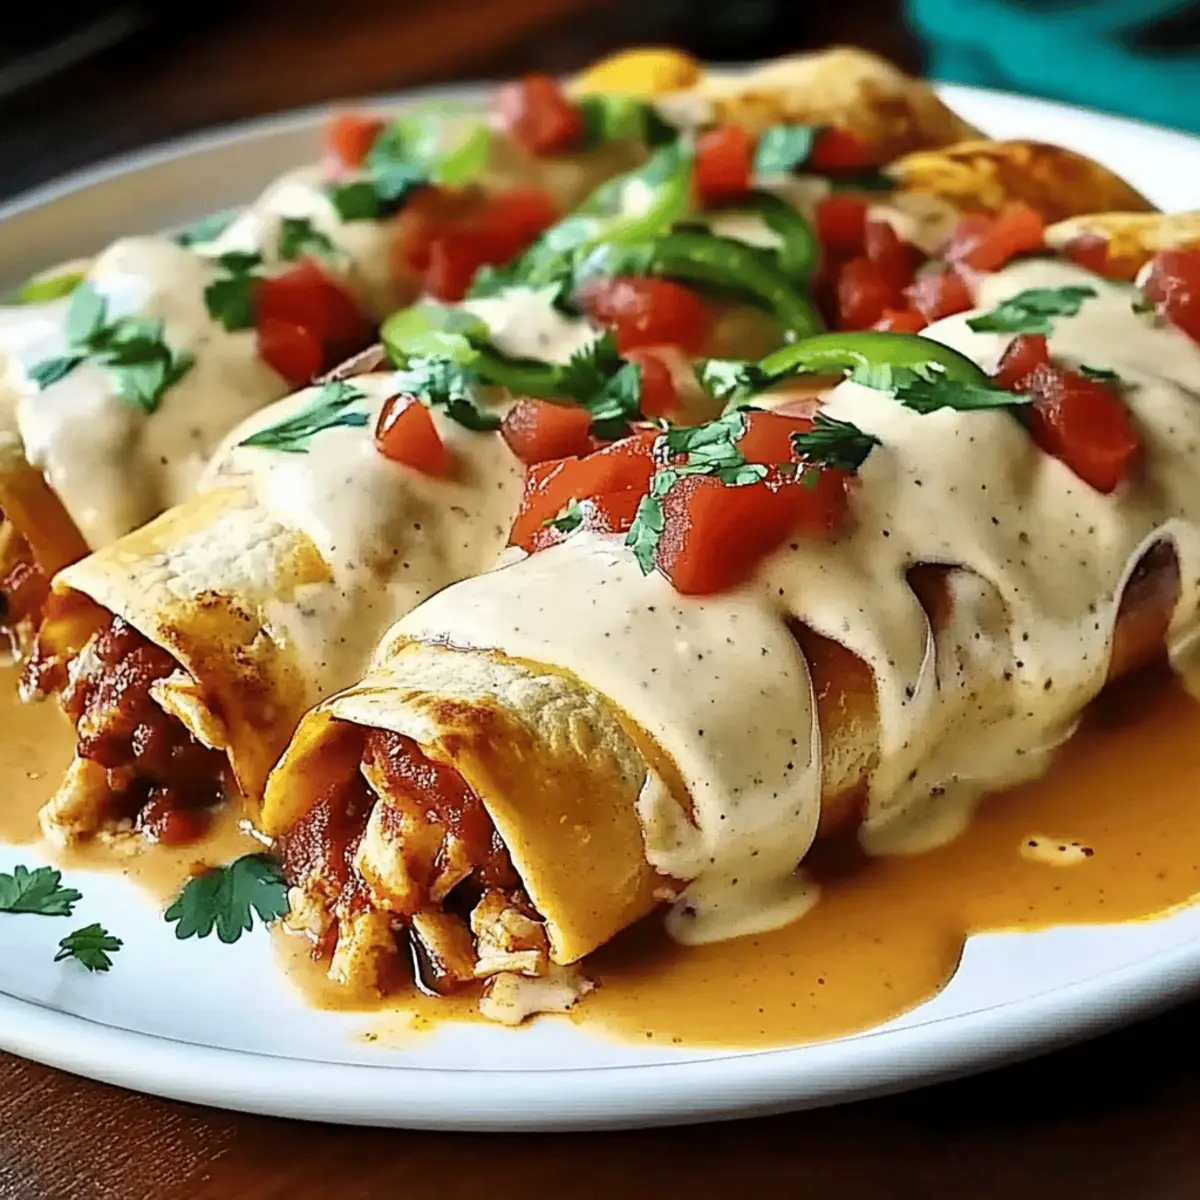
As I pulled the baking dish out of the oven, the rich aroma of spicy, cheesy goodness wafted through the kitchen, instantly drawing the rest of the family in like moths to a flame. These Jalapeño Popper Cheesy Chicken Enchiladas are my ultimate comfort food, melding the familiar warmth of home-cooked meals with a zesty twist that keeps everyone coming back for more. What makes this dish truly special is its adaptability—whether you’re catering to gluten-free or dairy-free needs, you’ll find the recipe easily bends to fit without sacrificing flavor. It’s perfect for those hectic weeknight dinners or even when entertaining friends on the weekend. Ready to dive into layers of heavenly deliciousness? Let’s roll!
Why Are These Enchiladas So Irresistible?
Cheesy Indulgence: Each bite is a creamy explosion of cheese, perfectly blended with spicy jalapeños, creating a flavor that dances on your taste buds.
Quick Assembly: With simple steps to follow, you’ll impress your family without spending hours in the kitchen. This recipe is ideal for anyone craving comfort food!
Versatile Options: Whether you prefer chicken or want a vegetarian twist, like shredded beef or black beans, this recipe adapts to your needs.
Crowd-Pleasing Appeal: Impress your friends and family with a dish that looks as good as it tastes. Trust me, they won’t be able to resist going for seconds!
Make-Ahead Friendly: Prep these enchiladas in advance for an easy weeknight dinner or fun gathering. An enthusiastic recommendation: serve them alongside some zesty Savory Chicken Lettuce for a refreshing balance!
Cheesy Chicken Enchiladas Ingredients
For the Filling
- Shredded Chicken – Provides the protein base; use cooked and shredded for ease.
- Cream Cheese – Adds creamy texture; can be swapped with dairy-free cream cheese for adjustments.
- Cheddar Cheese – Offers a sharp flavor and nice melt; substitute with dairy-free cheddar if needed.
- Jalapeños (diced) – Introduces spicy heat; adjust the quantity based on your spice preference, fresh or pickled adds great depth.
For the Tortillas
- Enchilada Tortillas – Forms the delicious base; opt for gluten-free tortillas if you need a gluten-free option.
For the Sauce
- Enchilada Sauce – Coats the enchiladas with flavor; feel free to use store-bought or homemade, just ensure it complements the dish’s spice.
For the Seasoning
- Spices (cumin, garlic powder, onion powder, salt, pepper) – Enhances the flavor profile; feel free to tweak according to your taste or try different spice blends.
Prepare to tantalize your taste buds with these cheesy chicken enchiladas, the perfect blend of comfort and zest!
Step‑by‑Step Instructions for Jalapeño Popper Cheesy Chicken Enchiladas
Step 1: Preheat and Prepare
Begin by preheating your oven to 375°F (190°C). While the oven warms up, grab a 9×13-inch baking dish and grease it lightly with cooking spray or oil. This will help the enchiladas come out easily after baking and ensure a lovely golden color.
Step 2: Mix the Filling
In a large mixing bowl, combine shredded chicken, cream cheese, and cheddar cheese, stirring until well incorporated. Add the diced jalapeños along with spices like cumin, garlic powder, onion powder, salt, and pepper. Mix everything together until the filling is creamy and well-seasoned, giving it that irresistible cheesy goodness.
Step 3: Fill the Tortillas
Take one enchilada tortilla and spoon a generous amount of the filling mixture onto one side. Carefully roll it tightly, leaving the edges tucked in, and place it seam-side down in your prepared baking dish. Repeat this process until all the tortillas are filled and aligned in the dish, making sure they fit snugly together.
Step 4: Add the Sauce
Once all the enchiladas are in the baking dish, pour your enchilada sauce evenly over the top. Aim for complete coverage, allowing the sauce to seep into the tortillas for added flavor. A good coating ensures the enchiladas stay moist and delicious during baking, making your cheesy chicken enchiladas even more comforting.
Step 5: Bake to Perfection
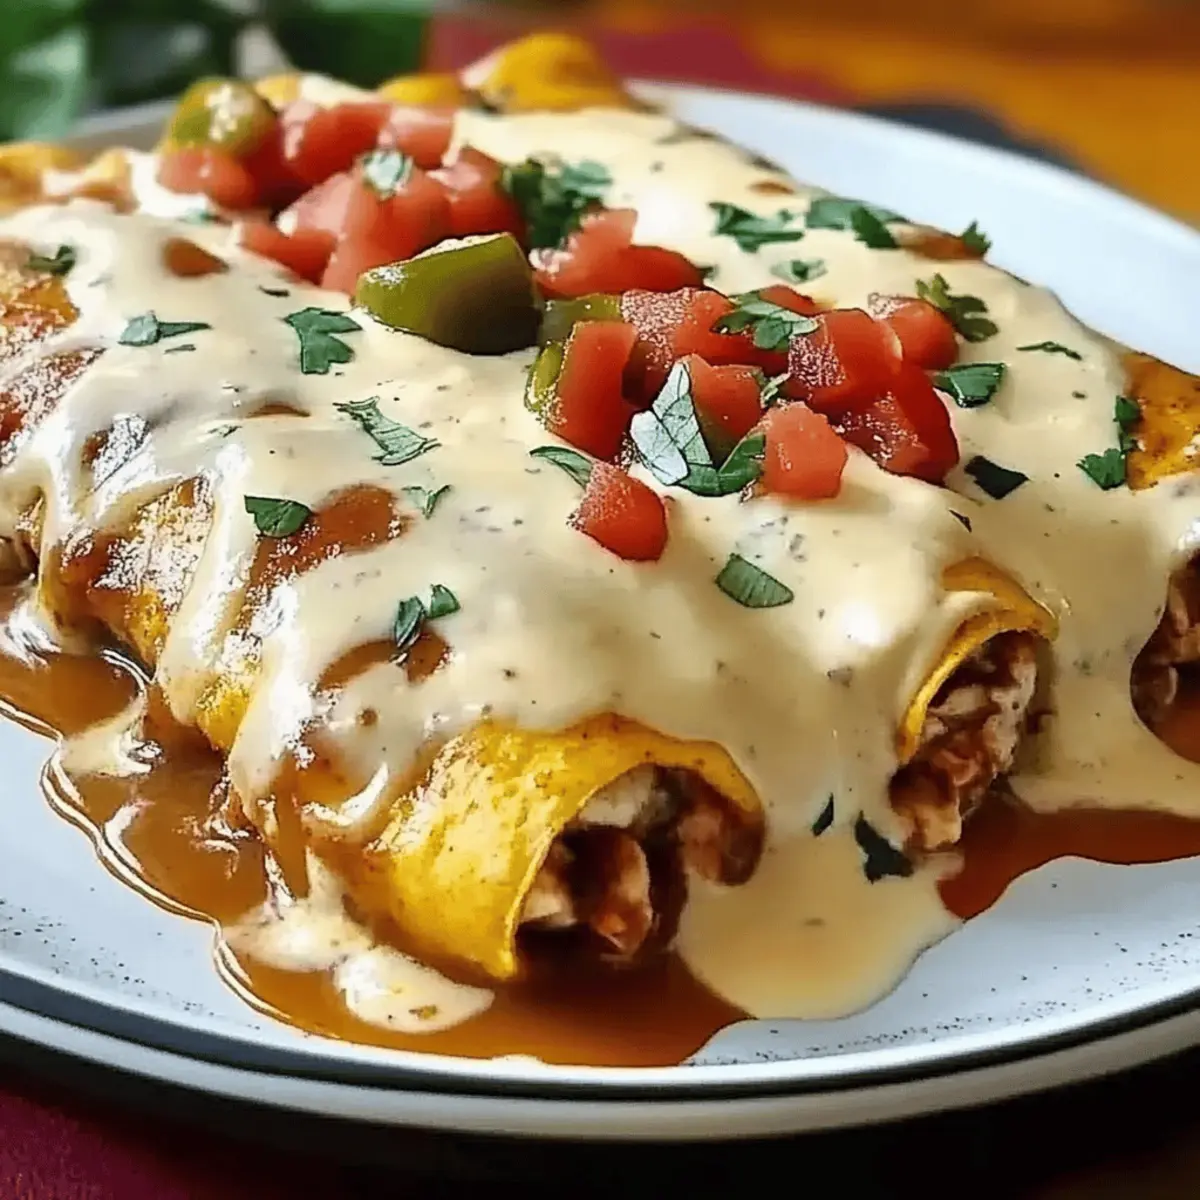
Slide the baking dish into the preheated oven and let the enchiladas bake for 25-30 minutes. Keep an eye on them; you want the sauce to bubble and the cheese to become a beautiful, melty golden brown. This visual cue indicates they’re ready to be taken out and enjoyed by family and friends.
Step 6: Cool and Serve
After baking, remove the enchiladas from the oven and let them cool for about 5 minutes. This brief resting period allows the flavors to meld and makes serving easier. Slice them into portions and serve warm, ideally with guacamole or a fresh salad to balance the spiciness of these delightful jalapeño popper cheesy chicken enchiladas.
Cheesy Chicken Enchiladas Variations
Feel free to get creative and customize your enchiladas for a personal touch that tantalizes your taste buds!
-
Gluten-Free: Substitute traditional tortillas for gluten-free versions, ensuring everyone can enjoy this dish without worry.
-
Dairy-Free: Use dairy-free cream cheese and cheese for a version that’s perfect for lactose-sensitive family members!
-
Extra Spicy: Add more diced jalapeños or include some diced serrano peppers in the filling for a fiery twist that’ll thrill spice lovers.
-
Vegetarian: Swap out the shredded chicken with black beans or shredded zucchini to make it a delicious, hearty veggie option. This swap offers a nutritional boost without sacrificing flavor!
-
Cheese Variety: Mix up the cheese by using pepper jack for added heat or gouda for a sweet smokiness that contrasts beautifully with the spiciness.
-
Texture Twists: Consider adding roasted corn or sautéed bell peppers to the filling for delightful bursts of flavor and texture.
-
Herb Infusion: Stir in fresh cilantro or green onions into the cheese filling to add a hint of freshness that brightens each bite, inviting aromatic notes to your dish.
-
Layered Bake: Instead of rolling, create a layered enchilada bake by alternating tortillas, filling, and sauce for a beautiful casserole that impresses at any gathering. Serve alongside some zesty Grilled Chicken Broccoli for a delightful meal!
Expert Tips for Cheesy Chicken Enchiladas
-
Prep Ahead: Make the filling and sauce ahead of time; this saves you stress on busy nights and ensures quick assembly of your cheesy chicken enchiladas.
-
Avoid Overfilling: Don’t overload the tortillas! Overstuffing can make them break and spill their delicious filling, so keep it moderate for sturdy enchiladas.
-
Cool Slightly: Allow the enchiladas to sit for about 5 minutes after baking. This waiting time makes slicing and serving much easier, letting the gooey cheese stay intact.
-
Experiment with Spice: Adjust the amount of jalapeños based on your heat preference. Adding a mix of fresh and pickled can give your enchiladas depth and complexity.
-
Storage Smarts: Assemble your cheesy chicken enchiladas in advance, cover, and refrigerate. They can be baked right before serving for a warm, fresh dinner!
-
Satisfy Dietary Needs: Remember, this recipe is highly adaptable! Swap in dairy-free cream cheese or gluten-free tortillas to cater to specific dietary needs without losing flavor.
How to Store and Freeze Cheesy Chicken Enchiladas
Fridge: Store any leftover enchiladas in an airtight container. They will stay fresh for up to 3 days, retaining their cheesy goodness.
Freezer: For longer storage, freeze the assembled – but uncooked – enchiladas in a tightly sealed container or heavy-duty freezer bag for up to 3 months. Just remember to label with the date!
Reheating: To reheat, simply bake frozen enchiladas at 375°F (190°C) for about 35-40 minutes, or until heated through. If they’re in the fridge, bake for 25-30 minutes.
Make-Ahead Tip: Feel free to assemble cheesy chicken enchiladas ahead of time, refrigerate them, and then bake just before serving for a convenient family meal!
Make Ahead Options
These Jalapeño Popper Cheesy Chicken Enchiladas are a fantastic choice for meal prep! You can assemble the entire dish up to 24 hours in advance by filling the tortillas with the chicken mixture and placing them in the baking dish. Cover the dish tightly with plastic wrap or foil to keep them fresh while refrigerating. When you’re ready to serve, simply pour the enchilada sauce over the top and bake as directed, adding an extra 5-10 minutes to the cooking time if they’re coming from the fridge. This way, you’ll have a comforting, cheesy meal ready to enjoy with minimal effort after a busy day!
What to Serve with Jalapeño Popper Cheesy Chicken Enchiladas
These delectable enchiladas create a mouthwatering centerpiece for a vibrant family meal that can be easily complemented with fabulous sides and drinks.
-
Guacamole: The creamy, cool avocado dip balances the spiciness of the enchiladas, offering a refreshing contrast.
-
Mexican Street Corn (Elote): Sweet, charred corn coated in creamy, cheesy goodness provides a delightful texture and flavor pairing. The zesty lime and chili powder enhance the overall experience.
-
Refried Beans: These soft and savory beans add heartiness to your meal and can be easily seasoned to match the flavor profile of the enchiladas.
-
Pico de Gallo: This fresh tomato salad brings bright, zesty flavors that cut through the richness of the enchiladas, adding a burst of freshness to every bite.
-
Cilantro Lime Rice: The light and fragrant rice creates a delicious bed for the enchiladas while echoing the vibrant flavors throughout.
-
Sour Cream: A dollop of cool sour cream offers a rich, creamy element, balancing the dish’s spice while making every bite more enjoyable.
-
Margaritas: For a drink pairing, the tangy and refreshing notes of a classic margarita enhance the flavors of your cheesy chicken enchiladas beautifully.
-
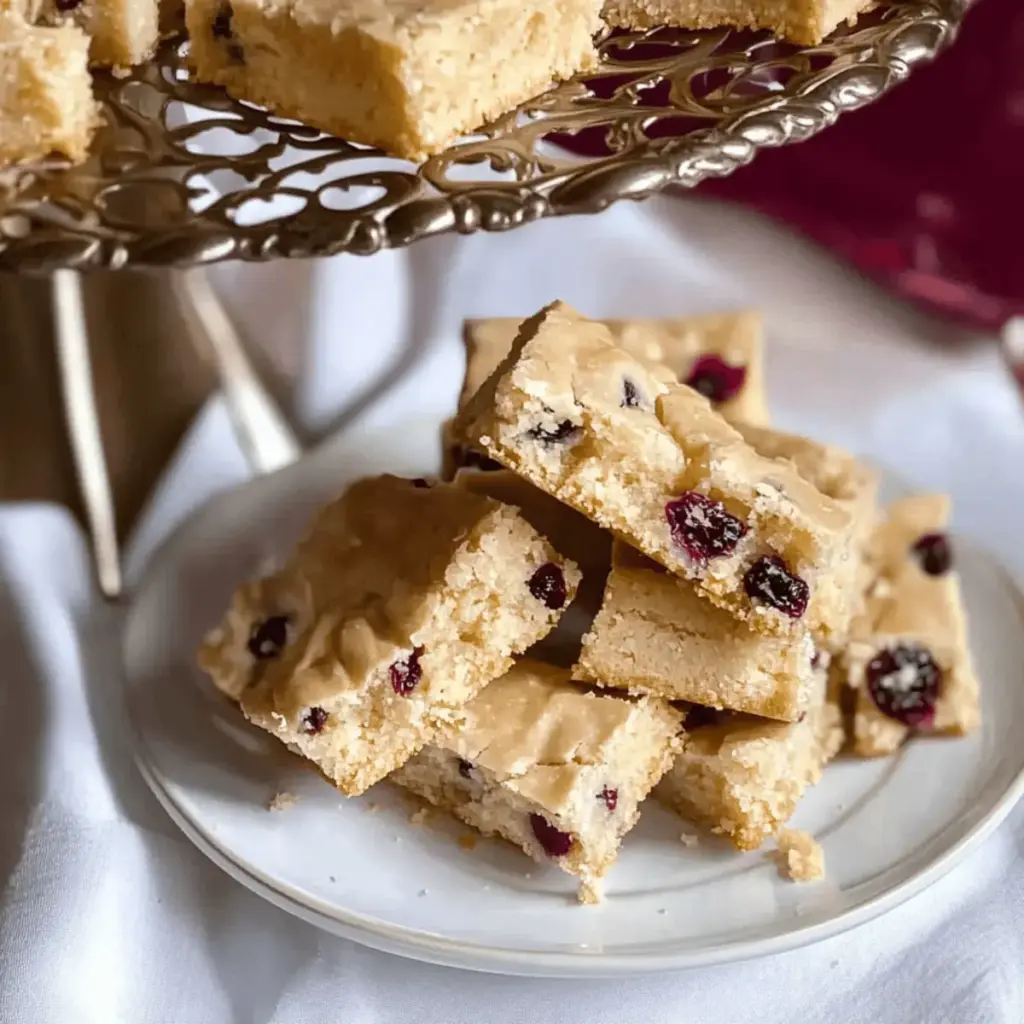
Churros: For dessert, these light, cinnamon-sugar-coated pastries provide a sweet ending that contrasts wonderfully with your savory meal.
-
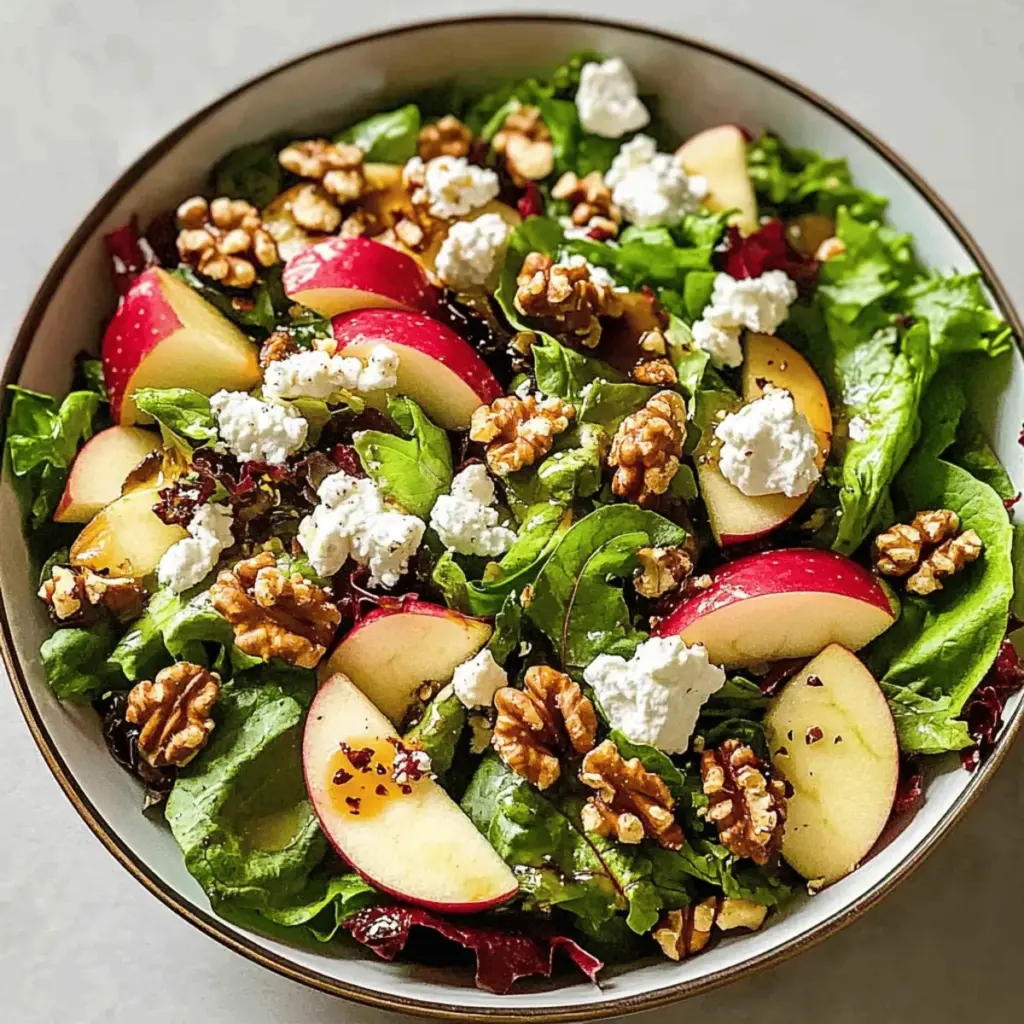
Fresh Salad: A crunchy side salad with lime vinaigrette refreshes your palate and rounds out the meal with extra color and nutrients.
Embrace these delightful options to elevate your dining experience, creating a fabulous spread that will have everyone at the table asking for the recipe!
Jalapeño Popper Cheesy Chicken Enchiladas Recipe FAQs
How do I choose ripe jalapeños?
Absolutely! Look for firm, glossy jalapeños that have a vibrant green color. If they’re slightly wrinkled or have dark spots all over, they may be past their prime. Fresh jalapeños will add the best flavor and spice to your cheesy chicken enchiladas.
What’s the best way to store leftovers?
To keep your leftover enchiladas fresh, simply place them in an airtight container and refrigerate. They’ll be good for up to 3 days. Make sure to reheat thoroughly to revive their cheesy deliciousness before serving!
Can I freeze cheesy chicken enchiladas?
Very! To freeze, assemble the uncooked enchiladas and wrap them tightly in plastic wrap before placing them in a heavy-duty freezer bag. They can be stored for up to 3 months. When you’re ready to use them, bake from frozen at 375°F (190°C) for about 35-40 minutes until heated through and bubbly.
What do I do if my enchiladas are too spicy?
If your cheesy chicken enchiladas turn out spicier than you hoped, you can balance the heat by serving them with a dollop of sour cream or guacamole. These cool, creamy sides help mellow the spiciness and enhance the overall experience!
Are these enchiladas suitable for gluten-free diets?
Absolutely! By simply swapping regular tortillas for gluten-free enchilada tortillas, you can make this dish suitable for those needing to avoid gluten. Just double-check the enchilada sauce you choose, as some brands may contain wheat.
What if my enchiladas get soggy?
If your cheesy chicken enchiladas end up too soggy, it might be due to too much sauce or uncoated tortillas. To mitigate this, try using less sauce or paying attention to the type of tortillas you’re using; corn tortillas generally hold up better than flour in saucy dishes.
Creamy Cheesy Chicken Enchiladas for a Spicy Dinner Delight
Ingredients
Equipment
Method
- Preheat your oven to 375°F (190°C) and lightly grease a 9x13-inch baking dish.
- In a large mixing bowl, combine shredded chicken, cream cheese, and cheddar cheese until well incorporated. Add diced jalapeños and spices, mixing until creamy and well-seasoned.
- Spoon a generous amount of the filling mixture onto one side of each tortilla and roll tightly, placing seam-side down in the baking dish.
- Pour the enchilada sauce evenly over the filled tortillas, ensuring complete coverage.
- Bake for 25-30 minutes, until the sauce bubbles and the cheese is golden.
- Let cool for about 5 minutes, then slice and serve warm with guacamole or salad.