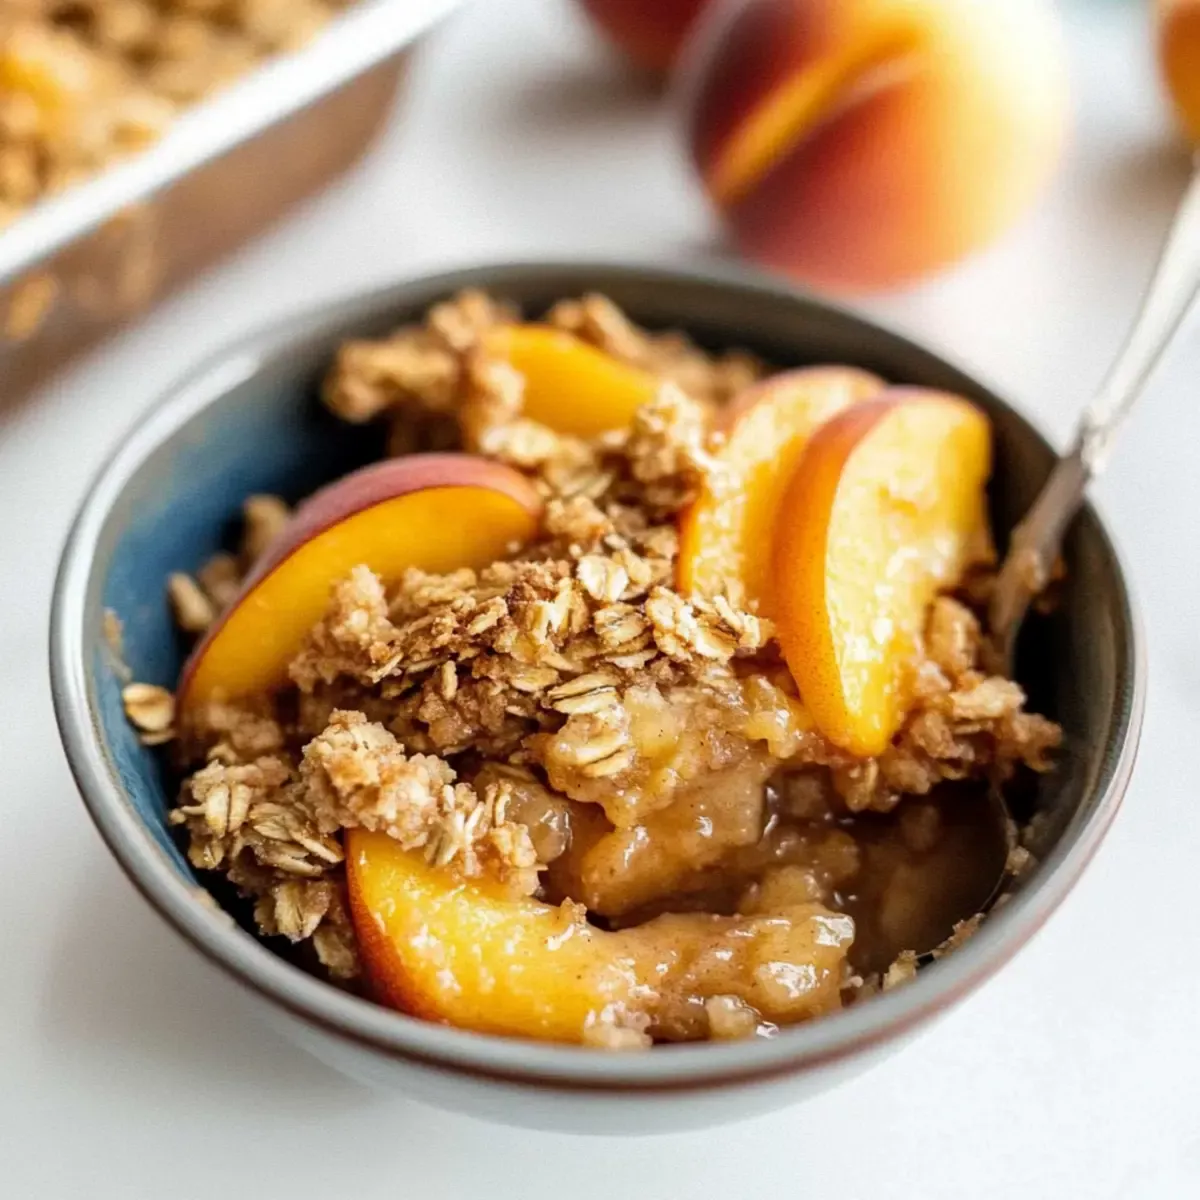
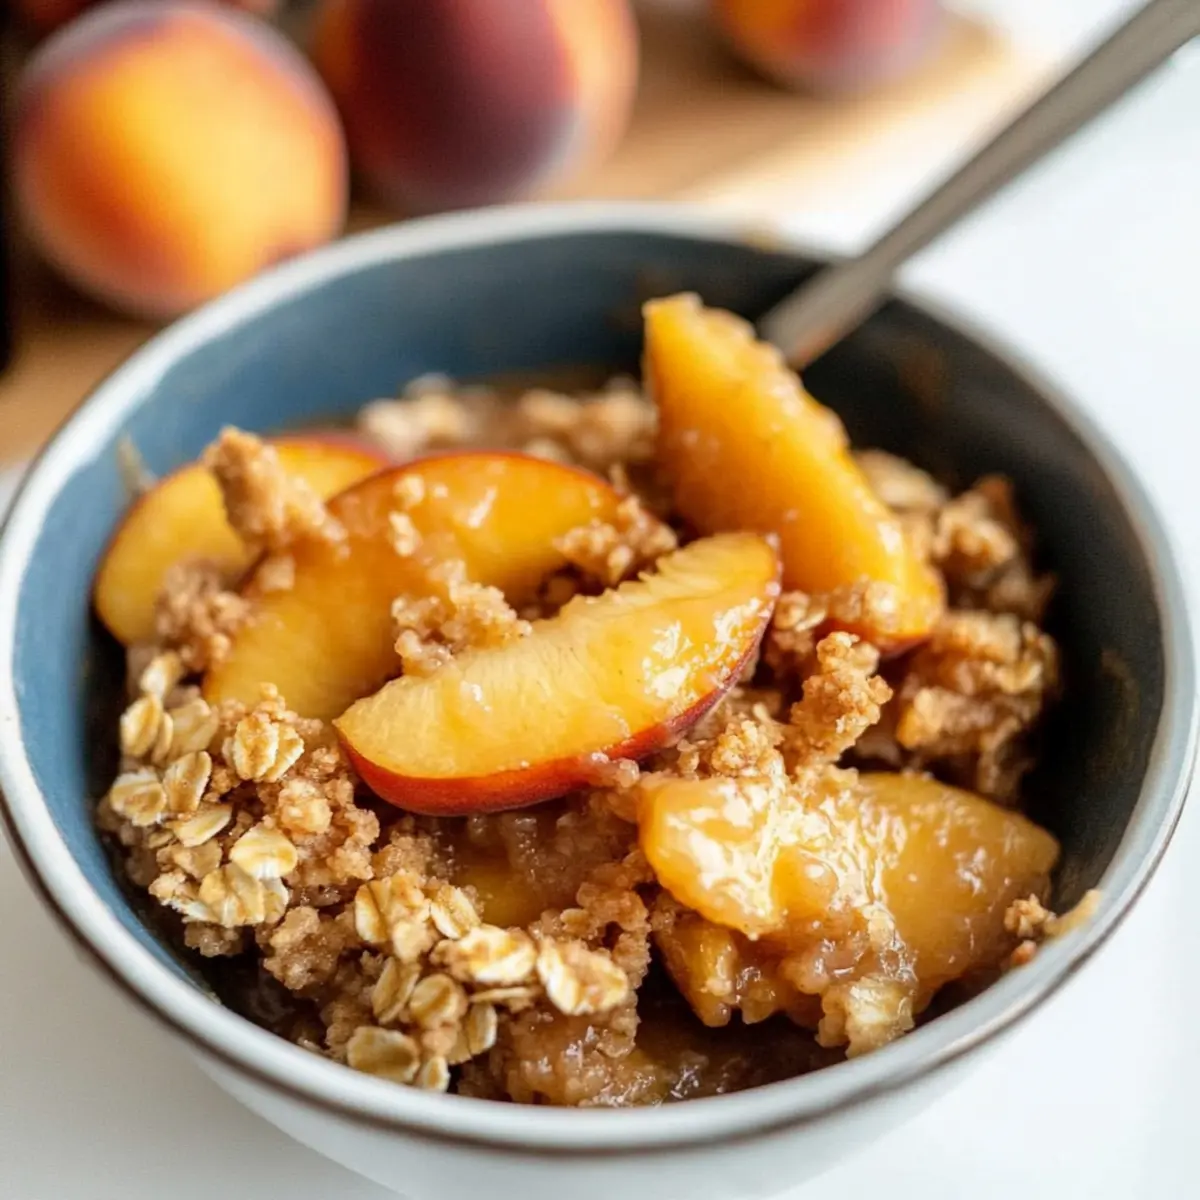
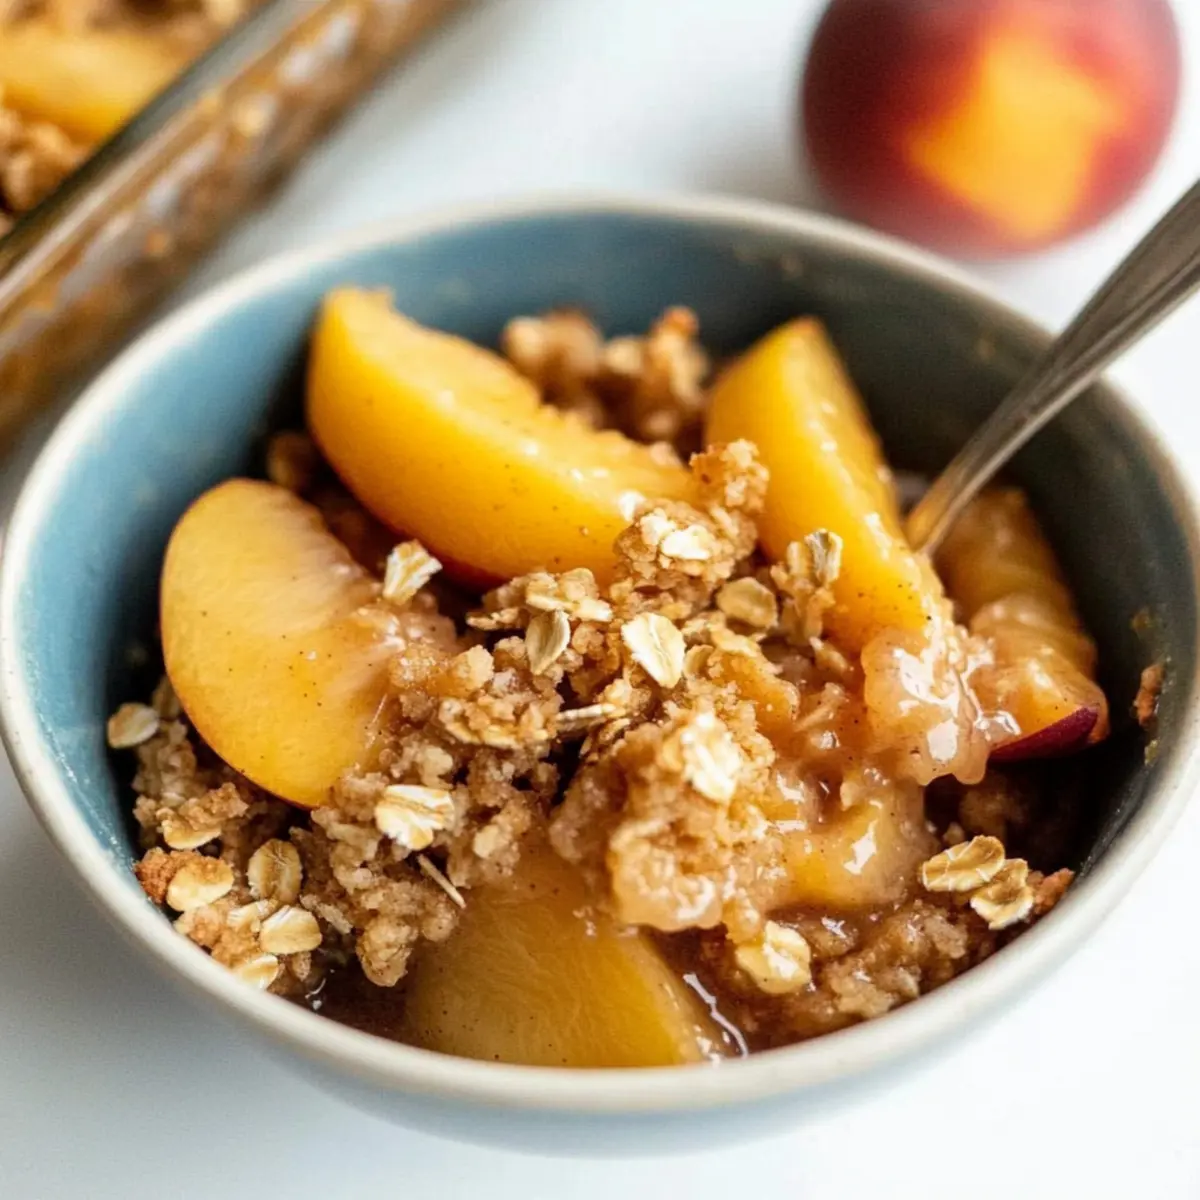
As I was savoring the last rays of summer sunlight, I couldn’t help but think of the simple joys that fresh peaches bring. The beauty of this Classic Old-Fashioned Peach Crisp lies not only in its warm, inviting aroma but also in its delightful balance of flavors and textures. Bursting with juicy peaches and topped with a sweet cinnamon-oat mixture, this dessert is your perfect excuse to embrace seasonal fruit. Best of all, it’s quick to prepare and can be easily adapted to fit gluten-free diets without compromising taste. Whether you’re hosting friends or enjoying a cozy night in, this Peach Crisp will be the highlight of your table. Ready to dig into this nostalgic, mouthwatering dessert? Let’s get baking!
Why is Peach Crisp a Must-Try?
Nostalgic Flavor: This Classic Old-Fashioned Peach Crisp embodies the essence of summer with its sweet, juicy peaches. Simple Preparation: With minimal ingredients and straightforward steps, it’s perfect for both novice and experienced bakers. Versatile Options: You can easily modify it for gluten-free diets just by swapping a few ingredients, making it inclusive for everyone. Crowd-Pleasing: Serve it warm with vanilla ice cream for a dessert that’s sure to impress guests at any gathering or casual get-together. Looking for more variations? Try my delightful Fish Tacos Delights for a fresh summer dinner!
Peach Crisp Ingredients
• Get ready to make a delicious Peach Crisp!
For the Fruit Filling
- Fresh Peaches – Choose ripe yet firm peaches for the best flavor and texture.
- Granulated Sugar – Adds sweetness; can be replaced with stevia for a low-sugar option.
- All-Purpose Flour – Helps thicken the mixture; substitute with gluten-free flour for a gluten-free Peach Crisp.
- Cornstarch – Thickens the peach filling for the perfect consistency.
- Ground Cinnamon – Adds warmth and enhances both the peaches and the topping.
- Salt – A pinch balances sweetness and elevates overall flavors.
For the Topping
- Light Brown Sugar – Offers extra moisture and richness to the topping.
- Salted Butter – Brings richness; ensure it’s at room temperature for easy mixing.
- Old-Fashioned Oats – Creates a delightful crispy topping; feel free to use quick oats as a substitute.
Now that you have your ingredients ready, it’s time to create something magical in your kitchen!
Step‑by‑Step Instructions for Peach Crisp
Step 1: Preheat and Prepare
Begin by preheating your oven to 400°F (200°C) to ensure it’s hot enough for baking your Peach Crisp. While the oven warms, butter a 9×9 baking pan generously; this will help prevent the crisp from sticking. Your kitchen will soon fill with the inviting scent of melted butter and peaches as you progress.
Step 2: Combine the Peach Filling
In a large mixing bowl, slice your fresh peaches, ensuring to use ripe yet firm ones for the perfect texture. Add granulated sugar, ½ cup of flour, cornstarch, 1 teaspoon of ground cinnamon, and a pinch of salt. Gently toss the mixture until the peaches are well coated, and the filling starts to glisten—a tempting sign of what’s to come!
Step 3: Make the Topping
In a separate bowl, cream together the light brown sugar, the remaining flour, softened salted butter, and 1 teaspoon of cinnamon. Mix these ingredients until they form a clumpy mixture that resembles wet sand. This combination will create a wonderfully sweet topping for your Peach Crisp that will bake beautifully.
Step 4: Incorporate the Oats
Stir in the old-fashioned oats into the buttery mixture, mixing until you achieve a coarse, crumbly texture. This oat mixture should feel slightly sticky yet hold together when squeezed—perfect for creating that delightful crisp topping that contrasts with the juicy peach filling.
Step 5: Assemble the Crisp
Spread the peach filling evenly in the prepared baking pan, making sure it covers the base entirely. Then, sprinkle the oat topping over the peach layer, spreading it out to cover the fruit mix completely. This layered approach will result in a beautiful, golden crust as the Peach Crisp bakes.
Step 6: Bake to Perfection
Place the baking pan in your preheated oven and bake for 20-25 minutes. Watch as the topping turns a lovely golden brown and the peach filling starts to bubble slightly around the edges, indicating that your Peach Crisp is coming together perfectly.
Step 7: Cooling Time
Once baked, remove the Peach Crisp from the oven and allow it to cool for about 10 minutes on a wire rack. This resting period helps the juices settle, ensuring each serving holds together beautifully. The aroma will be irresistible, tempting you to dig right in as you prepare to serve.
Step 8: Serve and Enjoy
Scoop warm Peach Crisp onto plates and serve it alongside a generous scoop of vanilla ice cream or a dollop of whipped cream. The combination of the warm, spiced topping with the cold, creamy ice cream is simply divine—making this classic dessert a truly blissful experience!
Expert Tips for Peach Crisp
• Peach Selection: Choose firm, ripe peaches for a perfect texture and flavor in your Peach Crisp; avoid overripe ones to prevent mushiness.
• Frozen Peaches: If using frozen peaches, thaw them fully and drain excess moisture before mixing to maintain crispness.
• Gluten-Free Options: For a gluten-free Peach Crisp, ensure you use certified gluten-free oats and flour in your filling and topping.
• Cornstarch Adjustment: If your peaches are extremely ripe, consider reducing the cornstarch to avoid a soupy filling; balance is key!
• Variations Abound: Experiment with adding nuts or spices like cardamom for a unique twist on this timeless dessert.
How to Store and Freeze Peach Crisp
Fridge: Store any leftover Peach Crisp covered in the fridge for up to 4 days. Reheat it in the oven for a few minutes at 350°F to restore its lovely crispness.
Freezer: For longer storage, freeze the completely cooled Peach Crisp in an airtight container for up to 3 months. Portion it into individual servings if preferred for easy thawing.
Reheating: When ready to enjoy, thaw overnight in the fridge, then reheat in the oven at 350°F until warmed through, about 15-20 minutes for the perfect texture.
Make-Ahead Tip: To simplify your baking process, prepare the peach filling and topping days in advance, refrigerate separately, and assemble before baking for a fresh dessert just in time for guests!
Make Ahead Options
These Classic Old-Fashioned Peach Crisps are perfect for busy home cooks looking to save time! You can prepare the peach filling up to 24 hours in advance by combining the sliced peaches with sugar, flour, cornstarch, cinnamon, and salt. Store this mixture in an airtight container in the refrigerator to maintain the peaches’ freshness. The topping can also be made ahead by mixing the oats, brown sugar, flour, butter, and cinnamon, then kept sealed at room temperature. When you’re ready to bake, simply layer the peach filling in the pan, sprinkle the topping on, and bake as directed. Enjoy a comforting dessert with minimal effort!
Peach Crisp Variations & Substitutions
Feel free to put your own spin on this delightful dessert with these fun variations!
-
Gluten-Free: Use certified gluten-free flour and oats to easily adapt this recipe for gluten sensitivities without sacrificing flavor.
-
Fruit Mix-Up: Substitute fresh peaches with a blend of apples and cherries. This fruity twist will bring a refreshing change and a burst of color to your crisp!
-
Nutty Crunch: Add chopped nuts like walnuts or pecans to the topping for an irresistible crunch. The extra texture pairs beautifully with the soft peach filling, enhancing every bite.
-
Spiced Up: Incorporate a pinch of nutmeg or cardamom in the topping for a warm, aromatic depth that elevates the classic flavor profile.
-
Sugar Swap: For a lower-calorie option, replace granulated sugar with an equal amount of stevia or monk fruit sweetener in the peach filling.
-
Bold Flavors: Drizzle in some vanilla extract or almond extract into the peach mixture for a richer, more complex flavor. It’s a little addition that makes a big difference!
-
Berry Bliss: Mix in some fresh blueberries or raspberries with the peaches for an explosion of fruity goodness. This makes the crisp even more vibrant and tangy.
-
Savory Twist: For a unique variation, try adding a teaspoon of black pepper to the topping. It sounds odd, but it complements the sweetness of the peaches beautifully!
Each of these variations makes this old-fashioned Peach Crisp even more exciting. And if you’re looking for more recipe ideas, don’t forget to check out my delicious Crispy Sweet Potato Fries for a fantastic pairing!
What to Serve with Classic Old-Fashioned Peach Crisp
Delight your senses further by enhancing your Peach Crisp experience with these perfect pairings.
- Vanilla Ice Cream: A classic companion that melts delightfully over the warm crisp, balancing sweetness with creamy richness.
- Whipped Cream: Light and fluffy, this topping adds a luxurious texture that makes each bite feel indulgent.
- Greek Yogurt: For a tangy twist, serve it alongside Greek yogurt, which provides creaminess while cutting through the sweetness beautifully.
- Fresh Mint Leaves: A sprinkle of fresh mint not only brightens the dish visually but also elevates the flavors with its refreshing aroma.
- Chilled Rosé Wine: The fruity notes in a chilled glass of rosé complement the peachiness of the crisp, creating a delightful summer pairing.
- Almond Biscotti: This crunchy treat offers a wonderful contrast in texture, making for a lovely nibble alongside your dessert.
- Berry Compote: Drizzling a homemade berry compote adds a tartness that balances the sweetness of the dessert, while introducing vibrant colors.
- Cinnamon Sugar Tortilla Chips: These crunchy chips deliver a fun, crispy element, perfect for scooping up warm Peach Crisp and enjoying every bit.
- Chocolate Sauce: For chocolate lovers, a drizzle of warm chocolate sauce adds an unexpected twist that can transform your Peach Crisp into a decadent treat!
Peach Crisp Recipe FAQs
What type of peaches should I use for the best Peach Crisp?
Absolutely! Choose ripe yet firm peaches for your Peach Crisp. Avoid overripe ones, as they can lead to mushiness during baking. Look for peaches that yield slightly to gentle pressure, indicating juiciness without being overly soft.
How should I store leftover Peach Crisp?
You can store any leftover Peach Crisp covered in the fridge for up to 4 days. To maintain its delightful crispiness, reheat it in the oven at 350°F for a few minutes. This way, you’ll enjoy the sweet flavors just as they were meant to be savored!
Can I freeze Peach Crisp, and if so, how?
Certainly! To freeze your Peach Crisp, allow it to cool completely, then transfer it to an airtight container. It can be stored in the freezer for up to 3 months. For easy thawing, consider portioning it into individual servings. When you’re ready to indulge, thaw in the fridge overnight and reheat in the oven at 350°F for about 15-20 minutes for the ultimate experience!
What can I do if my Peach Crisp filling turns out too soupy?
If you find your filling too soupy, there are a couple of troubleshooting tips to keep in mind. First, ensure you’re using firm peaches and adjust the cornstarch if they are very ripe and juicy. For future bakes, be sure to mix the peaches with granulated sugar and let them sit for about 30 minutes before adding to your crisp. This allows excess juices to collect at the bottom, which you can drain off for a more balanced filling.
Are there any dietary considerations I should know for Peach Crisp?
Yes, indeed! For those with gluten sensitivities, opt for certified gluten-free oats and flour to accommodate a gluten-free diet. Additionally, it’s always a good idea to check for any allergies related to the ingredients, such as those who may be sensitive to oats or certain sweeteners. Always feel free to substitute ingredients to suit your dietary needs.
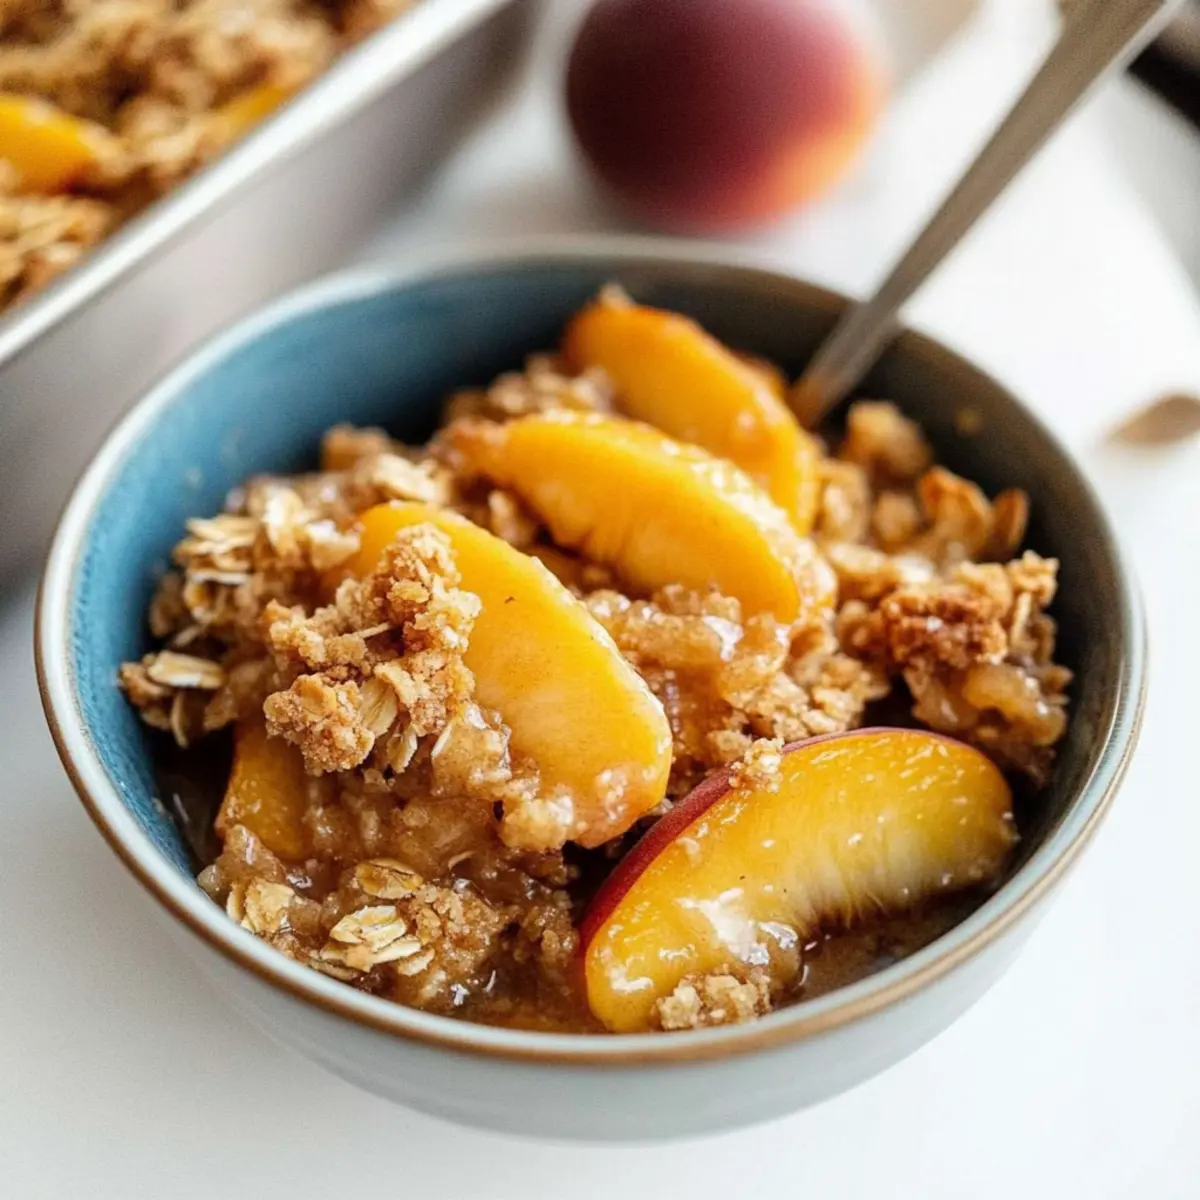
Peach Crisp Bliss: The Ultimate Summer Comfort Dessert
Ingredients
Equipment
Method
- Preheat your oven to 400°F (200°C) and butter a 9x9 baking pan.
- Slice fresh peaches and mix with sugar, flour, cornstarch, cinnamon, and salt in a bowl.
- Cream together brown sugar, remaining flour, butter, and cinnamon until clumpy.
- Stir in oats until you achieve a coarse, crumbly texture.
- Spread peach filling in the baking pan and sprinkle oat topping over it.
- Bake for 20-25 minutes until golden brown and bubbly.
- Allow to cool for 10 minutes before serving.
- Serve warm with vanilla ice cream or whipped cream.


