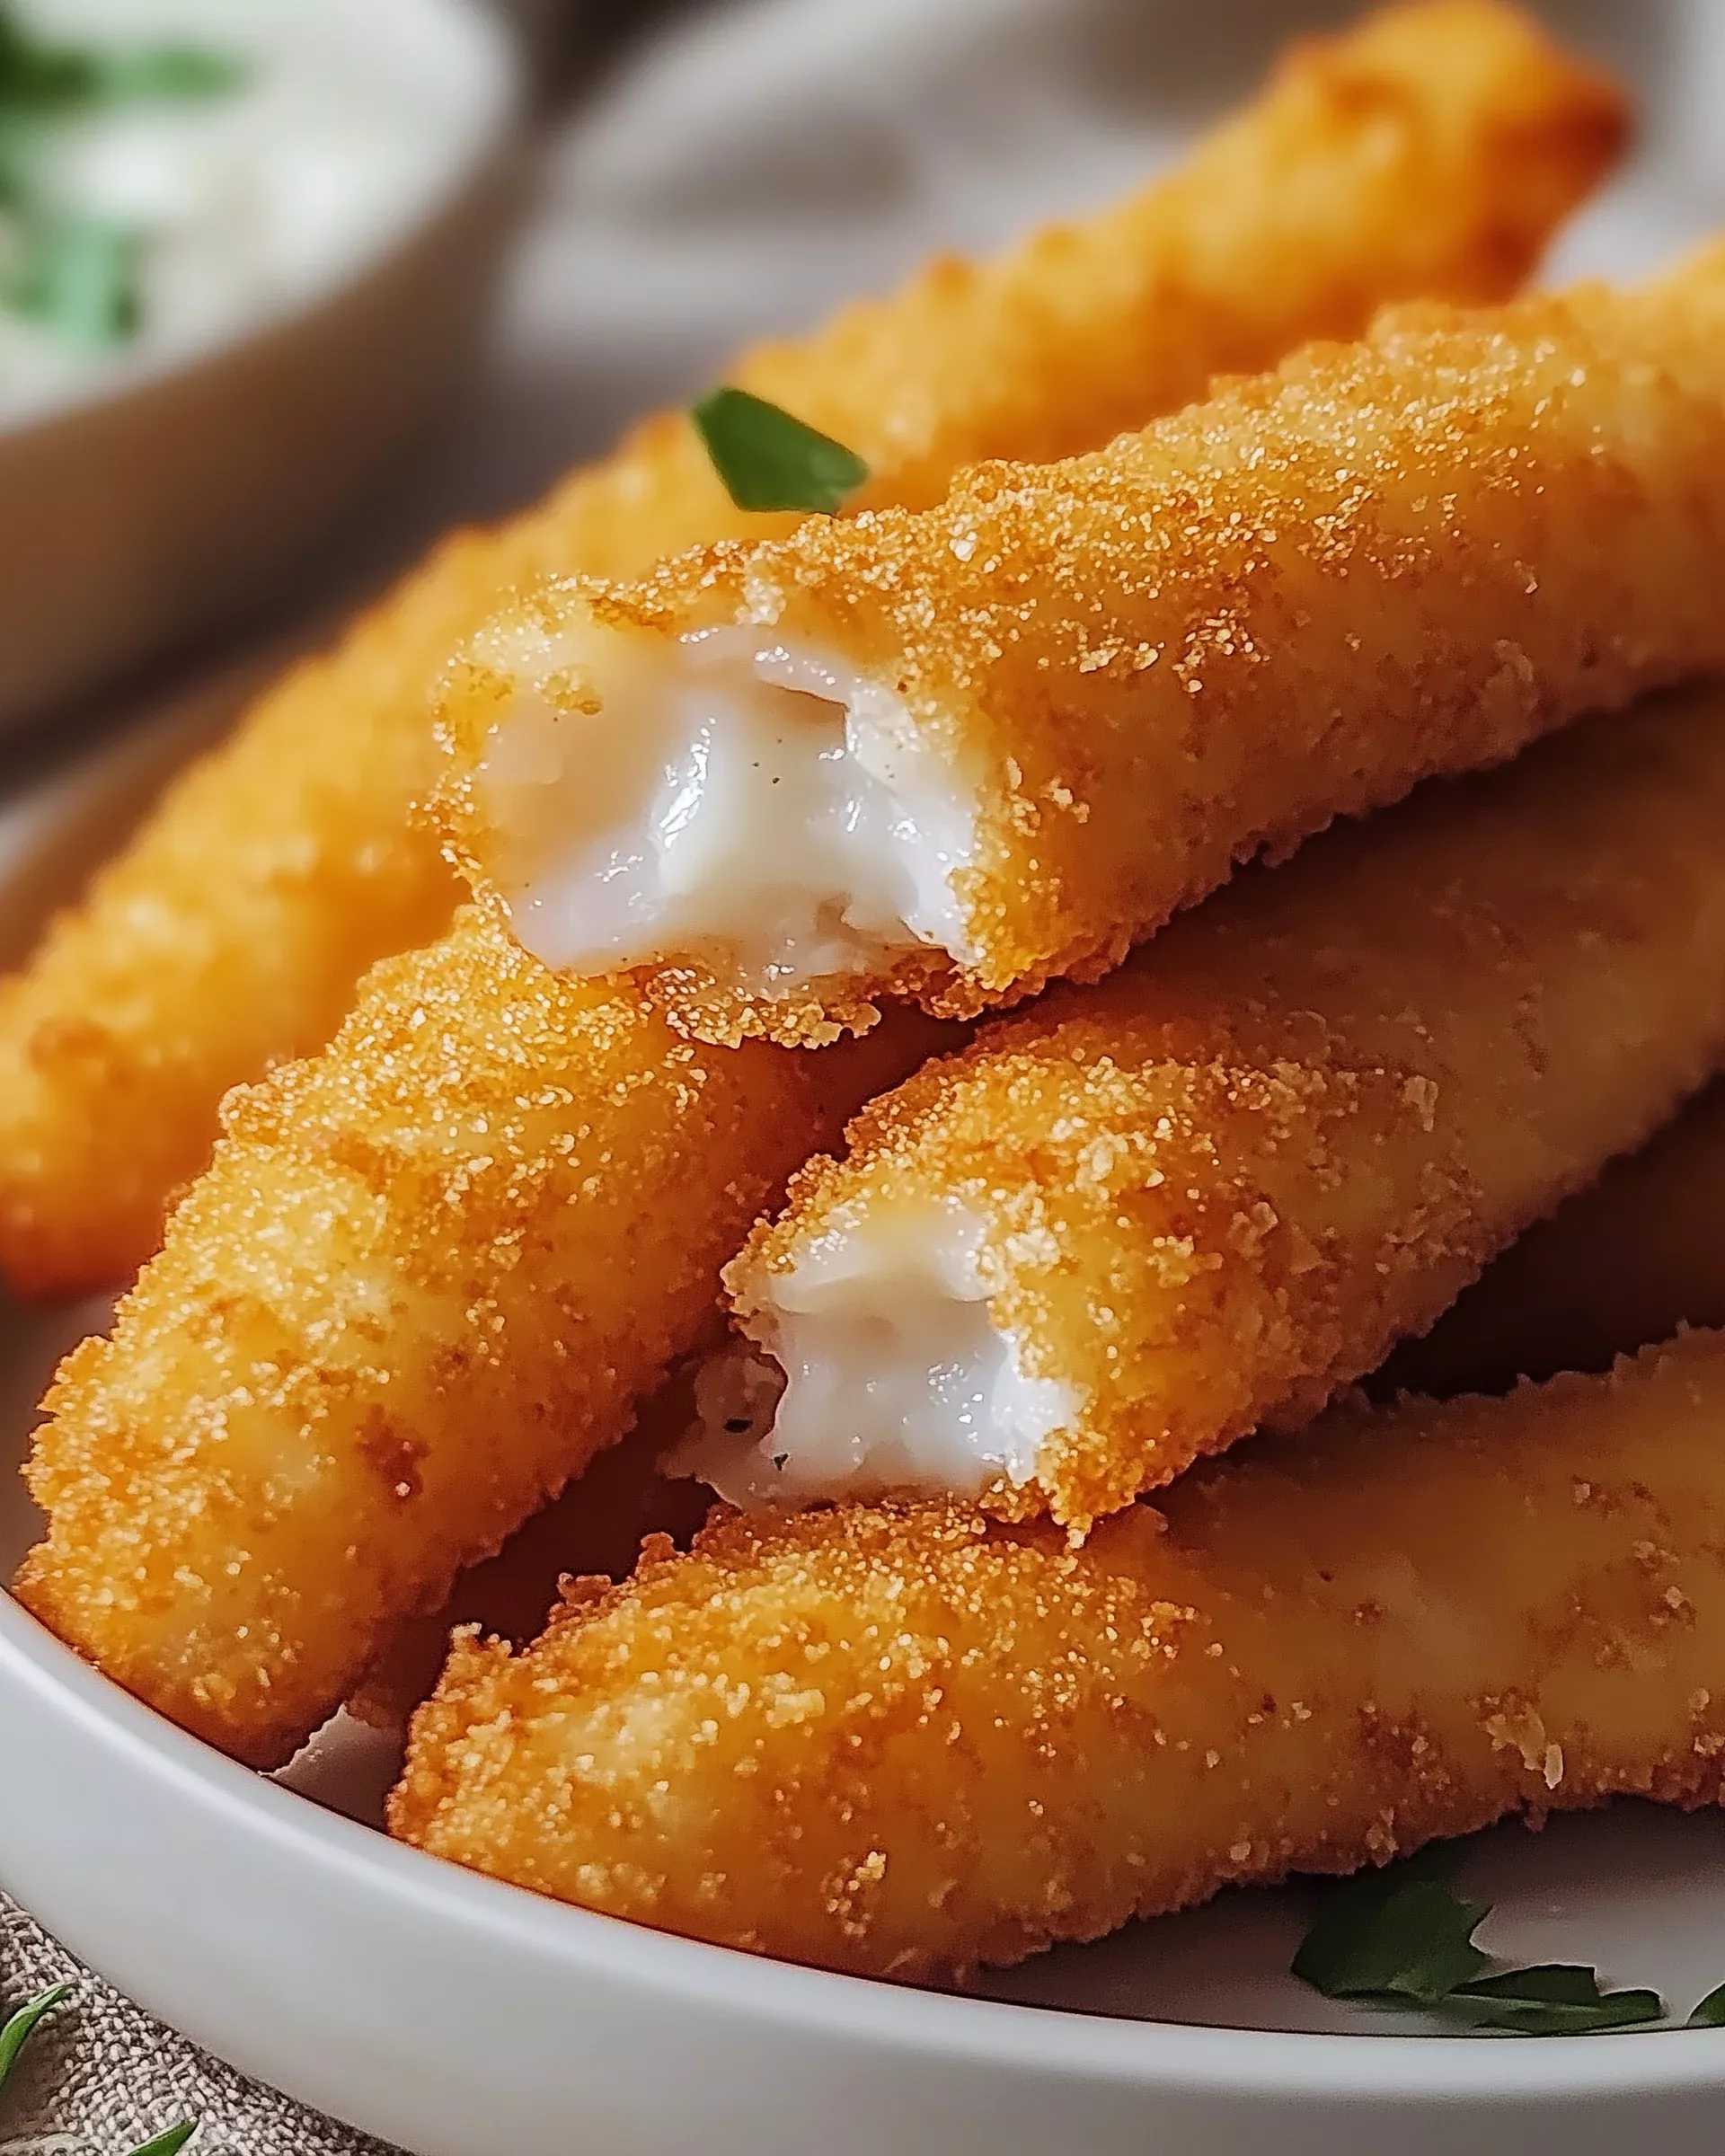
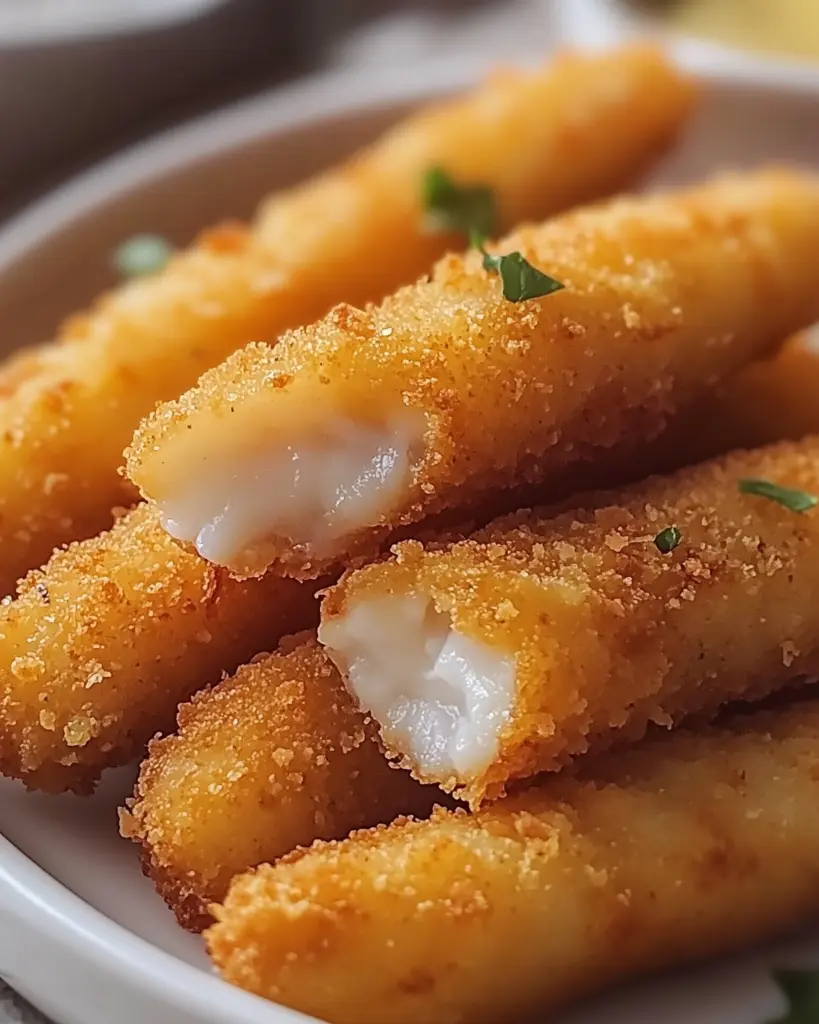
Introduction to Crispy Baked Fish Fingers
There’s something undeniably comforting about a plate of crispy baked fish fingers. They remind me of childhood dinners, where the crunch of the coating met the tender fish inside. This recipe is a lifesaver for busy weeknights or when you want to impress your loved ones without spending hours in the kitchen. With just a handful of ingredients and a quick baking time, you can whip up a delicious meal that’s both satisfying and nutritious. Trust me, once you try these fish fingers, they’ll become a go-to in your home cooking repertoire.
Why You’ll Love This Crispy Baked Fish Fingers
These crispy baked fish fingers are a game changer for anyone looking for a quick and tasty meal. They come together in just 30 minutes, making them perfect for busy evenings. The delightful crunch paired with the flaky fish creates a satisfying bite that even picky eaters will love. Plus, they’re baked, not fried, so you can enjoy them guilt-free. What’s not to love?
Ingredients for Crispy Baked Fish Fingers
Gathering the right ingredients is key to making these crispy baked fish fingers a hit. Here’s what you’ll need:
- White fish fillets: Cod or tilapia work best, offering a mild flavor and flaky texture.
- All-purpose flour: This is the base for your breading, helping the egg and breadcrumbs stick.
- Large eggs: Beaten eggs act as a binding agent, ensuring the breadcrumbs adhere perfectly.
- Breadcrumbs: Panko is my go-to for that extra crunch, but regular breadcrumbs will do in a pinch.
- Garlic powder: A sprinkle adds a subtle depth of flavor that elevates the dish.
- Paprika: This gives a hint of smokiness and a beautiful color to the coating.
- Salt and black pepper: Essential for seasoning, enhancing the overall taste of the fish fingers.
- Parmesan cheese (optional): For those who love a cheesy kick, this adds richness and flavor.
- Cooking spray or olive oil: A light drizzle helps achieve that golden, crispy finish.
- Lemon wedges: Perfect for squeezing over the fish fingers, adding a zesty brightness.
For exact measurements, check the bottom of the article where you can find everything listed for easy printing. Feel free to mix and match ingredients based on what you have on hand or your personal preferences!
How to Make Crispy Baked Fish Fingers
Step 1: Preheat the Oven
Start by preheating your oven to 425°F (220°C). This step is crucial for achieving that perfect crunch. While the oven heats up, line a baking sheet with parchment paper. This not only prevents sticking but also makes cleanup a breeze. Trust me, your future self will thank you!
Step 2: Set Up Your Breading Station
Next, it’s time to organize your ingredients. Set up three shallow dishes: one for flour, one for beaten eggs, and one for the breadcrumb mixture. This setup makes the breading process smooth and efficient. Having everything in place will save you time and keep your kitchen tidy.
Step 3: Bread the Fish
Now, let’s get to the fun part—coating the fish! Take a fish strip and dredge it in the flour, shaking off any excess. Then, dip it into the beaten eggs, allowing the extra to drip off. Finally, coat it in the breadcrumb mixture, pressing gently to ensure it sticks well. Repeat this process for all the fish strips. The more even the coating, the better the crunch will be when baked. If you want to spice things up, consider adding some cayenne pepper to the breadcrumbs for a kick!
Step 4: Arrange and Prepare for Baking
Place the breaded fish fingers on the prepared baking sheet, making sure they’re spaced out. This allows hot air to circulate around them, ensuring they crisp up nicely. Lightly spray or drizzle olive oil over the fish fingers. This step is key for achieving that golden, crispy finish.
Step 5: Bake to Perfection
Slide the baking sheet into the preheated oven and bake for 12-15 minutes. Keep an eye on them! You’ll know they’re done when the coating is golden brown and the fish is cooked through. A quick peek will reveal that satisfying crunch you’re after.
Step 6: Serve and Enjoy
Once baked, remove the fish fingers from the oven and let them cool slightly. Serve them hot with lemon wedges on the side for a zesty touch. Pair them with your favorite dipping sauce, and you’ve got a meal that’s sure to impress!

Tips for Success
- Use fresh fish for the best flavor and texture.
- Don’t overcrowd the baking sheet; give each fish finger space to crisp up.
- Experiment with different seasonings in the breadcrumb mixture for unique flavors.
- For extra crunch, consider double-breading the fish strips.
- Let the fish fingers rest for a minute after baking to enhance the crunch.
Equipment Needed
- Baking sheet: A standard sheet works, but a wire rack on top can enhance crispiness.
- Parchment paper: This keeps the fish from sticking; aluminum foil is a good alternative.
- Shallow dishes: Use pie plates or any flat bowls for easy breading.
- Whisk: A fork can also do the job for beating eggs.
Variations
- Spicy Fish Fingers: Add cayenne pepper or chili powder to the breadcrumb mixture for a fiery kick.
- Herb-Infused: Mix dried herbs like oregano, thyme, or dill into the breadcrumbs for an aromatic twist.
- Gluten-Free Option: Substitute all-purpose flour and breadcrumbs with gluten-free alternatives like almond flour and gluten-free breadcrumbs.
- Seafood Medley: Use shrimp or a mix of different fish for a delightful seafood platter.
- Asian-Inspired: Incorporate sesame seeds into the breadcrumb mixture and serve with soy sauce or sweet chili sauce for dipping.
Serving Suggestions
- Classic Sides: Serve with crispy fries or a fresh side salad for a balanced meal.
- Dipping Sauces: Pair with tartar sauce, ketchup, or a zesty homemade remoulade.
- Drink Pairing: Enjoy with a cold beer or a refreshing lemonade.
- Presentation: Arrange on a platter with lemon wedges and fresh herbs for a vibrant look.
FAQs about Crispy Baked Fish Fingers
Can I use frozen fish for this recipe?
Absolutely! Just make sure to thaw the fish completely before breading. This ensures even cooking and helps the coating stick better.
What type of fish is best for fish fingers?
White fish like cod or tilapia works wonderfully due to their mild flavor and flaky texture. However, feel free to experiment with other types of fish!
How can I make these fish fingers healthier?
You can use whole wheat breadcrumbs instead of regular ones for added fiber. Additionally, using less oil or opting for an air fryer can cut down on calories.
Can I prepare the fish fingers in advance?
Yes! You can bread the fish fingers ahead of time and store them in the fridge for a few hours. Just bake them when you’re ready to serve.
What dipping sauces pair well with fish fingers?
Tartar sauce is a classic choice, but you can also try homemade remoulade, spicy mayo, or even a tangy yogurt dip for a refreshing twist.
Final Thoughts
Cooking these crispy baked fish fingers is more than just preparing a meal; it’s about creating memories. The joy of watching them bake to a golden perfection fills the kitchen with anticipation. Each bite delivers a satisfying crunch, reminding me of carefree childhood dinners. Whether you’re serving them for a family gathering or a cozy night in, these fish fingers are sure to impress. Plus, they’re a fantastic way to introduce kids to seafood in a fun and delicious way. So, roll up your sleeves and dive into this delightful recipe—you won’t regret it!
Crispy Baked Fish Fingers: Easy Recipe for Perfect Crunch
Ingredients
Method
- Preheat your oven to 425°F (220°C) and line a baking sheet with parchment paper.
- Set up a breading station: Place the flour in one shallow dish, beat the eggs in a second dish, and mix the breadcrumbs, garlic powder, paprika, salt, pepper, and Parmesan cheese (if using) in a third dish.
- Dredge each fish strip in the flour, shaking off any excess. Then dip it into the beaten eggs, allowing the excess to drip off, and finally coat it in the breadcrumb mixture, pressing gently to adhere.
- Arrange the breaded fish fingers on the prepared baking sheet. Lightly spray or drizzle with olive oil to help them crisp up while baking.
- Bake in the preheated oven for 12-15 minutes, or until the fish is cooked through and the coating is golden brown and crispy.
- Serve hot with lemon wedges on the side for squeezing over the fish fingers.
Nutrition
Notes
- For a spicier kick, add cayenne pepper to the breadcrumb mixture.
- Try using different types of fish or even shrimp for a variation on the classic fish finger.