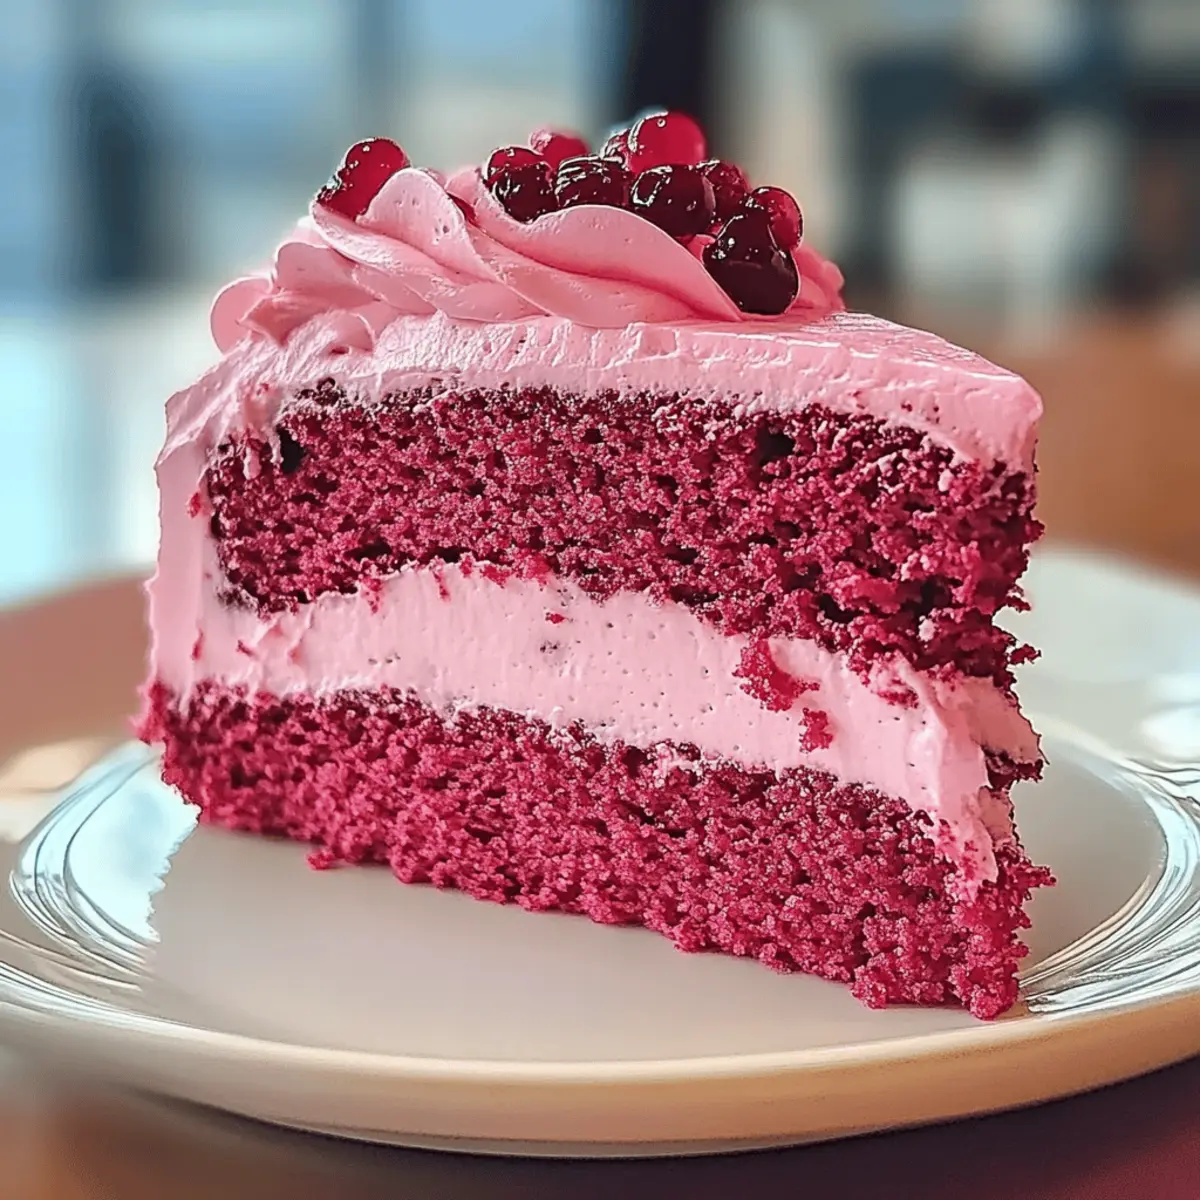
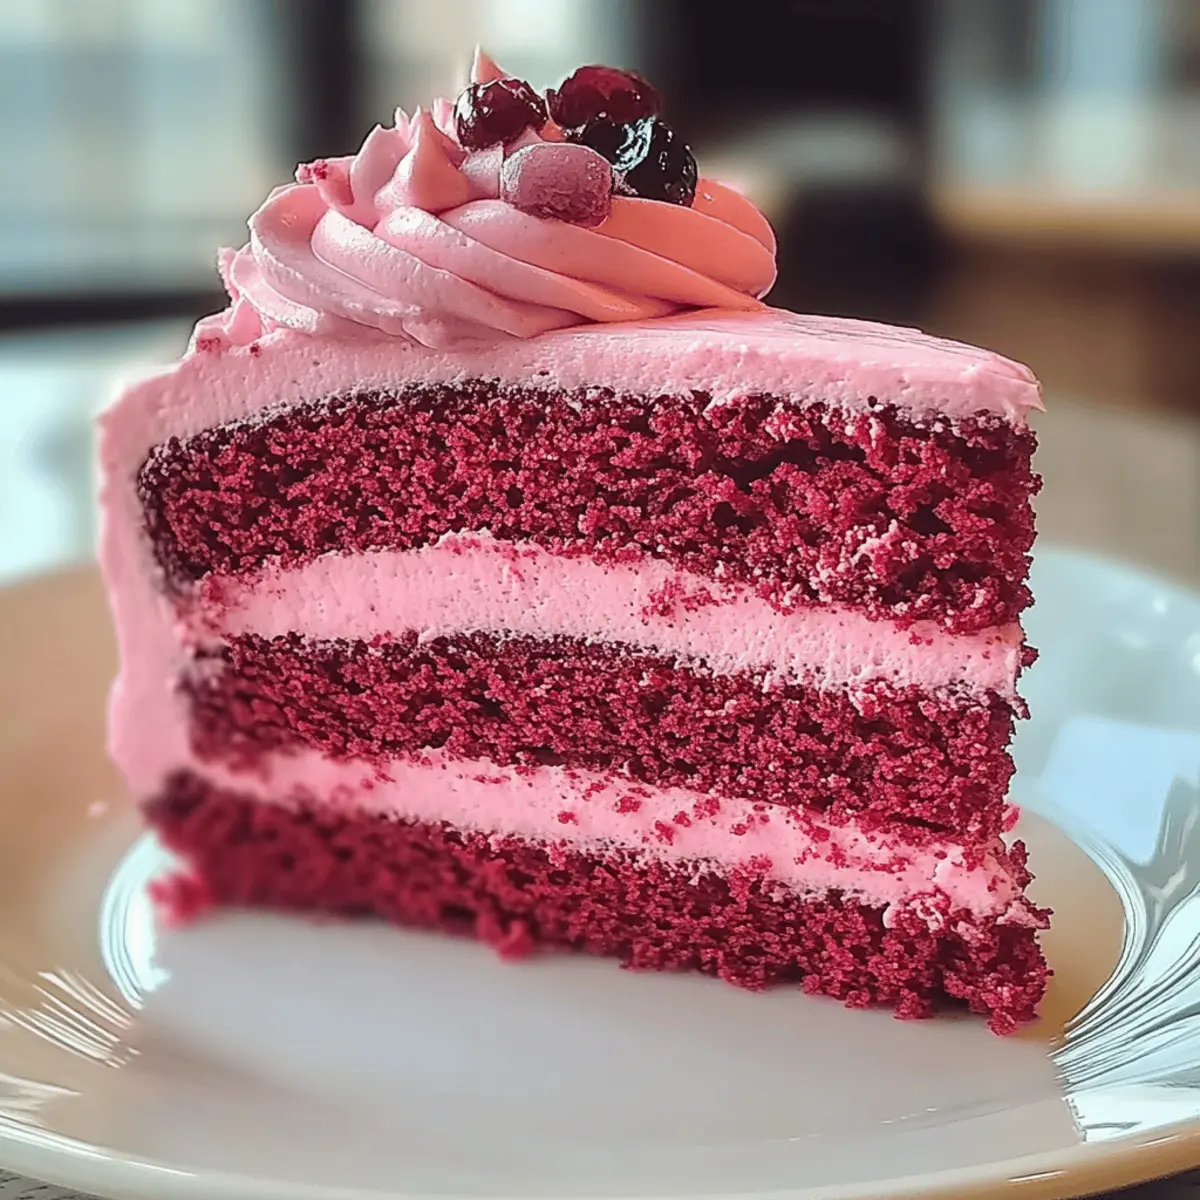
As I watched the vibrant pink layers come together in my mixing bowl, a sense of nostalgia washed over me. This enchanting Mother’s Day Pink Velvet Cake is more than just a dessert; it’s a heartfelt tribute to the women who shape our lives with love and kindness. Soft, fluffy, and beautifully pink, this indulgent cake is perfect for celebrating special moments like Mother’s Day or any gathering that calls for a little sweetness. With quick prep time and a creamy, dreamy frosting, it’s a crowd-pleaser that’ll have everyone asking for seconds. Are you ready to take your baking to the next level and surprise your loved ones with this delightful twist on a classic?
Why is Pink Velvet Cake so special?
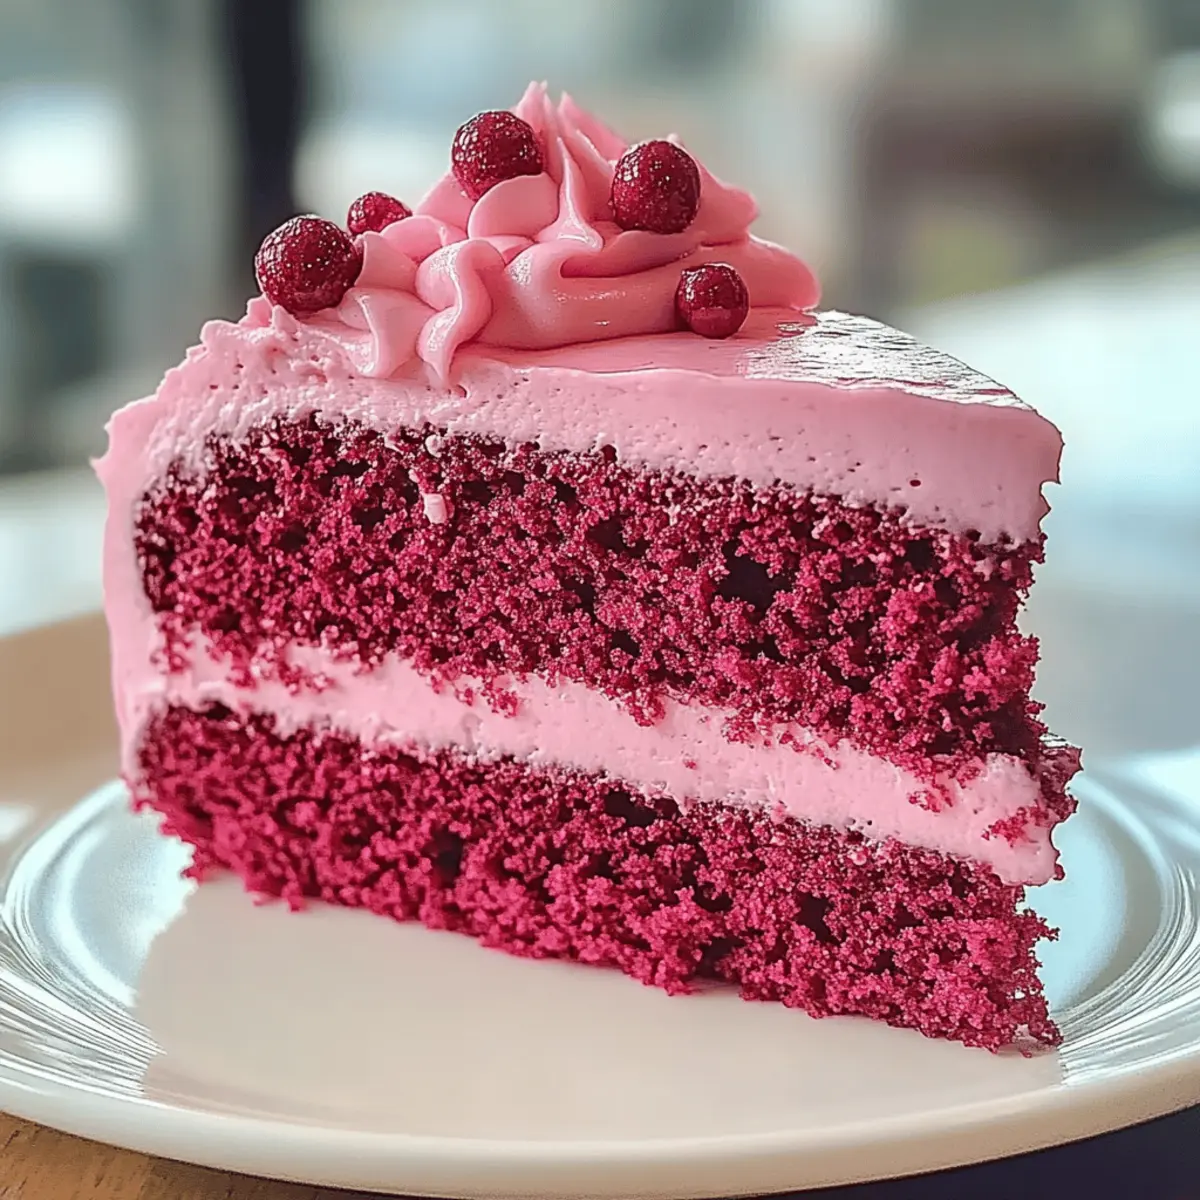
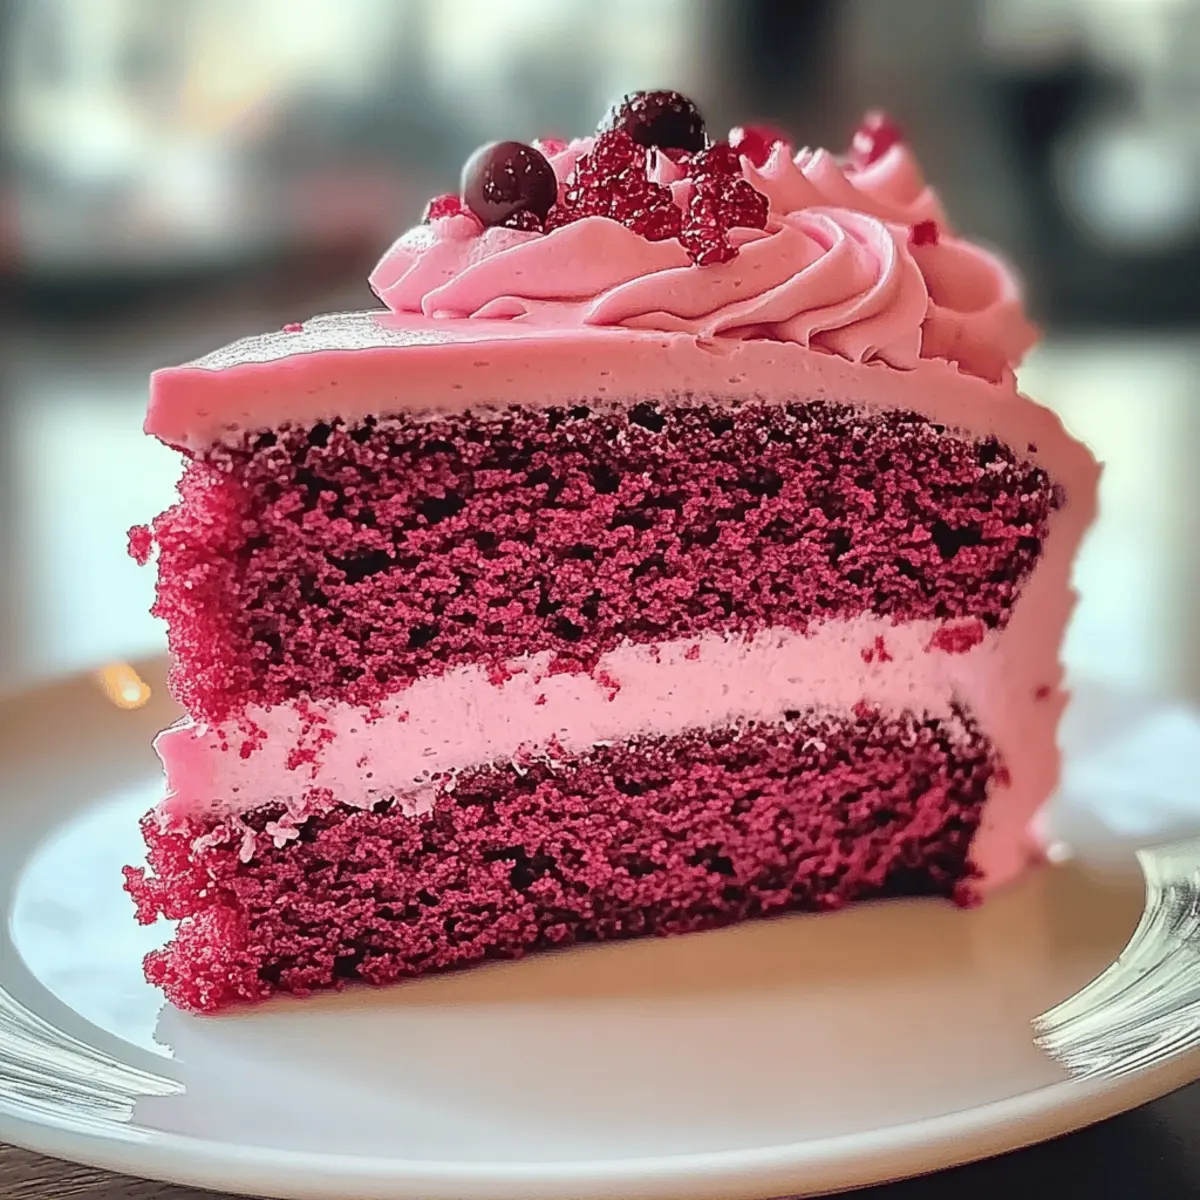
Awe-Inspiring Appearance: The striking pink color of this cake makes it the star of any gathering, instantly elevating your dessert table.
Deliciously Indulgent: The fluffy layers infused with rich cocoa and vanilla create an unforgettable flavor experience that delights every palate.
Heartfelt Symbolism: This cake is perfect for celebrating special occasions, embodying love and appreciation, particularly on Mother’s Day.
Easy to Make: With straightforward instructions, even novice bakers can tackle this cake with confidence.
Versatile for Any Occasion: Whether it’s a birthday, anniversary, or holiday celebration, this Pink Velvet Cake is a delightful addition to any event. For more delicious ideas, check out our easy cake variations to add your personal touch!
Pink Velvet Cake Ingredients
• Create this delectable Pink Velvet Cake with these essential ingredients!
For the Cake
- Cake Flour – Provides structure and a light texture, ensuring a tender crumb for your Pink Velvet Cake.
- Granulated Sugar – Adds sweetness and creates a fluffy texture; cream it well with the butter for optimal results.
- Unsweetened Cocoa Powder – Enhances the rich flavor and helps achieve the iconic pink hue without overpowering the sweetness.
- Baking Powder – Acts as a leavening agent; ensure it’s fresh for the best rise in your cake.
- Salt – Balances sweetness and enhances flavor; a small amount goes a long way in heightening the cake’s taste.
- Unsalted Butter – Adds moisture and richness; make sure it’s softened for easy creaming.
- Eggs – Provide structure and moisture; use room temperature eggs for better mixing.
- Buttermilk – Contributes moisture and a slight tang; can substitute with yogurt if needed.
- Pure Vanilla Extract – Elevates the flavor complexity; always opt for pure extract for the best taste.
- Red Food Coloring – Achieves the signature pink color without changing the flavor; adjust to your desired shade.
For the Frosting
- Cream Cheese Frosting – This rich and creamy topping complements the cake’s flavor beautifully, adding a luxurious finish.
Step‑by‑Step Instructions for Enchanting Mother’s Day Pink Velvet Cake
Step 1: Preheat the Oven
Begin by preheating your oven to 350°F (175°C). While the oven heats, prepare two 9-inch round cake pans by greasing them with butter or non-stick spray. This ensures your Pink Velvet Cake layers release easily after baking.
Step 2: Mix the Dry Ingredients
In a large mixing bowl, whisk together 2 cups of cake flour, 2 tablespoons of unsweetened cocoa powder, 2 teaspoons of baking powder, and a pinch of salt. This dry mixture provides the structure for your cake. Make sure to mix it well to ensure even distribution of the dry ingredients before moving to the next step.
Step 3: Cream the Butter and Sugar
In a separate bowl, beat 1 cup of softened unsalted butter with 1 ¾ cups of granulated sugar using an electric mixer. Mix on medium speed for about 3 minutes, or until the mixture is light and fluffy. This crucial step incorporates air, helping to achieve a delightful texture in your Pink Velvet Cake.
Step 4: Incorporate the Eggs
Next, add 3 large eggs to the butter and sugar mixture, one at a time. Make sure to mix well after each addition until they are fully incorporated. This will help create a smooth batter and build the cake’s structure. Be sure to stop and scrape down the sides of the bowl as needed.
Step 5: Add Wet Ingredients and Color
Gently stir in 1 cup of buttermilk, 2 teaspoons of pure vanilla extract, and 2 tablespoons of red food coloring. Mix until the batter is evenly combined and you achieve a beautiful pink hue. This mix will introduce moisture and flavor to your cake, enhancing its overall taste.
Step 6: Combine Dry and Wet Mixtures
Gradually fold the dry ingredient mixture into the wet batter using a spatula. Mix just until there are no lumps and the batter is smooth. Be careful not to over-mix, as this can make the Pink Velvet Cake dense instead of fluffy.
Step 7: Prepare for Baking
Once your batter is ready, divide it evenly between the two prepared pans. Use a spatula to smooth the tops for even baking. This ensures both layers will look stunning and slice beautifully when cooled.
Step 8: Bake the Cake
Place the pans in the preheated oven and bake for 25 to 30 minutes. A toothpick inserted into the center should come out clean when done. Keep an eye on the cakes to avoid overbaking, which can dry them out.
Step 9: Cool the Cakes
Remove the cakes from the oven and let them cool in the pans for about 10 minutes. Afterward, carefully transfer them to wire racks to cool completely. This step is essential to prevent sogginess, allowing your Pink Velvet Cake layers to firm up.
Step 10: Frost the Cake
Once cooled, generously spread cream cheese frosting over the top of one layer. Place the second layer on top and frost the top and sides of the whole cake. This creamy frosting perfectly complements the soft, fluffy Pink Velvet Cake, making it irresistible for any celebration.
Make Ahead Options
These enchanting Pink Velvet Cakes are perfect for meal prep enthusiasts! You can bake the cake layers up to 24 hours in advance, allowing you more time to focus on frosting or other preparations. Once cooled, wrap the layers tightly in plastic wrap and refrigerate to maintain moisture. The cream cheese frosting can also be prepared up to 3 days ahead; store it in an airtight container in the fridge. When ready to serve, simply frost the chilled cake layers and let sit at room temperature for about 30 minutes for the best texture. You’ll enjoy a delicious and beautifully presented Pink Velvet Cake with minimal effort, perfect for your special occasion!
What to Serve with Enchanting Mother’s Day Pink Velvet Cake
As you prepare to impress your loved ones, consider these delightful pairings that will elevate your cake experience.
-
Fresh Berries: Juicy strawberries or raspberries provide a refreshing burst of flavor that balances the sweetness of the cake. The natural tartness enhances every bite.
-
Vanilla Ice Cream: A scoop of creamy vanilla ice cream melts into the soft layers, adding a luscious texture and elevating the pleasure of each forkful.
-
Sparkling Rosé: This bubbly drink not only complements the pink theme but its fruity notes accentuate the cake’s rich flavors, making every moment feel festive.
-
Whipped Cream: Light and airy whipped cream lends a dreamy finish to each slice. It adds a touch of elegance, perfect for special occasions.
-
Chocolate Ganache: A drizzle of glossy chocolate ganache brings richness to contrasting flavors, enhancing the overall deliciousness of the cake with each indulgent bite.
-
Lemon Zest: A sprinkle of fresh lemon zest on top brightens the overall flavor profile, cutting through the cake’s richness for a refreshing twist.
These pairings not only complement the enchanting Pink Velvet Cake but also create a memorable experience that everyone will cherish.
How to Store and Freeze Pink Velvet Cake
Room Temperature: Store your leftover Pink Velvet Cake in an airtight container at room temperature for up to 3 days to keep it fresh and moist.
Fridge: If you prefer a longer storage solution, refrigerate the cake for up to 5 days. Make sure it’s well-wrapped to prevent it from drying out.
Freezer: For longer storage, wrap slices of the Pink Velvet Cake tightly in plastic wrap and store them in a freezer-safe container for up to 3 months.
Reheating: Thaw frozen cake in the refrigerator overnight before serving. Enjoy chilled or allow to come to room temperature for the best taste and texture!
Expert Tips for Baking Pink Velvet Cake
-
Soften the Butter: Always use softened unsalted butter for creaming; this creates a light and fluffy texture in your Pink Velvet Cake.
-
Room Temperature Eggs: Ensure your eggs are at room temperature for better mixing and a smoother batter. Cold eggs can cause the batter to curdle.
-
Mixing Carefully: Avoid over-mixing the batter after adding the dry ingredients to keep your cake fluffy and tender. Gentle folds are key!
-
Check for Doneness: Test your cake by inserting a toothpick in the center; it should come out clean. Don’t open the oven door too early!
-
Frosting Tip: Use room-temperature cream cheese for your frosting—it whips up to a light and airy consistency that beautifully complements the Pink Velvet Cake.
Pink Velvet Cake Variations & Substitutions
Feel free to get creative and tailor this Pink Velvet Cake recipe to suit your taste buds, bringing out different flavors and textures that will surprise your loved ones!
- Buttermilk Substitute: Replace buttermilk with yogurt for a thicker batter and an equally tangy flavor. This swap can create delightful variations in texture.
- Almond Extract Boost: Add almond extract to deepen flavor; it pairs wonderfully with the vanilla and cocoa, giving your cake a unique twist.
- Citrus Zest Addition: Incorporate lemon or orange zest into your batter for a refreshing citrus burst. A zesty layer under the frosting adds a surprising brightness to every bite.
- Chocolate Chips: Mix chocolate chips into the batter for delightful bursts of gooey chocolate. They melt beautifully and complement the cake’s sweetness beautifully.
- Fresh Fruit Topping: Top the finished cake with fresh strawberries or raspberries for a vibrant contrast. The acidity balances the sweetness, making each slice a refreshing treat.
- Spice It Up: Add a pinch of cinnamon or nutmeg for warmth and depth, transforming your cake into a comforting, homey dessert that feels like a hug in every slice.
- Naked Cake Style: For a modern twist, create a naked cake version by frosting only the tops of each layer. This minimalist look showcases the beautiful pink color while allowing guests to enjoy the fluffy texture.
- Frosting Variations: Experiment with different frostings, like whipped cream or chocolate ganache, for an exciting flavor twist. Each frosting brings its own character to this lovely cake.
If you’re interested in making this cake your own, be sure to also check out our frosting ideas for even more inspiration!
Mother’s Day Pink Velvet Cake Recipe FAQs
How do I choose ripe ingredients for my Pink Velvet Cake?
Absolutely! Ensure your butter is softened to room temperature, as this helps create a fluffy texture when creamed with sugar. Use fresh eggs at room temperature for better incorporation into the batter. When selecting cocoa powder, opt for a high-quality unsweetened variant to enhance the cake’s flavor without overpowering its sweetness.
What is the best way to store leftover Pink Velvet Cake?
I recommend storing leftover Pink Velvet Cake in an airtight container at room temperature for up to 3 days, ensuring it remains moist and delicious. If you’d like to keep it fresh longer, refrigerate it for up to 5 days. Just make sure it’s well-wrapped to prevent drying out.
Can I freeze my Pink Velvet Cake, and if so, how?
Certainly! To freeze your Pink Velvet Cake, wrap each slice tightly in plastic wrap to prevent freezer burn. Place the wrapped slices in a freezer-safe container or a zip-top bag and freeze for up to 3 months. When you’re ready to enjoy, just thaw the slices in the refrigerator overnight, and they’ll taste almost as good as fresh!
What should I do if my cake turns out too dense?
If your Pink Velvet Cake ends up too dense, it might be due to over-mixing the batter after adding the dry ingredients. Remember to fold gently and just until combined for a light texture. If your cake still doesn’t rise, check that your baking powder is fresh, as expired leavening agents won’t provide the lift needed.
Is there a dietary consideration for my Pink Velvet Cake when it comes to allergies?
Very! If you have guests with dairy allergies or lactose intolerance, you can substitute buttermilk with a dairy-free yogurt or a plant-based milk with a splash of vinegar for a similar effect. For egg allergies, consider using a commercial egg replacer or a flaxseed egg (1 tablespoon of ground flaxseed mixed with 2.5 tablespoons of water). Always double-check ingredient labels to ensure they are allergy-safe!
How can I make my Pink Velvet Cake visually appealing for gatherings?
To enhance the cake’s appearance, I often top it with fresh strawberries or raspberries, which add a pop of color and a delicious contrast to the sweetness of the frosting. Dusting with powdered sugar or edible glitter makes for an enchanting presentation!
Irresistible Pink Velvet Cake for Memorable Celebrations
Ingredients
Equipment
Method
- Preheat your oven to 350°F (175°C) and prepare two 9-inch round cake pans.
- Whisk together cake flour, cocoa powder, baking powder, and salt in a large bowl.
- Cream softened butter and granulated sugar until light and fluffy.
- Incorporate eggs one at a time into the butter and sugar mixture.
- Gently stir in buttermilk, vanilla extract, and red food coloring until combined.
- Fold the dry ingredients into the wet mixture until smooth, being careful not to over-mix.
- Divide the batter evenly between the prepared pans.
- Bake for 25 to 30 minutes, checking for doneness with a toothpick.
- Cool in the pans for 10 minutes before transferring to wire racks to cool completely.
- Spread cream cheese frosting over the top of one layer, then stack and frost the entire cake.