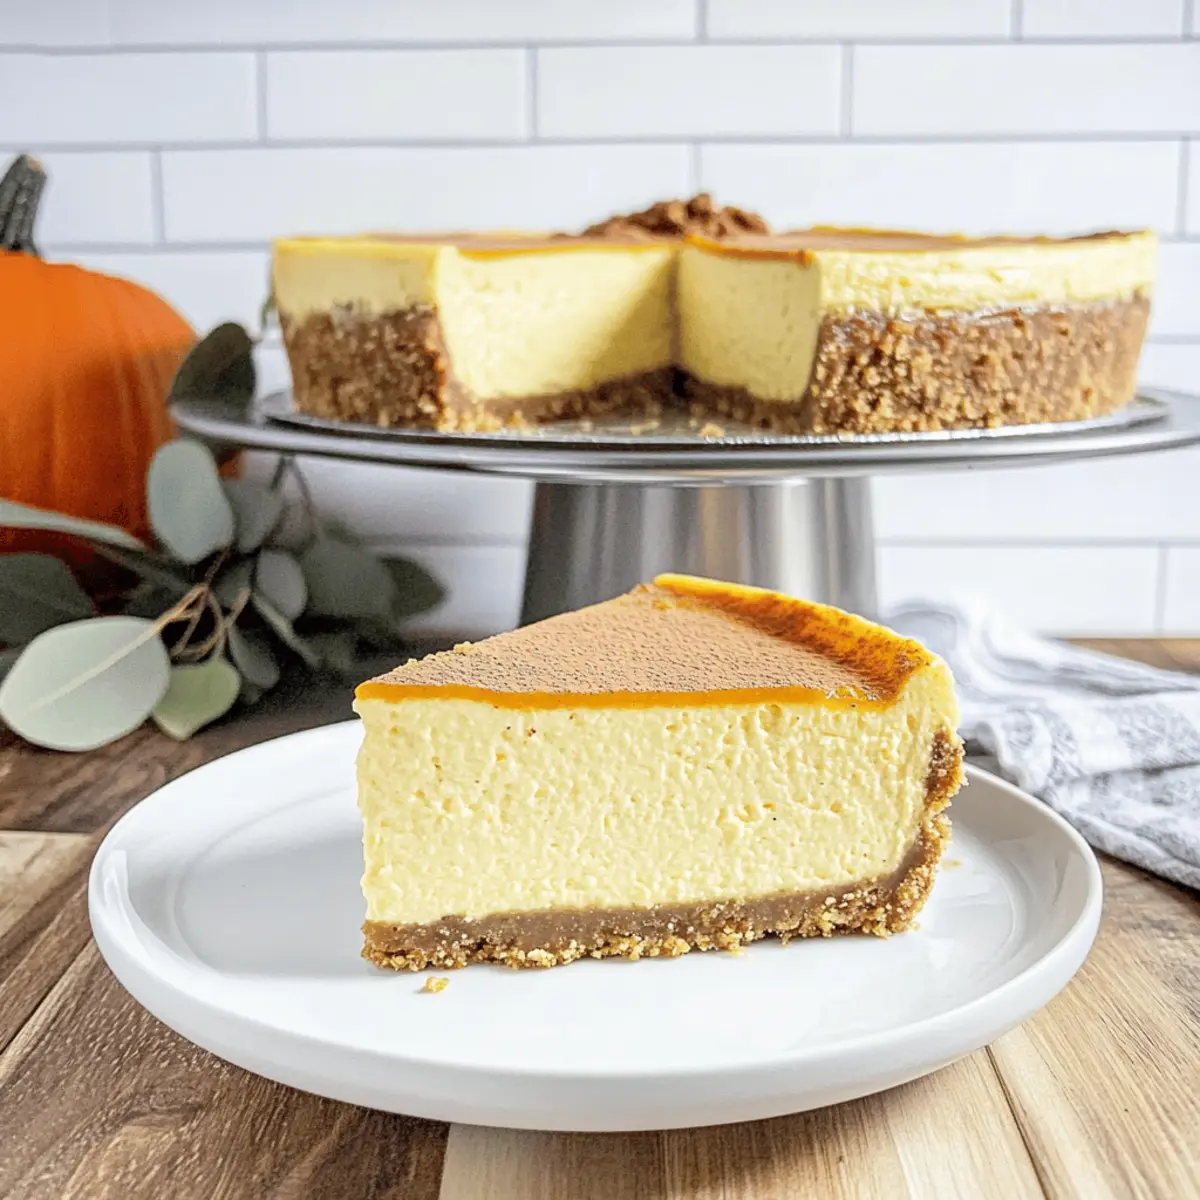
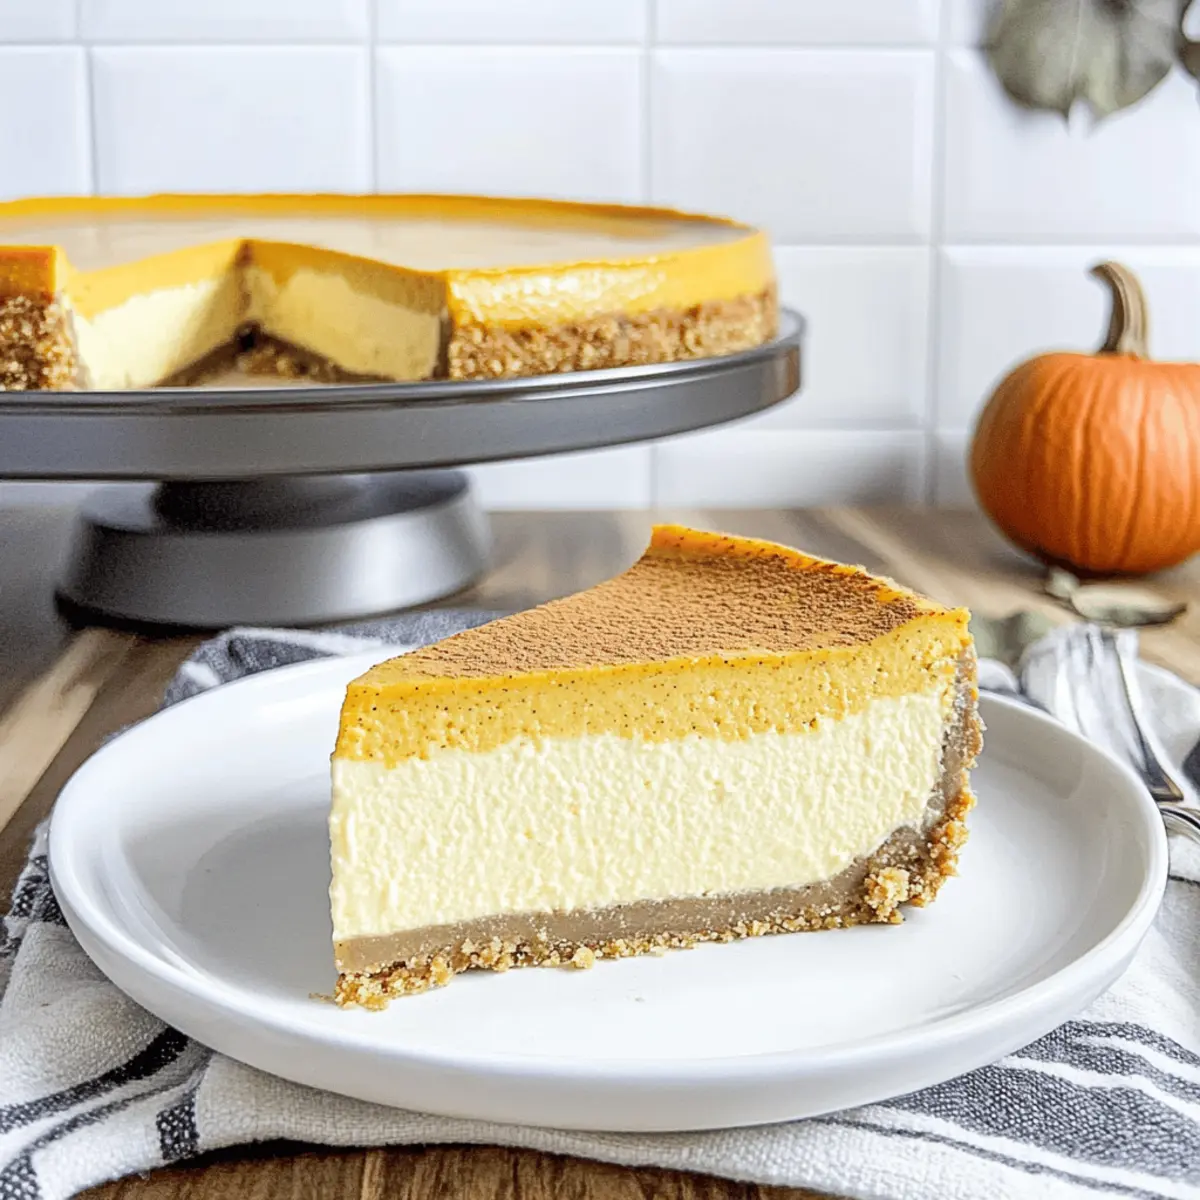
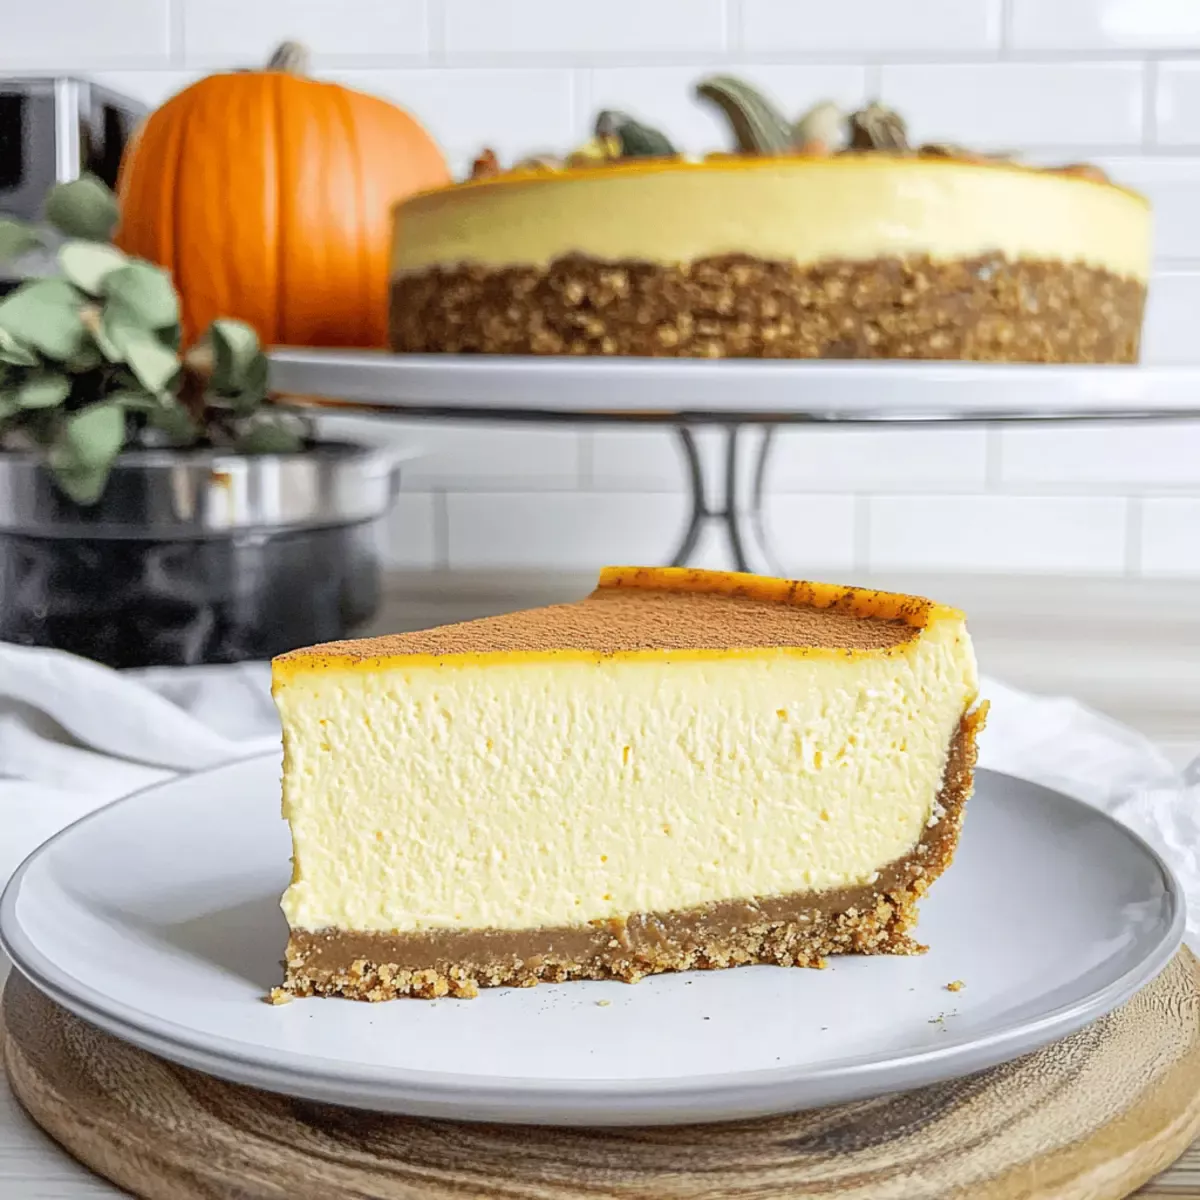
As autumn rolls in, the scent of pumpkin spice wafts through the air, calling us to warm up our kitchens. This isn’t just any pumpkin dessert; it’s a gluten-free pumpkin cheesecake that beautifully marries rich creaminess with the cozy spices of fall. Perfect for gatherings or an intimate Thanksgiving dinner, this recipe shines as a crowd-pleaser, catering to gluten-sensitive friends without compromising on flavor or texture. With quick prep and a creamy indulgence that melts in your mouth, it’s bound to become a seasonal favorite. Are you ready to dive into a slice of pumpkin bliss? Let’s get started!
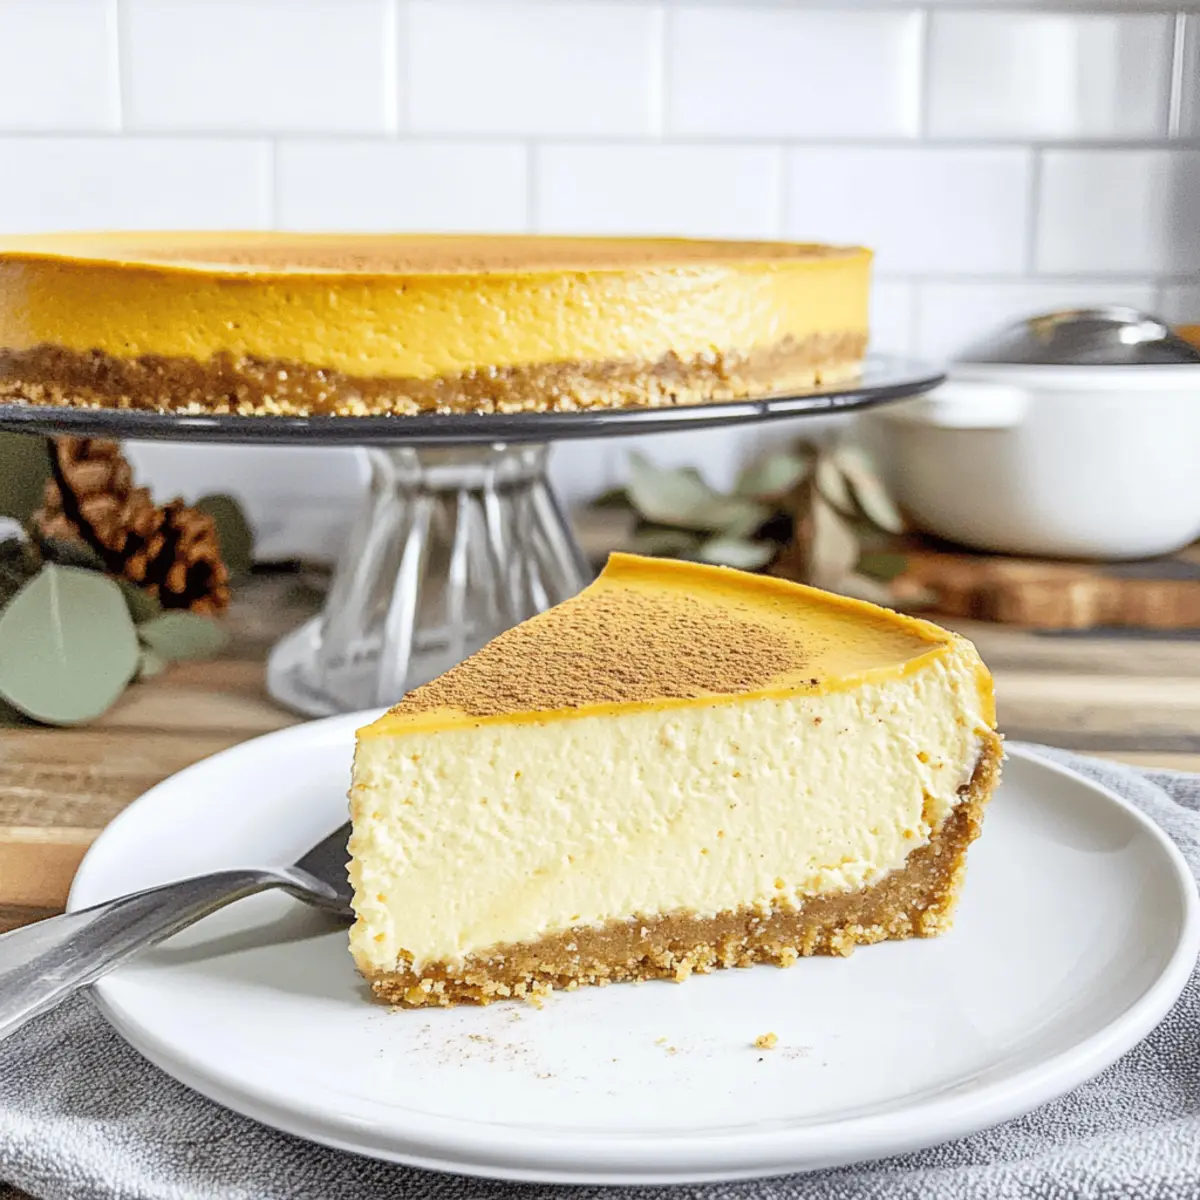
Why Is This Pumpkin Cheesecake Irresistible?
Decadently Creamy: A rich blend of cream cheese and pumpkin puree ensures a luxuriously smooth texture that melts in your mouth.
Autumn’s Best Flavors: Infused with cinnamon, nutmeg, and ginger, this cheesecake captures the essence of fall in every bite.
Gluten-Free Delight: Perfect for those with dietary restrictions, this cheesecake allows everyone to indulge without worry.
Easy to Make: With simple steps, even novice bakers can impress their guests with this stunning dessert.
Perfect for Any Occasion: Whether it’s a Thanksgiving feast or a cozy gathering, this cheesecake is sure to be the star of the table! If you want to explore more gluten-free options, check out our section on gluten-free desserts for delicious ideas!
Pumpkin Cheesecake Ingredients
• Here’s everything you need to create your perfect gluten-free pumpkin cheesecake.
For the Crust
- Gluten-free graham style crackers – Provides a sturdy and delicious base; use a brand like Schar for the best results.
- Light brown sugar – Adds sweetness and moisture, enhancing the crust’s flavor.
- Granulated sugar – Balances the sweetness of the cheesecake filling beautifully.
- Melted unsalted butter – Binds the crust ingredients; swap with coconut oil for a dairy-free option.
For the Filling
- Cream Cheese (8oz packages) – Offers richness and a creamy texture; always use at room temperature for easy mixing.
- Pumpkin puree – The star ingredient brings that delightful pumpkin flavor; feel free to use either canned or homemade.
- Vanilla extract – Elevates the overall taste profile; almond extract can create a lovely twist.
- Eggs (large, at room temperature) – Provides structure and stability; mix gently after adding to avoid overmixing.
- Cinnamon, Nutmeg, Ginger, Cloves – This aromatic blend brings the warmth of fall to each bite, making this pumpkin cheesecake truly irresistible.
If you’re eager to create a gluten-free masterpiece that will impress your guests this fall, gather these ingredients and let the baking magic begin!
Step‑by‑Step Instructions for Delicious Gluten-Free Pumpkin Cheesecake
Step 1: Preheat the Oven
Begin by preheating your oven to 350°F (175°C) to establish the perfect baking environment for your gluten-free pumpkin cheesecake. As it warms up, gather your ingredients and prepare a 9-inch springform pan by lightly greasing the bottom and sides to prevent sticking.
Step 2: Prepare the Crust
In a food processor, pulse gluten-free graham style crackers into fine crumbs. Combine the crumbs with light brown sugar, granulated sugar, and melted unsalted butter until the mixture resembles wet sand. Press this blend firmly into the bottom of the prepared springform pan to form a sturdy crust and bake for 8 minutes until lightly golden.
Step 3: Cool and Adjust Temperature
Once the crust is baked, remove it from the oven and allow it to cool for a few minutes. Meanwhile, lower the oven temperature to 325°F (160°C) to create the ideal setting for the baking process that will follow, ensuring a creamy texture in your pumpkin cheesecake.
Step 4: Mix the Cheesecake Filling
In a large mixing bowl, beat room-temperature cream cheese with an electric mixer until smooth and creamy. Gradually add pumpkin puree, granulated sugar, vanilla extract, and the spices—cinnamon, nutmeg, ginger, and cloves—mixing until fully incorporated. The mixture should be well-blended and free of lumps to create that luscious pumpkin cheesecake filling.
Step 5: Incorporate the Eggs
Add eggs one at a time to the cream cheese mixture, mixing on low speed after each addition until just combined. Be cautious not to overmix, as this can lead to a denser cheesecake. The filling should remain light and fluffy, embodying the harmony of flavors that make this gluten-free pumpkin cheesecake irresistible.
Step 6: Assemble for Baking
Pour the silky pumpkin cheesecake filling over the cooled crust, spreading it evenly with a spatula. To protect against water seeping in, wrap the bottom of the springform pan with aluminum foil, creating a watertight barrier. This step is crucial for maintaining the cheesecake’s delicate texture during baking.
Step 7: Bake in a Water Bath
Place the wrapped springform pan in a larger roasting pan and carefully pour boiling water into the pan until it reaches halfway up the sides of the springform pan. Bake your gluten-free pumpkin cheesecake for about 60 minutes, or until the center is set but slightly jiggly, indicating the perfect texture achieved through gentle steam.
Step 8: Cool Gradually
After baking, turn off the oven and crack the door open, letting your cheesecake rest inside for an additional 60 minutes. This gradual cooling process helps prevent cracks, ensuring your gluten-free pumpkin cheesecake looks as good as it tastes.
Step 9: Chill the Cheesecake
Once the hour is up, remove the cheesecake from the oven and cool it to room temperature. After cooling, cover it tightly and transfer it to the refrigerator, allowing it to chill for at least 6 hours, or ideally overnight. This step develops the flavors and sets the texture, resulting in the ultimate pumpkin cheesecake experience.
Variations & Substitutions for Pumpkin Cheesecake
Feel free to make this pumpkin cheesecake your own with these fun and delicious twists!
-
Sweet Potato Puree: Swap pumpkin puree for sweet potato for a uniquely sweet flavor that’s just as creamy and delightful.
-
Chocolate Ganache Topping: Drizzle chocolate ganache over the cooled cheesecake for an added layer of indulgence that complements the pumpkin beautifully.
-
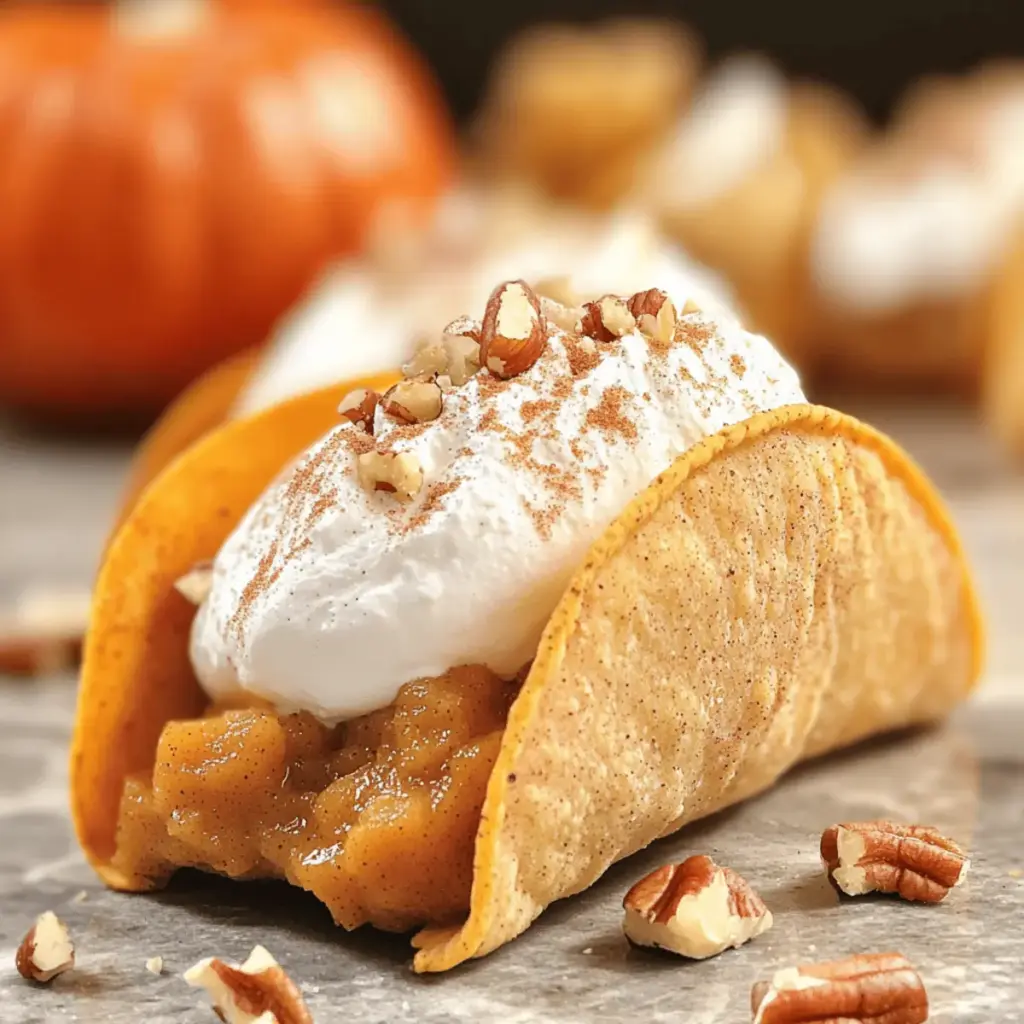
Spiced Whipped Cream: Top slices with homemade whipped cream infused with a hint of cinnamon and nutmeg for an extra touch of fall warmth.
-
Maple Syrup Swirl: Incorporate a swirl of maple syrup into the cheesecake filling for a delightful sweet note that balances the spices perfectly.
-
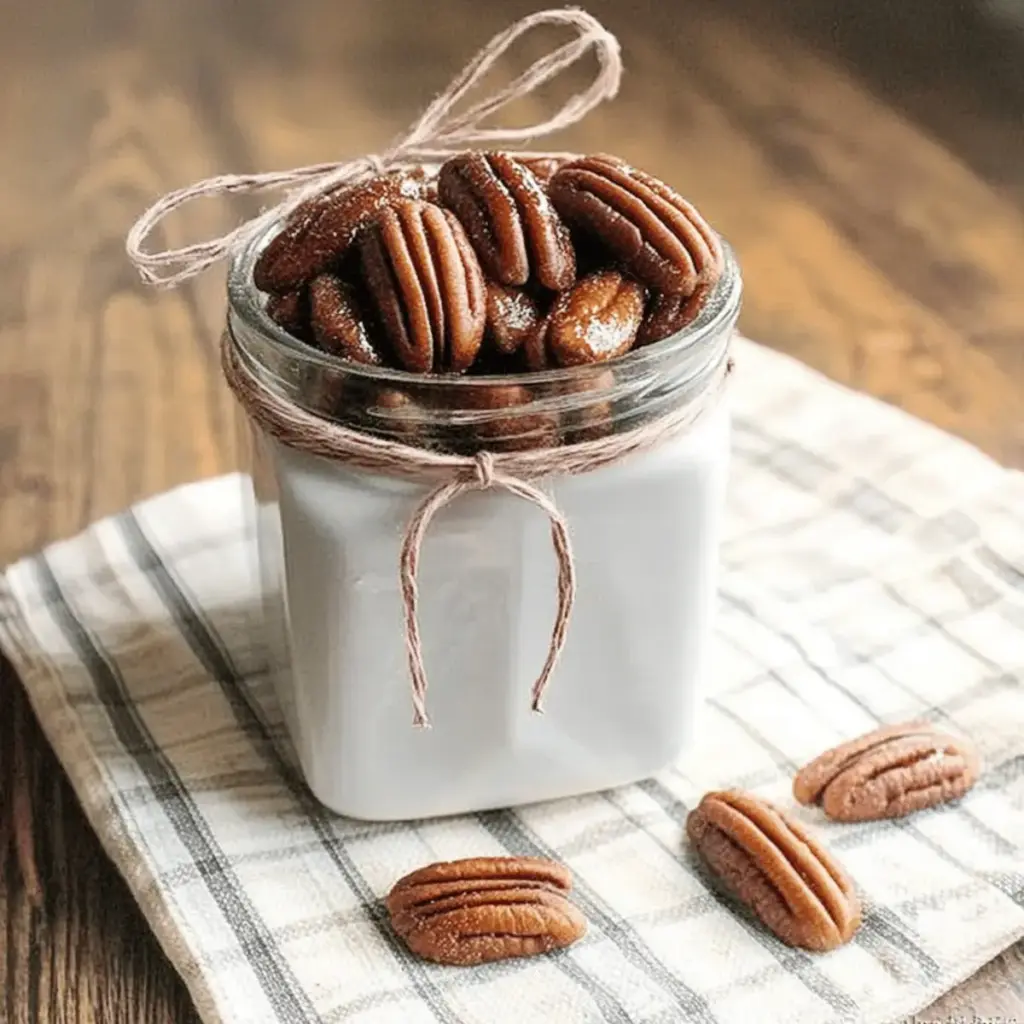
Crushed Nut Topping: Sprinkle crushed pecans or walnuts on top of the cooled cheesecake for a contrasting crunch that adds great texture.
-
Coconut Flour Crust: Replace graham crackers with a coconut flour crust for a nutty flavor and gluten-free alternative that still holds its shape beautifully.
-
Almond Extract Twist: Use almond extract instead of vanilla for a lovely aromatic note that pairs wonderfully with pumpkin spice.
-
Increase Spice Levels: Feel free to experiment by increasing the amount of spices based on your personal preference, adding more cinnamon or a pinch of cardamom for an exotic twist.
These adaptations not only enhance the flavors but can also create new memories at your fall gatherings. For more gluten-free dessert options, don’t forget to check out our cozy collection!
How to Store and Freeze Pumpkin Cheesecake
Fridge: Store your pumpkin cheesecake tightly wrapped in plastic wrap or aluminum foil, where it will stay fresh for up to 5 days. This keeps the flavors intact while preventing it from drying out.
Freezer: For longer storage, wrap the cheesecake well in plastic wrap, then aluminum foil, and freeze for up to 2 months. Thaw overnight in the fridge before enjoying.
Serving After Refrigeration: When serving, allow the cheesecake to sit at room temperature for about 30 minutes for optimal texture, enhancing its creamy indulgence.
Make-Ahead Tip: You can prepare the pumpkin cheesecake a day or two in advance, making it a perfect dessert for busy gatherings or holiday celebrations.
Make Ahead Options
These Gluten-Free Pumpkin Cheesecake options are perfect for busy home cooks looking to streamline their meal planning! You can prepare the crust up to 24 hours in advance by mixing gluten-free graham cracker crumbs, sugars, and melted butter, then pressing it into the pan and storing it covered in the fridge. Additionally, the cheesecake filling can be mixed a day ahead and kept in the refrigerator, ready to pour over the pre-made crust. When you’re ready to bake, simply follow the remaining steps for layering and baking. This way, you not only save time but ensure that your cheesecake is just as delicious when served, making your gatherings a breeze!
Expert Tips for Pumpkin Cheesecake
• Room Temperature Ingredients: Ensure all ingredients, especially cream cheese and eggs, are at room temperature for a smooth, lump-free batter that enhances the texture of your pumpkin cheesecake.
• Don’t Overmix: When adding eggs, mix gently and just until incorporated. Overmixing can lead to a denser final product, which you want to avoid for a light cheesecake.
• Perfect Crust: Avoid overbaking the crust; it should be firm yet soft enough to melt in your mouth. Keep an eye on it during the baking process.
• Water Bath Care: When using the water bath method, ensure your aluminum foil is wrapped tightly around the pan to prevent any water from seeping in. This protects the texture of your pumpkin cheesecake.
• Cooling Gradually: After baking, let the cheesecake cool inside the oven with the door cracked open. This gradual cooling will help prevent cracks from forming on the surface.
What to Serve with Gluten-Free Pumpkin Cheesecake
Surround your richly spiced cheesecake with delicious sides and drinks for a cozy autumn feast.
-
Whipped Cream: A light dollop adds creamy softness that enhances each bite of cheesecake, balancing its rich flavors beautifully.
-
Spiced Apple Cider: The warm spices in cider complement the cheesecake’s flavors, creating a delightful autumnal beverage pairing.
-
Cranberry Sauce: A tart cranberry sauce brings a refreshing counterpoint to the sweet creaminess of the cheesecake, adding festive flair.
-
Gingersnap Cookies: Crunchy and spicy, gingersnap cookies add a texture contrast and deepen the seasonal dessert experience.
-
Chai Latte: A creamy chai latte, with its warm spices, pairs excellently with the pumpkin flavors, creating a comforting drink that feels like a warm hug.
-
Pecan Pie: Serve a small slice of pecan pie alongside for a textural contrast, combining nutty sweetness with the cheesecake’s smoothness.
Indulging in these pairings will make your pumpkin cheesecake a centerpiece of a heartwarming and festive gathering!
Gluten-Free Pumpkin Cheesecake Recipe FAQs
How do I choose ripe pumpkin for this cheesecake?
Absolutely! If you’re using fresh pumpkin, select one that feels heavy for its size, with smooth skin and no soft spots. Avoid pumpkins with dark spots or blemishes, as they may indicate overripeness or spoilage. For ease, using canned pumpkin puree is a time-saver and ensures consistent results.
How should I store the pumpkin cheesecake once it’s made?
Very simple! Keep your pumpkin cheesecake wrapped tightly in plastic wrap or aluminum foil in the refrigerator, where it will stay fresh for up to 5 days. This prevents it from drying out, allowing you to enjoy that creamy texture and delightful flavors longer.
Can I freeze pumpkin cheesecake for later?
Yes, indeed! To freeze your pumpkin cheesecake, wrap it securely in plastic wrap, followed by a layer of aluminum foil to prevent freezer burn. This method allows it to last up to 2 months in the freezer. When you’re ready to enjoy, thaw it overnight in the fridge for the best results.
What can I do if my cheesecake cracks while baking?
No worries! Cracks can happen, but there are ways to prevent them. Make sure to cool your cheesecake gradually in a turned-off oven with the door slightly ajar. If cracking does occur, you can cleverly mask it by topping with whipped cream or a dusting of powdered sugar, making it look just as delightful!
Is this cheesecake suitable for those with allergies?
Great question! This gluten-free pumpkin cheesecake is perfect for those with gluten sensitivities. However, it contains dairy (cream cheese, eggs, and butter), so check for any allergies related to these ingredients. For a dairy-free version, use coconut cream and dairy-free cream cheese alternatives!
How long should I let the cheesecake sit before serving?
For the best experience, allow your cheesecake to sit at room temperature for about 30 minutes before serving. This enhances its creamy texture, making every bite of your gluten-free pumpkin cheesecake truly irresistible!
Irresistible Pumpkin Cheesecake That’s Naturally Gluten-Free
Ingredients
Equipment
Method
- Preheat the oven to 350°F (175°C) and prepare a 9-inch springform pan by greasing it.
- Crush gluten-free graham style crackers in a food processor, then mix with light brown sugar, granulated sugar, and melted butter. Press into the pan and bake for 8 minutes.
- Allow the crust to cool, then lower the oven temperature to 325°F (160°C).
- In a mixing bowl, beat cream cheese until smooth, then gradually mix in pumpkin puree, sugars, vanilla, and spices until fully incorporated.
- Add the eggs one at a time, mixing on low speed until just combined. Avoid overmixing.
- Pour the cheesecake filling over the cooled crust and wrap the bottom of the pan in aluminum foil.
- Place the pan in a larger roasting pan and fill with boiling water halfway up the sides. Bake for about 60 minutes.
- Turn off the oven and let the cheesecake cool inside for another 60 minutes with the door cracked.
- Cool to room temperature, then refrigerate for at least 6 hours or overnight before serving.